INSTALLATION
Removal / installation · Vehicles built from Aug 2007
Versions by build date: Jan 2007 – Jul 2007 from Aug 2007
| 1.
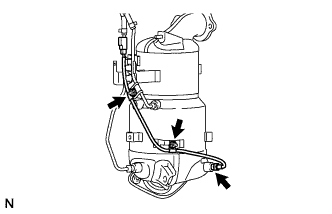
INSTALL EXHAUST GAS TEMPERATURE SENSOR (for Rear Side) |
 |
- Temporarily install the sensor with the 2 nuts and union nut.
- Tighten the 2 nuts.
-
Torque:
- 6.4 N*m{
65 kgf*cm
, 57 in.*lbf
}
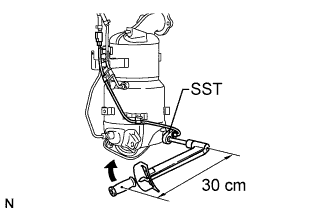
- Using SST, tighten the union nut.
- SST
- 09023-38401
-
Torque:
- 27 N*m{
275 kgf*cm
, 20 ft.*lbf
}
for use with SST
- 30 N*m{
306 kgf*cm
, 22 ft.*lbf
}
for use without SST
- HINT:
- Use a torque wrench with a fulcrum length of 30 cm (11.81 in.).
| 2.
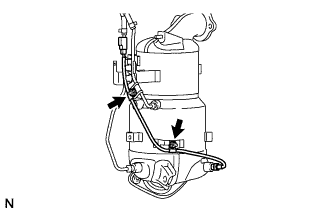
INSTALL EXHAUST GAS TEMPERATURE SENSOR (for Front Side) |
|
Temporarily install the sensor with the union nut.
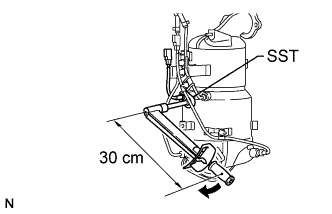
- Using SST, tighten the union nut.
- SST
- 09023-38401
-
Torque:
- 27 N*m{
275 kgf*cm
, 20 ft.*lbf
}
for use with SST
- 30 N*m{
306 kgf*cm
, 22 ft.*lbf
}
for use without SST
- HINT:
- Use a torque wrench with a fulcrum length of 30 cm (11.81 in.).
| 3.
INSTALL EXHAUST MANIFOLD CONVERTER SUB-ASSEMBLY
|
|
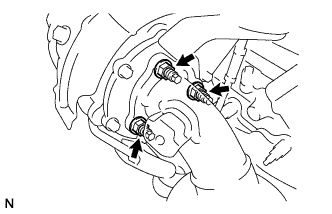
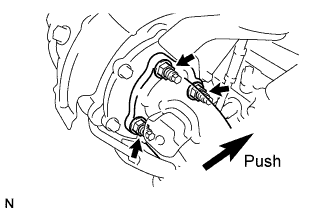
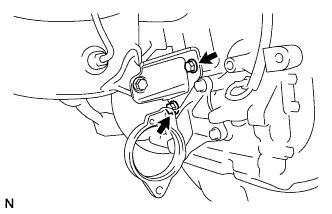
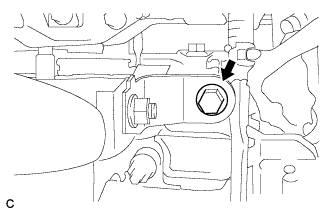
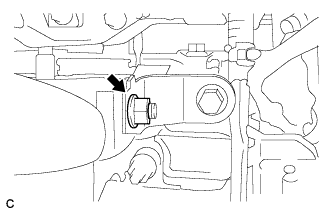
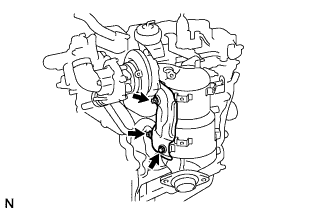
- Temporarily install a new gasket and the exhaust manifold converter with the 3 nuts.
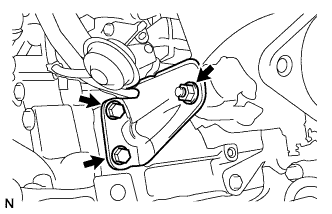
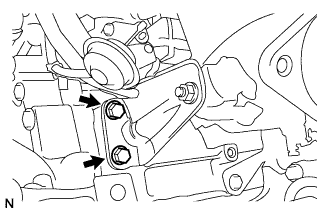
- Temporarily install the No. 2 exhaust manifold stay with the 2 bolts and nut.
- Temporarily install the No. 2 manifold stay with the 3 bolts.
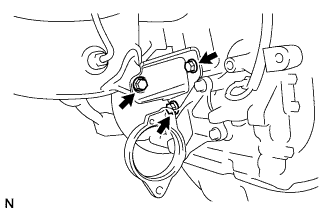
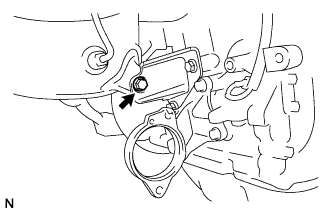
- Temporarily install the No. 1 manifold stay with the bolt and nut.
- Tighten the 2 bolts holding the No. 2 exhaust manifold stay to the cylinder block.
-
Torque:
- 56 N*m{
571 kgf*cm
, 41 ft.*lbf
}
- NOTICE:
- Make sure to tighten the upper bolt first and the lower bolt last.
- While pushing the manifold converter towards the cylinder block, tighten the 3 nuts holding the exhaust manifold converter to the turbocharger.
-
Torque:
- 25 N*m{
255 kgf*cm
, 18 ft.*lbf
}
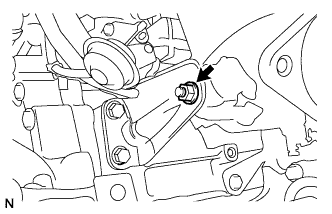
- Tighten the nut holding the No. 2 exhaust manifold stay to the exhaust manifold converter.
-
Torque:
- 56 N*m{
571 kgf*cm
, 41 ft.*lbf
}
- Tighten the bolt holding the No. 2 manifold stay to the exhaust manifold converter.
-
Torque:
- 56 N*m{
571 kgf*cm
, 41 ft.*lbf
}
- HINT:
- Ensure that the stay is pushed flush to the cylinder block and manifold converter while tightening.
- Tighten the 2 bolts holding the No. 2 manifold stay to the cylinder block.
-
Torque:
- 56 N*m{
571 kgf*cm
, 41 ft.*lbf
}
- Tighten the bolt holding the No. 1 manifold stay to the cylinder head.
-
Torque:
- 25 N*m{
255 kgf*cm
, 18 ft.*lbf
}
- HINT:
- Ensure that the stay is pushed flush to the cylinder head and manifold converter while tightening.
- Tighten the nut holding the No. 1 manifold stay to the exhaust manifold converter.
-
Torque:
- 25 N*m{
255 kgf*cm
, 18 ft.*lbf
}
| 4.
INSTALL NO. 2 MANIFOLD CONVERTER INSULATOR
|
|
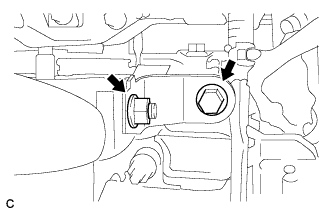
- Install the manifold converter insulator with the 3 nuts.
-
Torque:
- 29 N*m{
291 kgf*cm
, 21 ft.*lbf
}
| 5.
INSTALL NO. 1 MANIFOLD CONVERTER INSULATOR
|
|
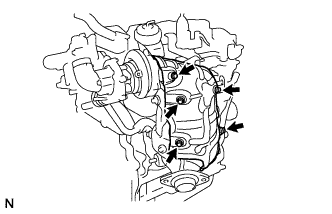
- Install the manifold converter insulator with the 5 bolts.
-
Torque:
- 29 N*m{
291 kgf*cm
, 21 ft.*lbf
}
| 6.
INSTALL ENGINE ASSEMBLY |
|
Install the engine assembly to the vehicle (Click here).
| 7.
CONNECT CABLE TO NEGATIVE BATTERY TERMINAL |
|