B58 LUBRICATION OIL PAN REMOVAL
CAUTION / NOTICE / HINT
- HINT:
-
Perform wheel alignment after installation.
PROCEDURE

 51201
1.SEPARATE FRONT SUSPENSION CROSSMEMBER SUB-ASSEMBLY
12101A
2.REMOVE OIL PAN DRAIN PLUG
12101A
3.INSTALL OIL PAN DRAIN PLUG
28100
4.REMOVE STARTER ASSEMBLY
12101
5.REMOVE OIL PAN SUB-ASSEMBLY
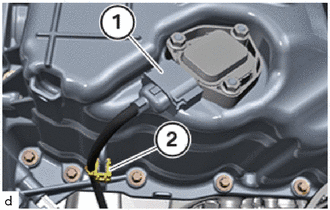
Unlock and loosen connector (1).
Loosen clamp (2).
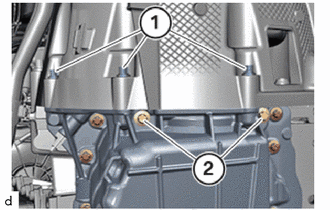
Loosen E10 bolts (1).
Loosen E10 bolts (2).
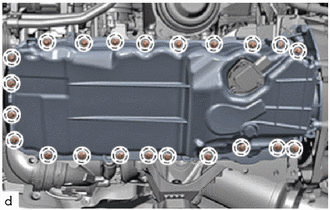
Unscrew all of the E10 bolts (marks).
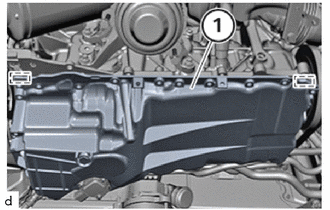
Release the oil pan sub-assembly (1) in the marked areas.
- HINT:
-
Increased force may be necessary during disassembly because the component is bonded with seal packing.
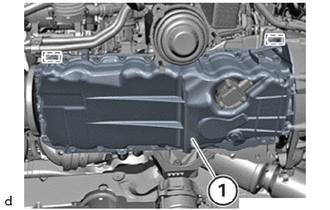
Release the oil pan sub-assembly (1) in the marked areas.
- HINT:
-
Increased force may be necessary during disassembly because the component is bonded with seal packing.
Guide out oil pan sub-assembly (1) toward the bottom and remove.
12101
6.REPLACE OIL PAN SUB-ASSEMBLY
- CAUTION:
- ·
Hot surfaces.
Risk of burning!
-Perform all work only on components that have cooled down.
- ·
Collect and dispose of emerging fluids. Observe country-specific waste disposal regulations.
- NOTICE:
- ·
Electrostatic discharge.
Damage to or destruction of electrical components.
-Only touch the housings of electrical components. Do not touch pins or multi-pin connectors directly.
-For additional information see:
Click hereGeneral>INTRODUCTION>REPAIR INSTRUCTION>PRECAUTION
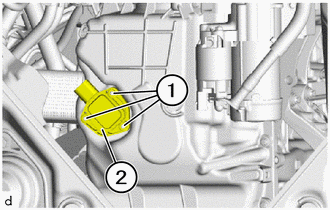
Loosen nuts (1).
Remove the engine oil level sensor (2).
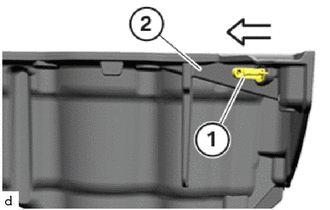
Guide the seal plug (1) out of the oil pan sub-assembly (2) in the direction of the arrow and remove.
Replace oil pan sub-assembly.
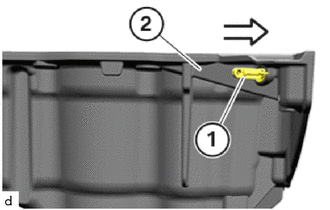
Guide the seal plug (1) into the oil pan sub-assembly (2) in the direction of the arrow and install.