CENTER AIRBAG SENSOR ASSEMBLY (for Sedan) > INSTALLATION |
| 1. INSTALL CENTER AIRBAG SENSOR ASSEMBLY |
|
Confirm that the ignition switch is turned to off.
Confirm that the negative battery terminal is detached.
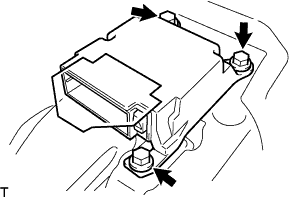
Remove the 3 bolts and remove the airbag sensor.
Confirm that there is no looseness by shaking the front airbag sensor.
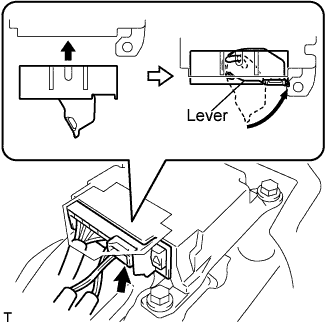 |
Connect the connector holder to lock the lever.
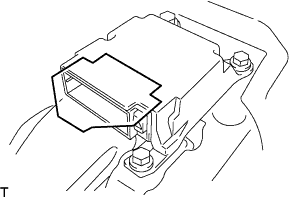 |
Confirm that the drip-proof sheet has not been removed and does not cut into the connectors.
| 2. INSTALL INSTRUMENT PAD LOWER LH |
Engage the claw and 3 clips and install the instrument pad lower.
Install the <H> screw.
| 3. INSTALL REAR CONSOLE BOX ASSEMBLY |
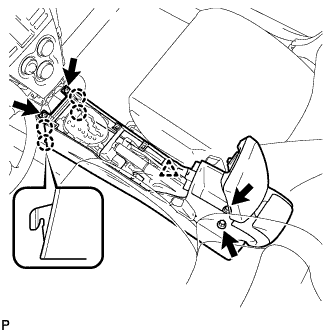 |
Engage the 4 claws and install the rear console box.
Install the 2 bolts and 2 screws.
Connect the clamp.
| 4. INSTALL CONSOLE BOX CARPET |
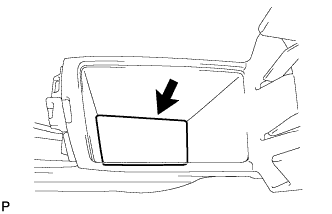 |
Install the console box carpet.
| 5. INSTALL CONSOLE UPPER REAR PANEL SUB-ASSEMBLY |
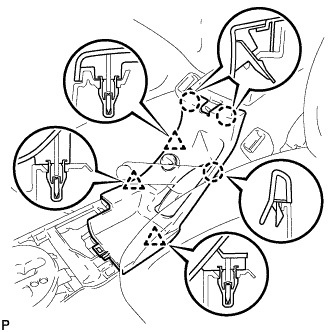 |
Connect the connector.
Engage the 3 clips and 3 claws and install the console upper rear panel.
| 6. INSTALL UPPER CONSOLE PANEL SUB-ASSEMBLY |
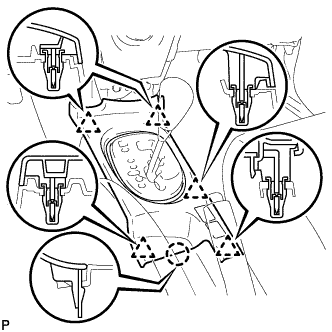 |
Engage the 5 clips and the claw and install the upper console panel.
| 7. INSTALL SHIFT LEVER KNOB SUB-ASSEMBLY (for Manual Transaxle) |
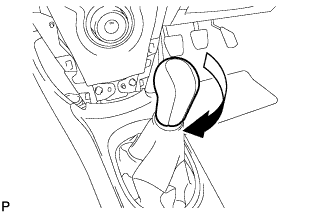 |
Install the shift lever knob.
| 8. REMOVE INSTRUMENT PANEL FINISH PANEL END LH |
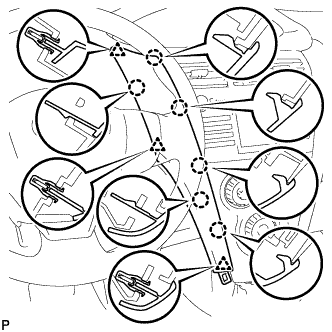 |
Engage the 6 claws and 3 clips and install the instrument panel finish panel end LH.
| 9. INSTALL INSTRUMENT PANEL FINISH PANEL LOWER CENTER |
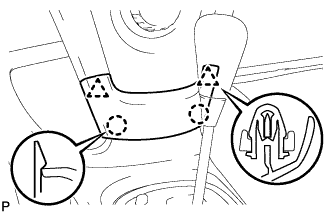 |
Engage the 2 claws and 2 clips and install the instrument panel finish panel lower center.
| 10. CONNECT CABLE TO NEGATIVE BATTERY TERMINAL |
| 11. INSPECT SRS WARNING LIGHT |