Odd Gear Clutch Control Actuator Removal and Installation
Precautions: Precautions for Diagnosing Trouble · Precautions for Disassembly and Reassembly · Precautions for Transmission / Transaxle · General safety (00)
Removal
1)Perform “Hydraulic Circuit Depressurization” function under “Utility” mode on SUZUKI scan tool referring Hydraulic Circuit Depressurization Procedure.
2)Disconnect twin clutch system unit from engine. 
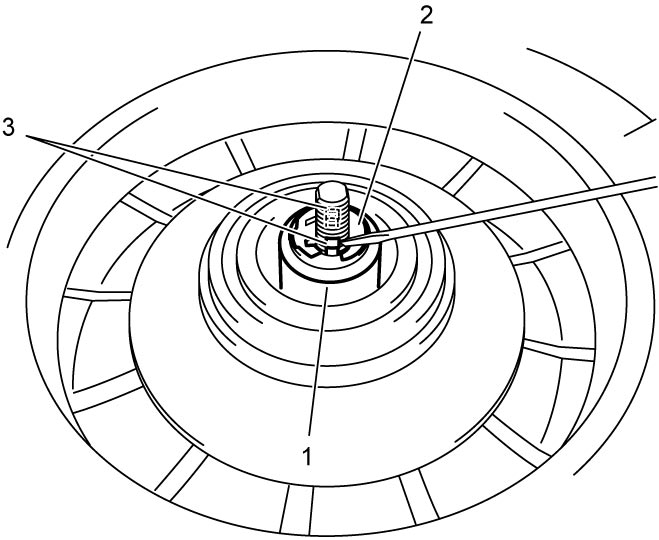
3)Release lock tabs (1) and remove safety washer (2).
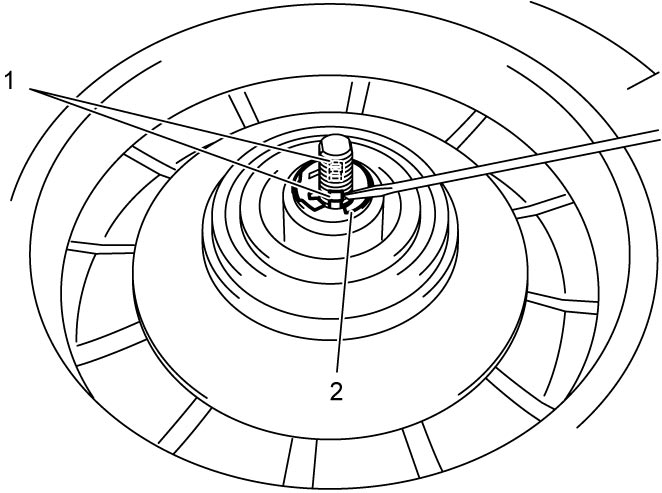

4)Remove thrust bearing guard nut cap (1).
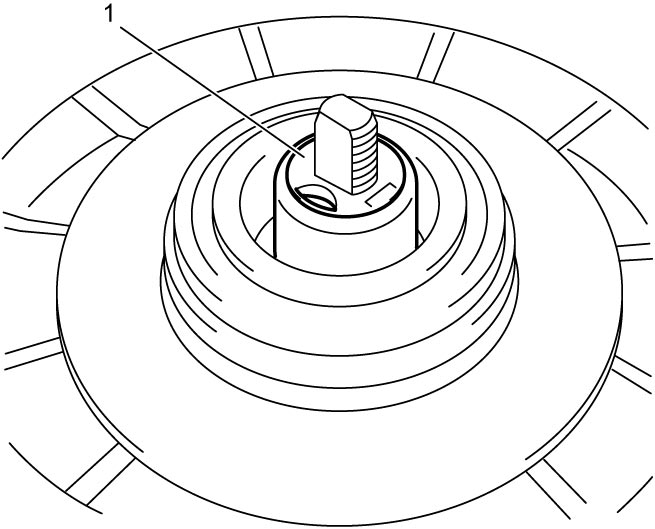
5)Remove odd gear clutch control actuator thrust bearing (1).
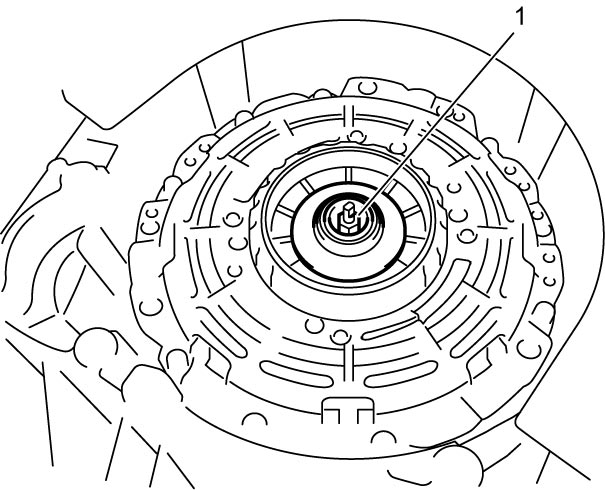
6)Disconnect odd gear clutch position sensor connector.
7)Disconnect oil pipe from odd gear clutch control actuator.
8)Remove odd gear clutch control actuator bolts (1) and remove odd gear clutch control actuator (2) with odd gear clutch control actuator rod.
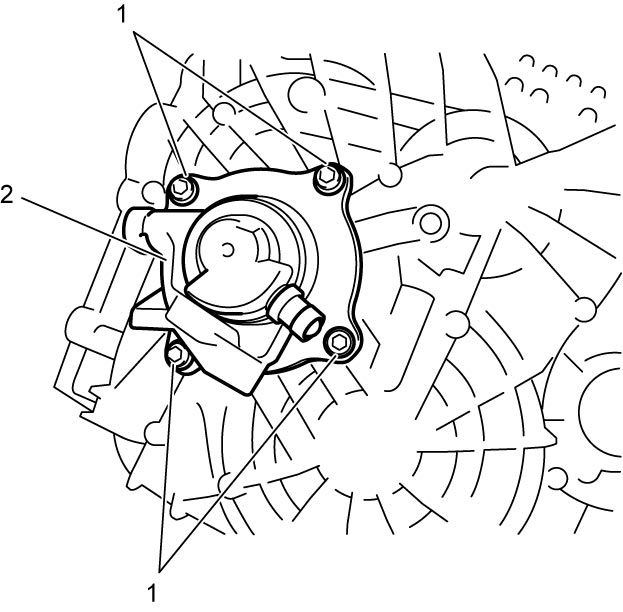
9)Remove odd gear clutch control actuator rod (1) if necessary.
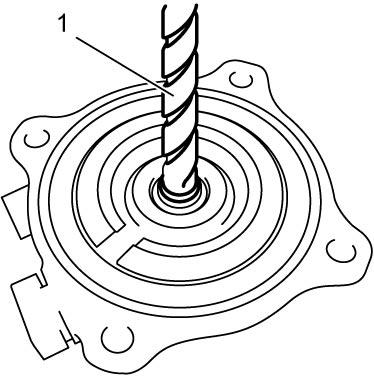
10)Remove odd gear clutch control actuator rod seal (1) from inner input shaft (2).
Installation
1)Install odd gear clutch control actuator rod seal (1) using special tool and hammer.
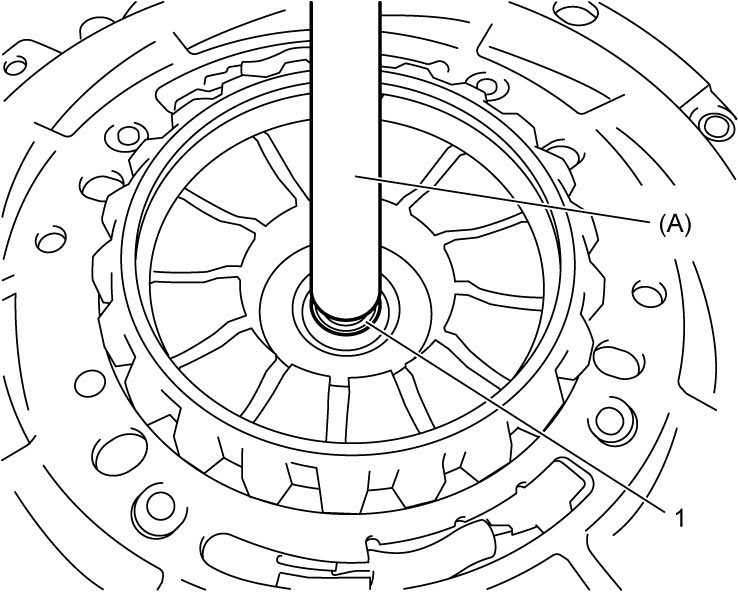
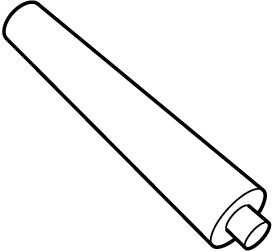
2)Install odd gear clutch control actuator (1) with new O-ring and tighten odd gear clutch control actuator bolts (2).
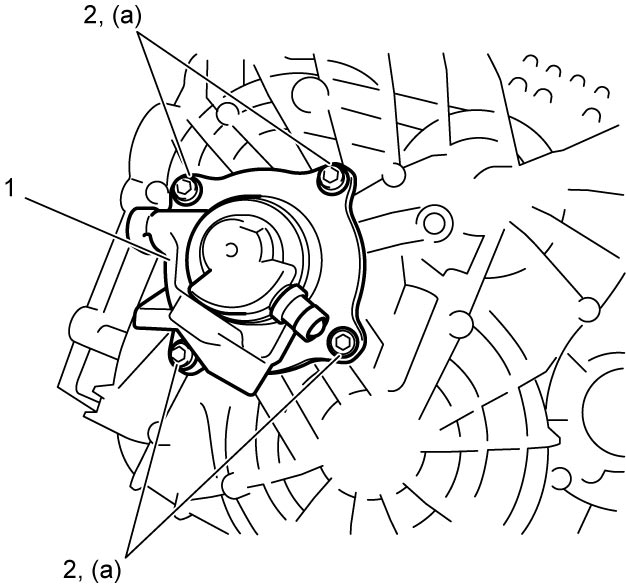
3)Connect oil pipe to odd gear clutch control actuator.
4)Connect odd gear clutch position sensor connector.
5)Install odd gear clutch control actuator thrust bearing (1).
6)Check odd gear clutch control actuator thrust bearing height.
7)Install thrust bearing cap (1) and install new safety washer (2) and then fit tabs (3).
8)Connect twin clutch system unit to engine.
9)After replacing odd gear clutch control actuator, perform TCM and Clutch Initialization.