U660E AUTOMATIC TRANSMISSION / TRANSAXLE AUTOMATIC TRANSAXLE ASSEMBLY REMOVAL
CAUTION / NOTICE / HINT
- NOTICE:
-
If automatic transaxle parts are replaced, refer to Parts Replacement Compensation Table to determine if any additional operations are necessary.
-
Click hereDrivetrain>U660E AUTOMATIC TRANSMISSION / TRANSAXLE>AUTOMATIC TRANSAXLE SYSTEM>PRECAUTION
PROCEDURE

 1.REMOVE ENGINE ASSEMBLY WITH TRANSAXLE
51100G
2.REMOVE FRONT FRAME ASSEMBLY
89530C
3.REMOVE TCM
4.SEPARATE WIRE HARNESS
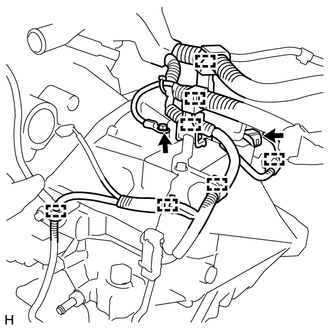
Remove the bolt and disconnect the connector and 7 clamps from the automatic transaxle assembly.
35123A
5.REMOVE TRANSMISSION BREATHER SKIRT
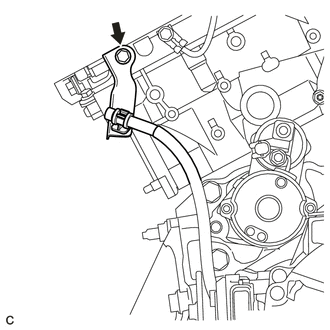
| *1 | Breather Plug |
| *2 | Transmission Breather Skirt |
| *3 | Clamp |
Disconnect the breather plug.
Remove the bolt and transmission breather skirt with the clamp.
Remove the clamp from the transmission breather skirt.
30500
6.REMOVE AUTOMATIC TRANSAXLE ASSEMBLY
Using the transmission jack attachment, set the automatic transaxle assembly on a transmission jack.
- NOTICE:
- ·
Secure the automatic transaxle assembly to the transmission jack using a suitable adapter, such as a rope or attachment.
·To prevent the automatic transaxle oil pan sub-assembly from deforming, do not place any attachments onto the automatic transaxle oil pan sub-assembly of the automatic transaxle assembly.
·Hold the engine assembly with a suitable adapter, such as a rope, during the operation.
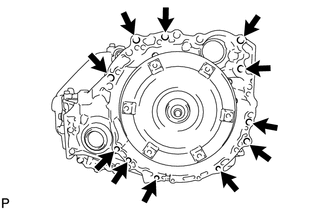
Remove the 11 bolts and automatic transaxle assembly.
- NOTICE:
-
To prevent damage to the knock pins, do not pry between the automatic transaxle assembly and engine.
12311A
7.REMOVE FRONT ENGINE MOUNTING BRACKET
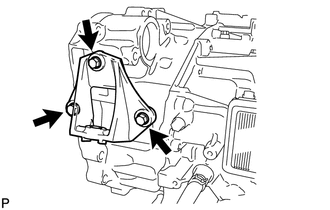
Remove the 3 bolts and front engine mounting bracket.
8.REMOVE WIRE HARNESS CLAMP BRACKET
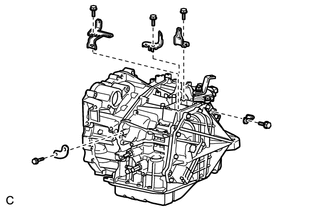
Remove the 5 bolts and 5 clamp brackets.
33823
9.REMOVE NO. 1 TRANSMISSION CONTROL CABLE BRACKET
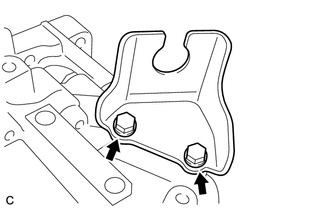
Remove the 2 bolts and No. 1 transmission control cable bracket from the automatic transaxle assembly.
33403M
10.REMOVE SPEEDOMETER DRIVEN HOLE (ATM) COVER SUB-ASSEMBLY
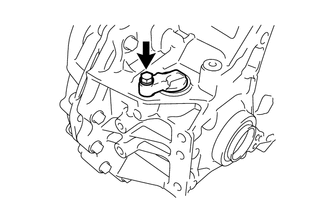
Remove the bolt and speedometer driven hole (ATM) cover sub-assembly from the automatic transaxle assembly.
Remove the O-ring from the speedometer driven hole (ATM) cover sub-assembly.
32000
11.REMOVE TORQUE CONVERTER ASSEMBLY
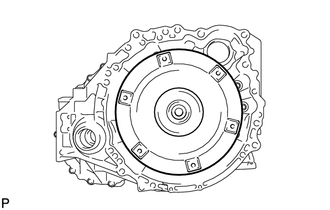
Remove the torque converter assembly from the automatic transaxle assembly.
32000
12.INSPECT TORQUE CONVERTER ASSEMBLY