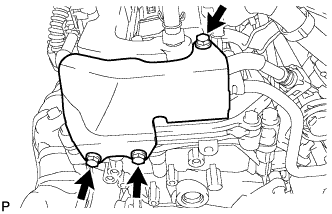
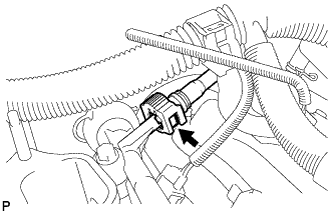
Disconnect the No. 1 fuel pipe sub-assembly (Click here).
NOTICE:
Check for dirt or other foreign matter on the parts to be disconnected and clean them if necessary.
The fuel tube connector seals with an O-ring. Ensure that there is no damage or foreign matter on the contact surface.
If the connector and the pipe are stuck, push and pull on the connector to release them while pinching the retainer. Pull the connector out of the pipe carefully.
Do not use any tools.
Do not bend or twist the tubes.
Protect the contact surface by covering it with a plastic bag.
Do not damage any of the clips. If a clip is damaged, replace it.
5.
DISCONNECT NO. 2 FUEL PIPE SUB-ASSEMBLY
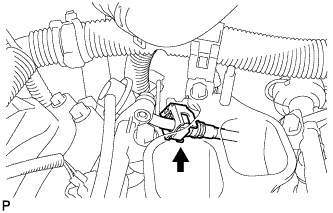
Disconnect the No. 2 fuel pipe sub-assembly (Click here).
NOTICE:
Check for dirt or other foreign matter on the parts to be disconnected and clean them if necessary.
The fuel tube connector seals with an O-ring. Ensure that there is no damage or foreign matter on the contact surface.
If the connector and the pipe are stuck, push and pull on the connector to release them while pinching the retainer. Pull the connector out of the pipe carefully.
Do not use any tools.
Do not bend or twist the tubes.
Protect the contact surface by covering it with a plastic bag.
Do not damage any of the clips. If a clip is damaged, replace it.
6.
REMOVE FUEL DELIVERY PIPE SUB-ASSEMBLY
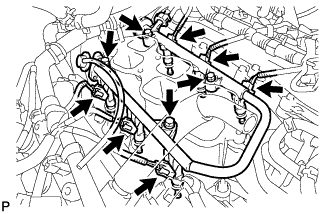
Disconnect the 6 fuel injector connectors.
Remove the 4 bolts and fuel delivery pipe together with the 6 fuel injectors.
NOTICE:
Be careful not to drop the injectors when removing the fuel delivery pipe.
7.
REMOVE FUEL INJECTOR ASSEMBLY
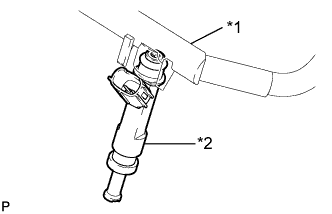
Pull the 6 fuel injectors from the fuel delivery pipe.
Text in Illustration
*1
Fuel Delivery Pipe
*2
Fuel Injector
Remove the O-ring and injector vibration insulator from each fuel injector.