REMOVAL
Removal / installation · Vehicles built Jul 2007 – Oct 2010
Versions by build date: Jul 2007 – Oct 2010 Nov 2010 – Jul 2012 from Aug 2012
- HINT:
- The procedure described below is for the LH side. Use the same procedure for both the RH and LH sides, unless otherwise specified.
| 1.
REMOVE ROOF DRIP SIDE FINISH MOULDING JOINT COVER |
 |
- HINT:
- Use the same procedure to remove all the roof drip moulding joint covers.
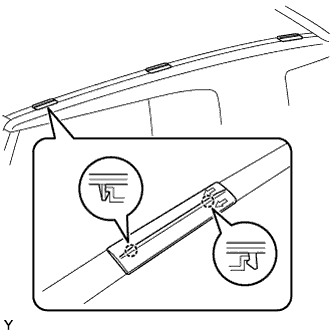
Disengage the 2 claws and remove the roof drip moulding joint cover.
| 2.
REMOVE NO. 1 ROOF DRIP SIDE FINISH MOULDING |
|
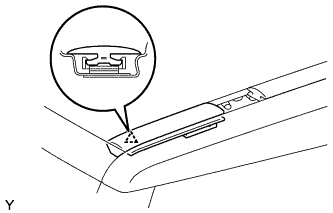
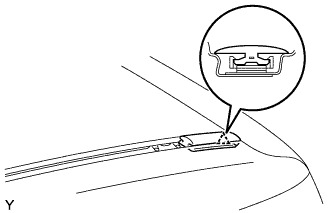
- Disengage the clip and remove the No. 1 roof drip side finish moulding.
- NOTICE:
- Do not remove the clip.
- Replace the clip with a supply clip if damaged.
| 3.
REMOVE NO. 2 ROOF DRIP SIDE FINISH MOULDING |
|
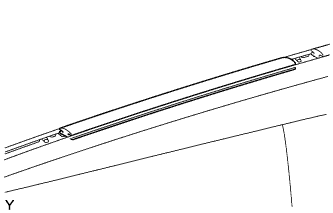
- Remove the No. 2 roof drip side finish moulding.
| 4.
REMOVE NO. 3 ROOF DRIP SIDE FINISH MOULDING |
|
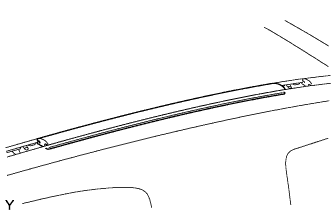
- Remove the No. 3 roof drip side finish moulding.
| 5.
REMOVE NO. 4 ROOF DRIP SIDE FINISH MOULDING |
|
- Disengage the clip and remove the No. 4 roof drip side finish moulding.
- NOTICE:
- Do not remove the clip.
- Replace the clip with a supply clip if damaged.
| 6.
REMOVE WINDSHIELD OUTSIDE UPPER MOULDING SUB-ASSEMBLY |
|
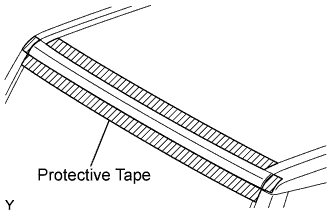
- Apply protective tape to the roof panel in the area around the windshield outside upper moulding.
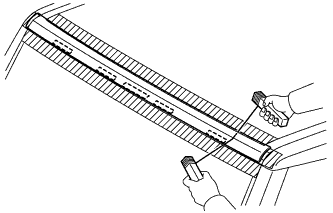
- Insert the piano wires between the vehicle body and the windshield outside upper moulding, as shown in the illustration.
Tie objects that can serve as handles (for example, wooden blocks) to all wire ends.
- NOTICE:
- When separating the windshield outside upper moulding from the vehicle, do not damage the vehicle's paintwork or exterior ornaments.
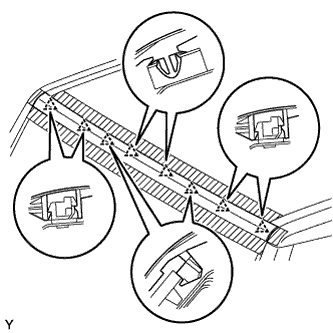
- Disengage the 6 claws and the 2 clips and remove the windshield outside upper moulding.
| 7.
REMOVE ROOF DRIP SIDE FINISH MOULDING RETAINER |
|
- HINT:
- Use the same procedure to remove all the roof drip side finish moulding retainers.
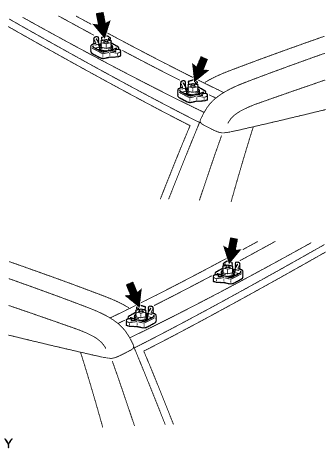
Remove the screw and the roof drip side finish moulding retainer.
| 8.
REMOVE FRONT DOOR OPENING TRIM WEATHERSTRIP |
|
- HINT:
- Use the same procedure as for the RH side (Click here).
| 9.
REMOVE ASSIST GRIP PLUG |
|
- HINT:
- Use the same procedure as for the RH side (Click here).
| 10.
REMOVE ASSIST GRIP ASSEMBLY |
|
- HINT:
- Use the same procedure as for the RH side (Click here).
| 11.
REMOVE FRONT PILLAR GARNISH |
|
- HINT:
- Use the same procedure as for the RH side (Click here).
| 12.
REMOVE FRONT PILLAR OUTER GARNISH |
|
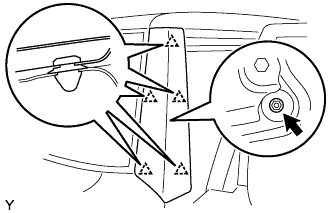
- Remove the nut.
Disengage the 5 clips and remove the front pillar outer garnish.
| 13.
REMOVE ROOF SIDE GARNISH PROTECTOR |
|
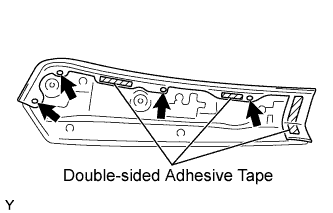
- Using a clip remover, remove the 4 clips.
Remove the 3 pieces of double-sided adhesive tape and the roof side garnish protector.