INSTALLATION
Removal / installation · Vehicles built May 2007 – Jul 2008
Versions by build date: May 2007 – Jul 2008 Aug 2008 – Jun 2010 from Jul 2010
| 1.
INSTALL HOOD LOCK CONTROL CABLE ASSEMBLY |
 |
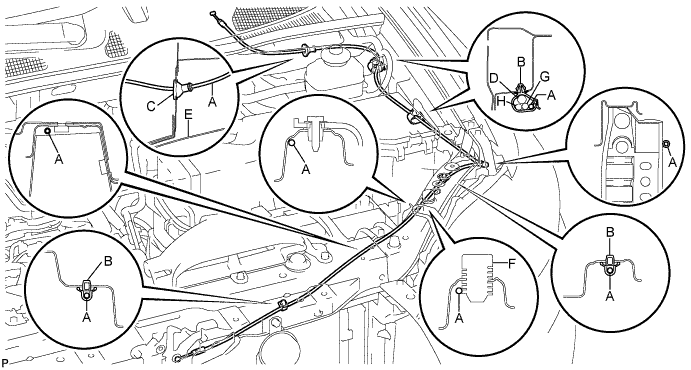
Pass the hood lock control cable assembly into the engine compartment.

Area
|
Part Name
|
Area
|
Part Name
|
A
|
Hood lock control cable
|
E
|
Fender liner
|
B
|
Clamp
|
F
|
Hood stopper rubber
|
C
|
Hood cable grommet
|
G
|
Front washer hose
|
D
|
Wire harness
|
H
|
Rear washer hose
|
Pass the cable through the upper radiator support.
Connect the clamps as shown in the illustration.
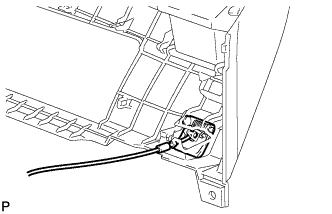
- Connect the hood lock control cable to the hood lock control lever.
| 2.
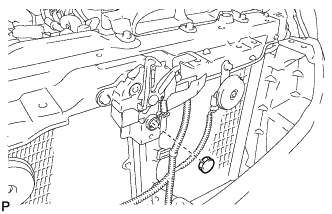
INSTALL HOOD LOCK ASSEMBLY (w/o Engine Hood Courtesy Switch) |
|
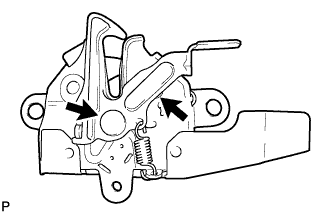
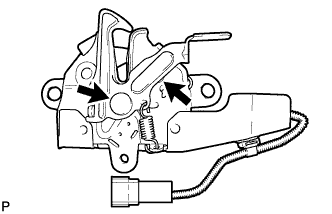
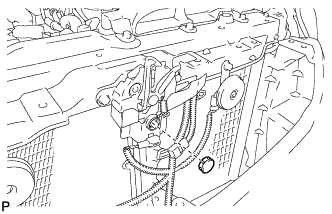
- Apply MP grease to the sliding areas of the lock.
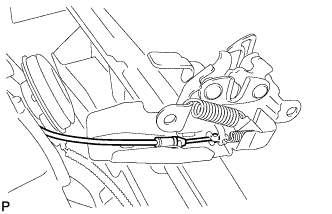
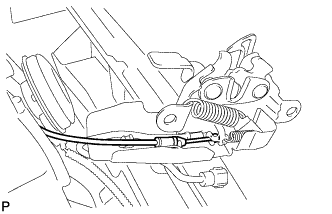
- Connect the hood lock control cable.
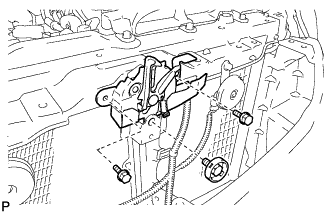
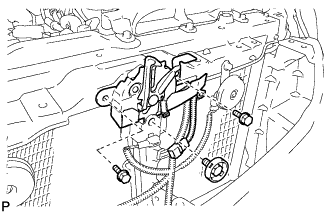
- Install the hood lock assembly with the 3 bolts.
-
Torque:
- 8.0 N*m{
82 kgf*cm
, 71 in.*lbf
}
- Install the hood lock nut cap.
| 3.
INSTALL HOOD LOCK ASSEMBLY (w/ Engine Hood Courtesy Switch) |
|
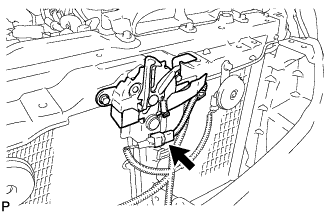
- Apply MP grease to the sliding areas of the lock.
- Connect the hood lock control cable.
- Install the hood lock assembly with the 3 bolts.
-
Torque:
- 8.0 N*m{
82 kgf*cm
, 71 in.*lbf
}
- Install the hood lock nut cap.
- Connect the connector.
| 4.
INSPECT HOOD SUB-ASSEMBLY
|
|
Check that the clearance measurements of areas A through D are within each standard range.
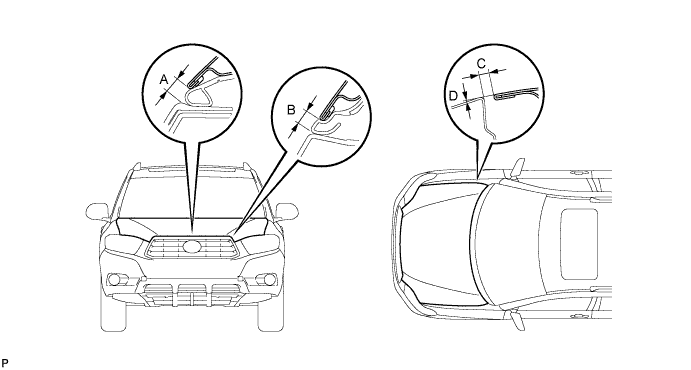
- Standard clearance:
Area
|
Measurement
|
Area
|
Measurement
|
A
|
6.2 to 10.2 mm (0.244 to 0.402 in.)
|
C
|
2.5 to 5.5 mm (0.098 to 0.217 in.)
|
B
|
5.9 to 9.9 mm (0.232 to 0.390 in.)
|
D
|
-1.5 to 1.5 mm (-0.059 to 0.059 in.)
|
| 5.
ADJUST HOOD SUB-ASSEMBLY
|
|
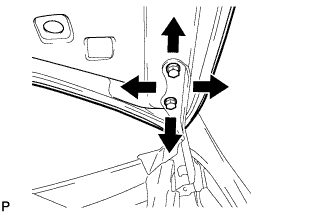
Horizontally and vertically adjust the hood.
- Loosen the 4 hinge bolts of the hood.
Adjust the clearance between the hood and front fender by moving the hood.
Tighten the 4 hinge bolts after the adjustment.
-
Torque:
- 13 N*m{
133 kgf*cm
, 10 ft.*lbf
}
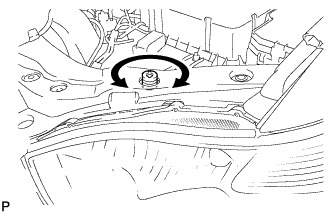
Adjust the height of the front end of the hood using the cushion rubber.
- Adjust the cushion rubbers so that the heights of the hood and fender are aligned.
- HINT:
- Raise or lower the front end of the hood by turning the cushion rubber.
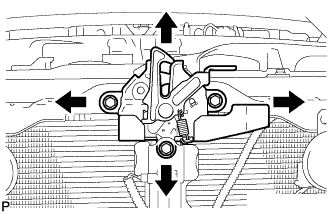
Adjust the hood lock.
- Remove the hood lock nut cap.
- Loosen the 3 bolts.
Tighten the bolts after the adjustment.
-
Torque:
- 8.0 N*m{
82 kgf*cm
, 71 in.*lbf
}
- Install the hood lock nut cap.
Check that the striker can engage with the hood lock smoothly.
| 6.
INSTALL RADIATOR GRILLE
|
|
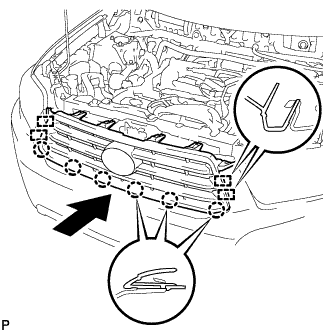
- Engage the 4 guides and 6 claws, and install the radiator grille.
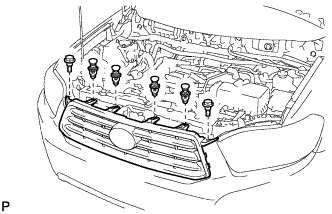
- Install the 4 clips and 2 bolts.
| 7.
INSTALL COOL AIR INTAKE DUCT SEAL
|
|
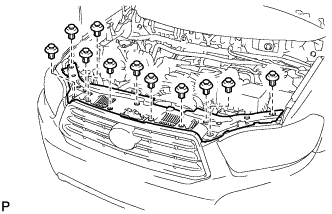
- Install the cool air intake duct seal with the 11 clips.
| 8.
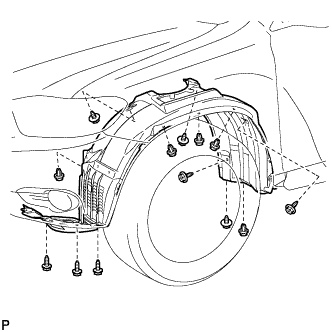
INSTALL FRONT FENDER LINER LH
|
|
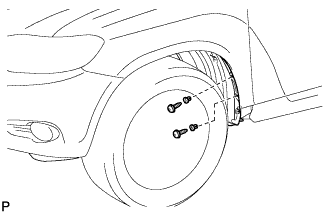
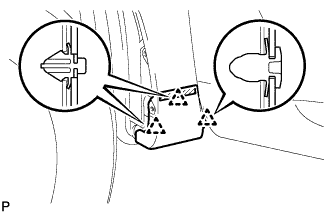
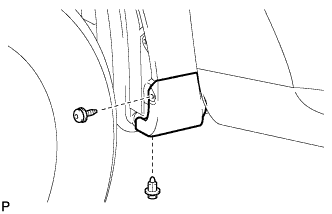
- Install the front fender liner LH with the 5 clips and 8 screws.
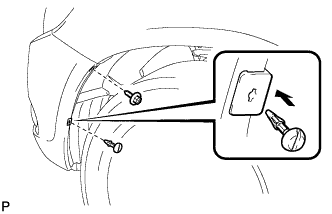
- Install 2 new grommets.
Using a 4 mm hexagon wrench, install the 2 screws.
- Install the screw and pin hold clip.
-
Torque:
- 3.0 N*m{
31 kgf*cm
, 27 in.*lbf
}
| 9.
INSTALL FRONT FENDER MOULDING SUB-ASSEMBLY LH
|
|
Clean the vehicle body surface.
Using a heat light, heat the vehicle body surface.
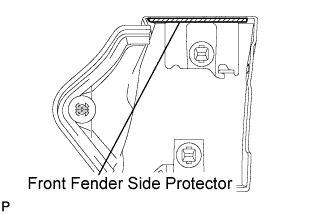
Remove the front fender side protector from the vehicle body.
Wipe off any tape adhesive residue with cleaner.
- Clean the front fender moulding sub-assembly. (If reusing the front fender moulding sub-assembly)
Using a heat light, heat the front fender moulding sub-assembly.
Remove the front fender side protector from the front fender moulding sub-assembly.
Wipe off any tape adhesive residue with cleaner.
Install a new front fender side protector to the the front fender moulding sub-assembly.
Install 2 new No. 4 clips on the front fender moulding sub-assembly.
Install a new pad on the front fender moulding sub-assembly.
- Install the front fender moulding sub-assembly.
Using a heat light, heat the vehicle body and the front fender moulding sub-assembly.
Remove the release paper from the front fender moulding sub-assembly.
- HINT:
- After removing the release paper, keep the exposed adhesive free from foreign matter.
Engage the 3 clips and install the front fender moulding sub-assembly.
- Using a 4 mm hexagon wrench, install the screw.
Install the clip.
| 10.
INSTALL NO. 1 ENGINE UNDER COVER
|
|
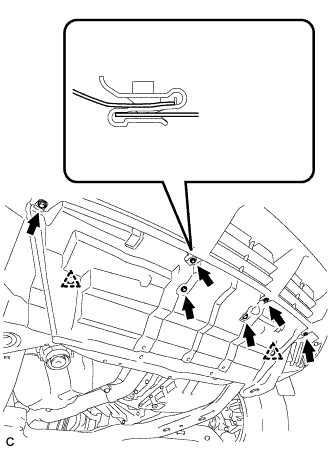
- Install the No. 1 engine under cover with the 6 bolts and 2 clips.
| 11.
INSTALL ENGINE UNDER COVER ASSEMBLY
|
|
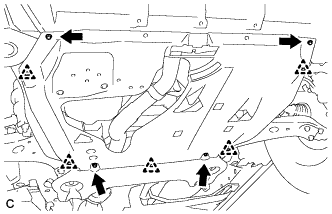
- Install the engine under cover assembly with the 2 bolts, 2 screws and 5 clips.
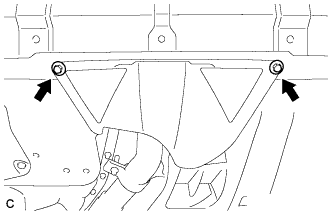
- Install the engine under cover assembly RR with the 2 bolts.