INSTALLATION
Removal / installation · Vehicles built Aug 2012 – Jul 2013
Versions by build date: Jun 2011 – Jul 2012 Aug 2012 – Jul 2013 from Aug 2013
| 1.
INSTALL PARKING BRAKE LEVER SUB-ASSEMBLY |
 |
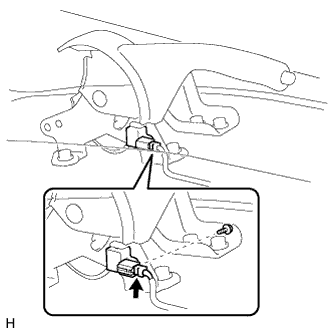
- Install the parking brake switch to the lever with the screw.
Connect the parking brake switch connector.
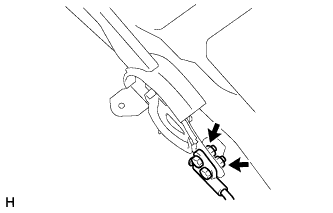
- Connect the cable to the lever with the 2 bolts and 2 nuts.
-
Torque:
- 15 N*m{
148 kgf*cm
, 11 ft.*lbf
}
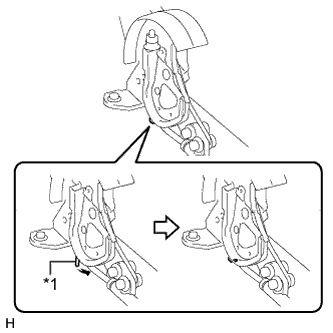
- Return the claw to its original position.
Text in Illustration
*1
|
Claw
|
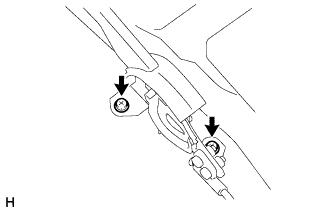
- Install the lever with the 2 bolts.
-
Torque:
- 13 N*m{
127 kgf*cm
, 9 ft.*lbf
}
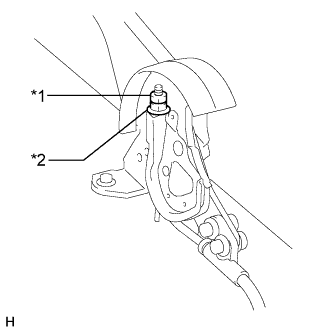
- Install the No. 1 parking brake cable adjusting nut and lock nut.
Text in Illustration
*1
|
Lock Nut
|
*2
|
No. 1 Parking Brake Cable Adjusting Nut
|
-
Torque:
- 5.2 N*m{
53 kgf*cm
, 46 in.*lbf
}
| 2.
ADJUST PARKING BRAKE |
|
(Click here)
| 3.
INSTALL PARKING BRAKE LEVER COVER |
|
| 4.
INSTALL CONSOLE BOX ASSEMBLY |
|
(Click here)
| 5.
CONNECT CABLE TO NEGATIVE BATTERY TERMINAL |
|
- NOTICE:
- When disconnecting the cable, some systems need to be initialized after the cable is reconnected (Click here).