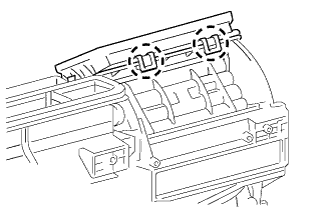
AIR CONDITIONING UNIT > REMOVAL |
| 1. RECOVER REFRIGERANT FROM REFRIGERATION SYSTEM |
Start the engine.
Operate the cooler compressor under the conditions shown below:
| Item | Condition |
| Engine Speed | Idling |
| Operating Time | 3 minutes or more |
| A/C Switch Status | On |
| Blower Switch Status | HI |
| Set Temperature | MAX COOL |
Stop the engine.
Recover the refrigerant from the A/C system using a refrigerant recovery unit.
| 2. PRECAUTION |
| 3. DISCONNECT CABLE FROM NEGATIVE BATTERY TERMINAL |
| 4. DRAIN ENGINE COOLANT |
for 1GR-FE:
for 2TR-FE:
for 2TR-FBE:
for 1KD-FTV:
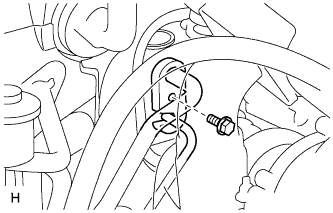
| 5. DISCONNECT SUCTION HOSE SUB-ASSEMBLY |
![]() |
Remove the bolt and disconnect the suction hose sub-assembly.
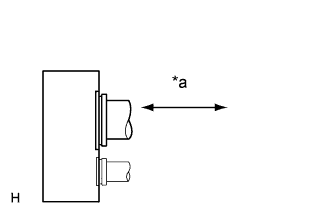
![]() |
| *a | Disconnect tube by hand |
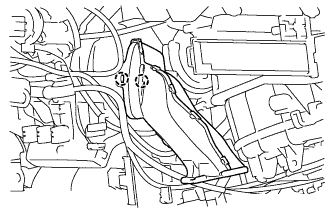
Remove the O-ring from the suction hose sub-assembly.
| 6. DISCONNECT AIR CONDITIONING TUBE AND ACCESSORY ASSEMBLY |
Disconnect the air conditioning tube and accessory assembly.
Remove the O-ring from the air conditioning tube and accessory assembly.
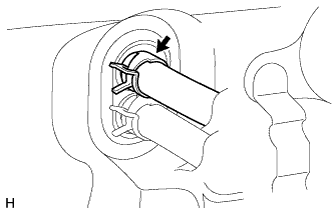
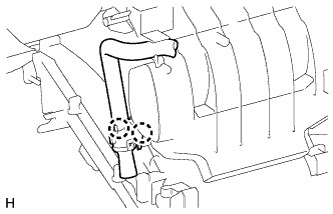
| 7. DISCONNECT HEATER WATER INLET HOSE |
![]() |
Using pliers, grip the claws of the clip and slide the clip to disconnect the heater water inlet hose.
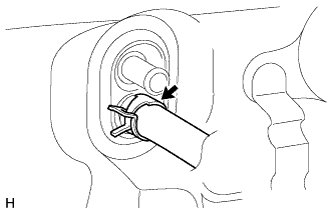
| 8. DISCONNECT HEATER WATER OUTLET HOSE |
![]() |
Using pliers, grip the claws of the clip and slide the clip to disconnect the heater water outlet hose.
| 9. REMOVE UPPER INSTRUMENT PANEL SUB-ASSEMBLY |
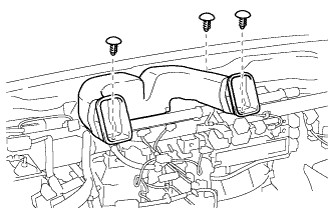
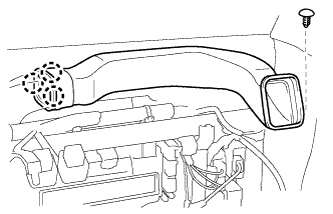
| 10. REMOVE NO. 2 HEATER TO REGISTER DUCT |
![]() |
Remove the 3 clips and No. 2 heater to register duct.
| 11. REMOVE NO. 1 HEATER TO REGISTER DUCT |
![]() |
Remove the clip.
Detach the 3 claws and remove the No. 1 heater to register duct.
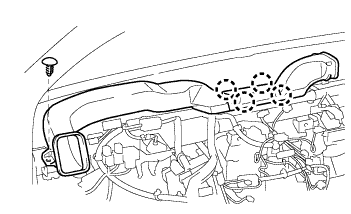
| 12. REMOVE NO. 3 HEATER TO REGISTER DUCT |
![]() |
Remove the clip.
Detach the 4 claws and remove the No. 3 heater to register duct.
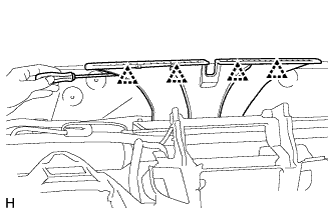
| 13. REMOVE DEFROSTER NOZZLE ASSEMBLY |
![]() |
Using a screwdriver, detach the 4 clips and remove the defroster nozzle assembly.
| 14. REMOVE LOWER INSTRUMENT PANEL SUB-ASSEMBLY |
| 15. REMOVE STEERING COLUMN ASSEMBLY |
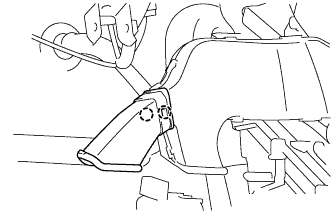
| 16. REMOVE NO. 1 AIR DUCT |
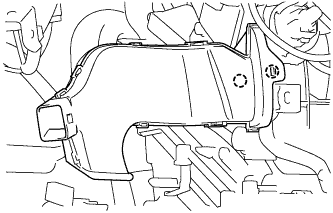
![]() |
Detach the 2 claws and remove the No. 1 air duct.
| 17. REMOVE NO. 2 AIR DUCT |
![]() |
Detach the 2 claws and remove the No. 2 air duct.
| 18. REMOVE NO. 4 AIR DUCT |
![]() |
Detach the 2 claws and remove the No. 4 air duct.
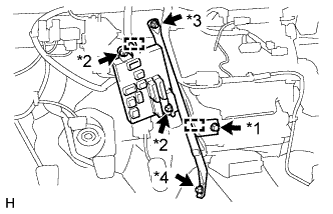
| 19. REMOVE NO. 1 INSTRUMENT PANEL BRACE SUB-ASSEMBLY |
![]() |
Detach the 2 clamps and remove the 2 nuts labeled A.
Disconnect the connectors and remove the driver side junction block.
Remove the screw.
Remove the bolt, nut labeled B and No. 1 instrument panel brace sub-assembly.
| *1 | Screw |
| *2 | Nut A |
| *3 | Nut B |
| *4 | Bolt |
| 20. REMOVE AIR CONDITIONING DUCT SUB-ASSEMBLY (for Automatic Air Conditioning System) |
![]() |
Detach the 2 claws and remove the air conditioning duct sub-assembly.
| 21. REMOVE ECM |
for 1GR-FE:
(Click here)
for 2TR-FE:
(Click here)
for 2TR-FBE:
(Click here)
for 1KD-FTV, w/o Glow Plug Controller:
(Click here)
for 1KD-FTV, w/ Glow Plug Controller:
(Click here)
| 22. REMOVE INSTRUMENT PANEL REINFORCEMENT |
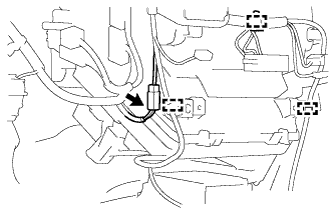
![]() |
Disconnect the connector and detach the 3 clamps.
![]() |
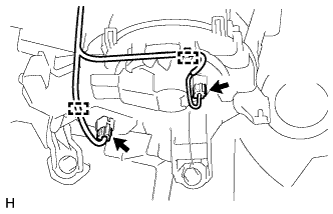
Detach the 2 clamps and disconnect the 2 connectors.
![]() |
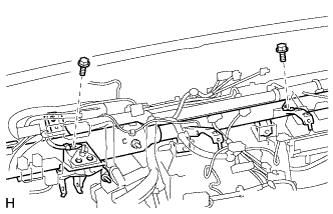
Remove the 2 bolts and disconnect the ground wires from the instrument panel reinforcement.
![]() |
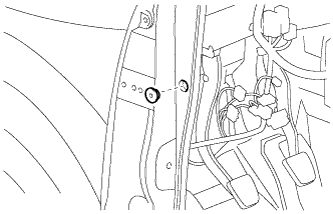
Remove the grommet from the vehicle body.
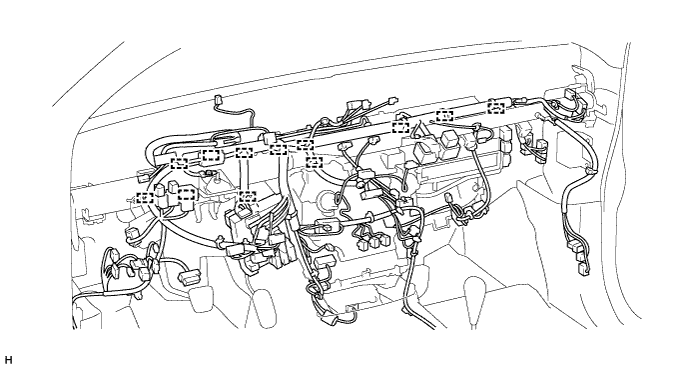
Detach the 12 clamps.

Disconnect the connectors.
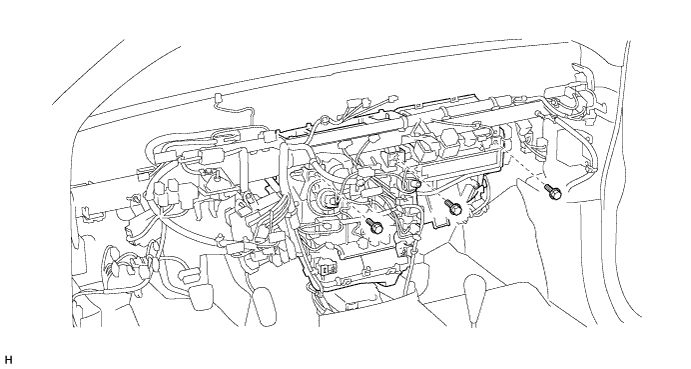
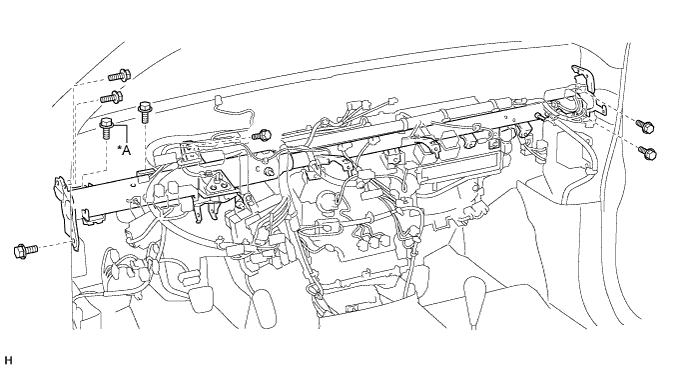
Remove the 3 bolts.

for Automatic Transmission:
Remove the 7 bolts and instrument panel reinforcement.
for Manual Transmission:
Remove the 8 bolts and instrument panel reinforcement.

| *A | for Manual Transmission | - | - |
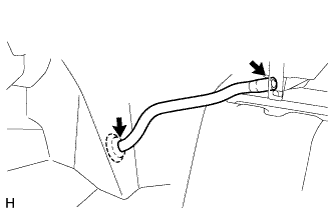
| 23. REMOVE NO. 1 COOLER UNIT DRAIN HOSE |
![]() |
Remove the No. 1 cooler unit drain hose.
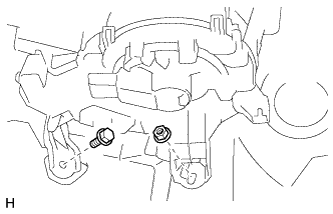
| 24. REMOVE AIR CONDITIONING UNIT ASSEMBLY |
![]() |
Remove the bolt, nut and air conditioning unit assembly.
| 25. REMOVE NO. 3 AIR DUCT |
![]() |
Detach the 2 claws and remove the No. 3 air duct.