VF2CM TRANSFER / 4WD / AWD TRANSFER ASSEMBLY REMOVAL
CAUTION / NOTICE / HINT
- CAUTION:
- ·
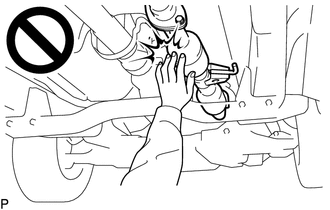
To prevent burns, do not touch the engine, exhaust pipe or other high temperature components while the engine is hot.
·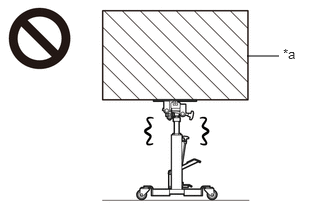 2.573,0.583 2.906,0.583 false 2.948,0.479 3.26,0.677 0.313,0.198 10 false *a
*a Object Exceeding Weight Limit of Transmission Jack
Be sure to perform this procedure with several people as the transfer assembly is very heavy.
·Be sure to follow the procedure described in the repair manual, or the transmission jack may suddenly drop or a part may fall.
- NOTICE:
-
Change the vehicle to H2 before removing the transfer assembly.
-
If the vehicle cannot be changed to H2, since the new transfer assembly is set to H2, connect all the connectors to the vehicle side wire harnesses to set the new transfer assembly to the drive state of the vehicle before installing the new transfer assembly.
PROCEDURE

 1.DRAIN TRANSFER OIL
37140
2.REMOVE FRONT PROPELLER SHAFT ASSEMBLY
for TSAM Made:
Click hereDrivetrain>DRIVE SHAFT / PROPELLER SHAFT>FRONT PROPELLER SHAFT ASSEMBLY(for TSAM Made)>REMOVAL
except TSAM Made:
Click hereDrivetrain>DRIVE SHAFT / PROPELLER SHAFT>FRONT PROPELLER SHAFT ASSEMBLY(except TSAM Made)>REMOVAL
37100
3.REMOVE PROPELLER WITH CENTER BEARING SHAFT ASSEMBLY
for TSAM Made:
Click hereDrivetrain>DRIVE SHAFT / PROPELLER SHAFT>PROPELLER SHAFT ASSEMBLY(for TSAM Made)>REMOVAL
for TMT Made:
Click hereDrivetrain>DRIVE SHAFT / PROPELLER SHAFT>PROPELLER SHAFT ASSEMBLY(for TMT Made)>REMOVAL
for TMMIN Made:
Click hereDrivetrain>DRIVE SHAFT / PROPELLER SHAFT>PROPELLER SHAFT ASSEMBLY(for TMMIN Made)>REMOVAL
for TMEE (AAV) Made:
Click hereDrivetrain>DRIVE SHAFT / PROPELLER SHAFT>PROPELLER SHAFT ASSEMBLY(for TMEE (AAV) Made)>REMOVAL
4.SUPPORT TRANSMISSION ASSEMBLY
for AC60F:
with 1GD-FTV, 2GD-FTV:
51204
5.REMOVE NO. 3 FRAME CROSSMEMBER SUB-ASSEMBLY
for AC60F:
with 1GD-FTV, 2GD-FTV:
12371A
6.REMOVE REAR ENGINE MOUNTING INSULATOR
for AC60F:
with 1GD-FTV, 2GD-FTV:
82284
7.DISCONNECT GROUND WIRE
for AC60F:
with 1GD-FTV, 2GD-FTV:
36100
8.SUPPORT TRANSFER ASSEMBLY
Tilt the transmission assembly until the transfer assembly can be removed.
- NOTICE:
-
Do not damage the wire harness, pipe or surrounding parts.
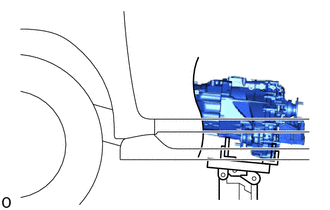
Support the transfer assembly with a transmission jack.
- NOTICE:
-
Secure the transfer assembly to the transmission jack using a belt, etc. to prevent it from falling.
9.DISCONNECT WIRE HARNESS
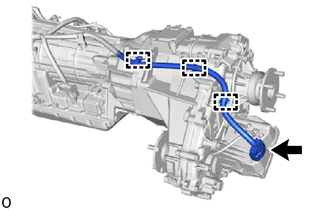
for A750F:
Disconnect the connector and detach the 3 clamps.
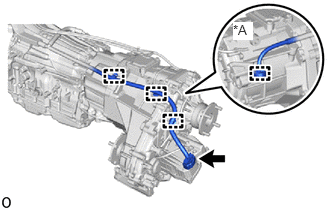
| *A | for 2TR-FE |
for AC60F:
for 1GR-FE, 1GD-FTV, 2GD-FTV:
Disconnect the connector and detach the 3 clamps.
for 2TR-FE:
Disconnect the connector and detach the 4 clamps.
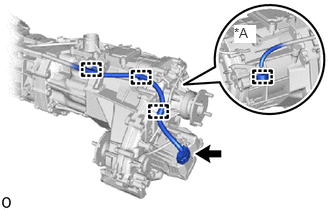
| *A | for 2TR-FE |
for R151F:
for 2TR-FE:
Disconnect the connector and detach the 4 clamps.
for 5L-E:
Disconnect the connector and detach the 3 clamps.
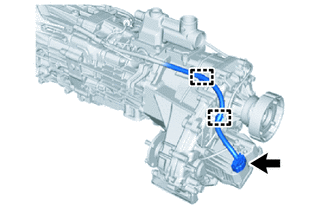
for RC61F:
Disconnect the connector and detach the 2 clamps.
36407
10.DISCONNECT TRANSFER BREATHER HOSE SUB-ASSEMBLY
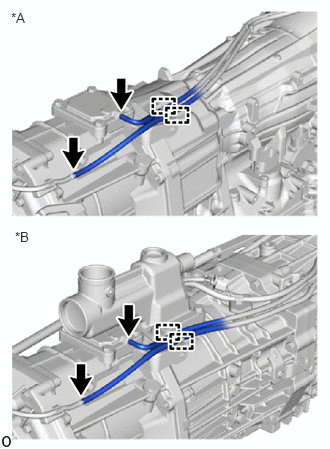
| *A | for Automatic Transmission |
| *B | for Manual Transmission |
Disconnect the 2 transfer breather hose sub-assemblies and detach the 2 clamps.
36100
11.REMOVE TRANSFER ASSEMBLY
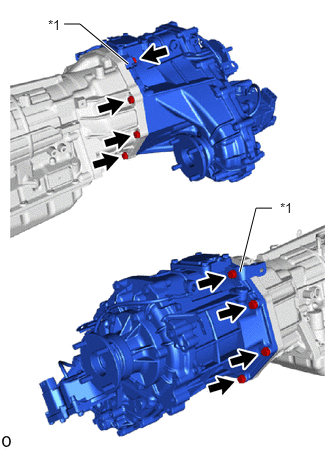
| *1 | Clamp |
for A750F:
Remove the 8 bolts and 2 clamps.
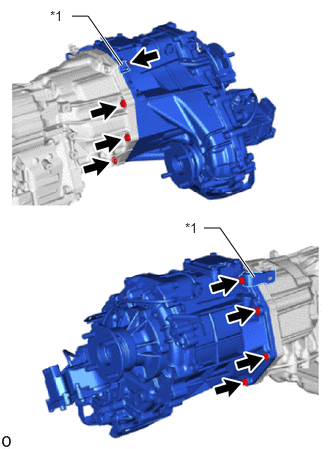
| *1 | Clamp |
for AC60F:
Remove the 8 bolts and 2 clamps.
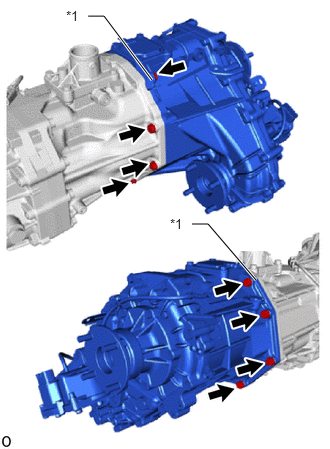
| *1 | Clamp |
for R151F:
Remove the 8 bolts and 2 clamps.
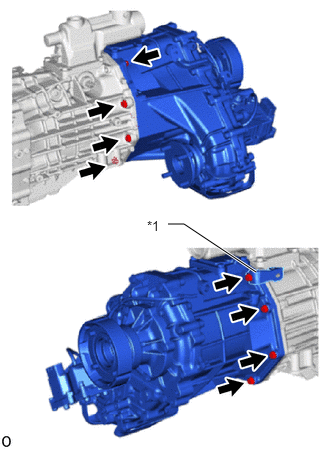
| *1 | Clamp |
for RC61F:
Remove the 8 bolts and clamp.
Remove the transfer assembly from the transmission assembly.
- NOTICE:
-
Do not damage the lip of the transfer adaptor oil seal.
36179
12.REMOVE TRANSFER CASE LOWER PROTECTOR
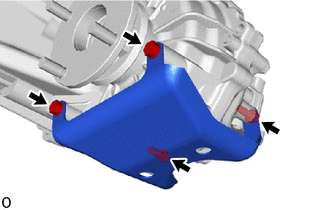
Remove the 4 bolts and transfer case lower protector.