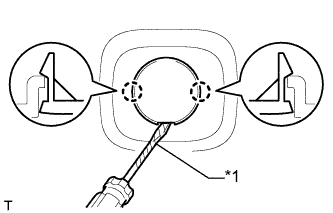
Use the same procedure for the other tonneau cover holder cap.
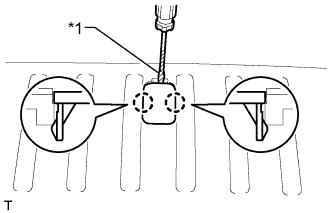
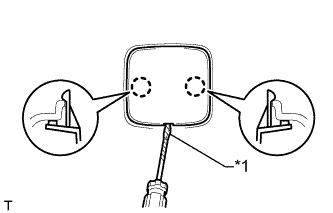
Using a screwdriver, detach the 2 claws and remove the tonneau cover holder cap.
HINT:
Tape the screwdriver tip before use.
Text in Illustration
*1
Protective tape
11.
REMOVE FRONT DECK SIDE TRIM COVER (w/ Tonneau Cover)
HINT:
Use the same procedure for the other front deck side trim cover.
Using a screwdriver, detach the 2 claws and remove the front deck side trim cover.
HINT:
Tape the screwdriver tip before use.
Text in Illustration
*1
Protective tape
12.
REMOVE QUARTER TRIM POCKET TRAY
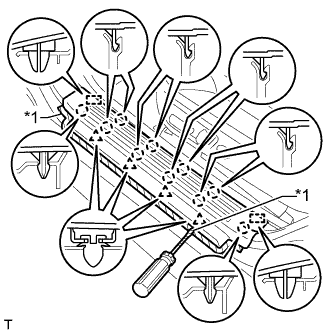
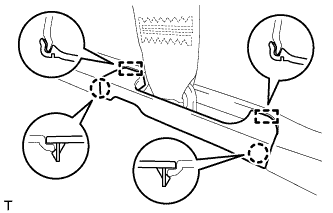
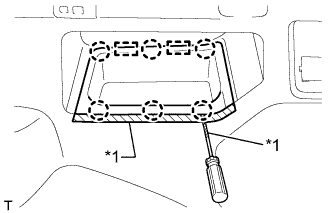
Put protective tape around the quarter trim pocket tray.
Using a screwdriver, detach the 6 claws and 2 guides, and remove the quarter trim pocket tray.
HINT:
Tape the screwdriver tip before use.
Text in Illustration
*1
Protective tape
13.
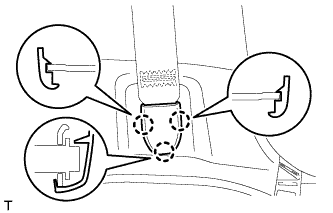
REMOVE OUTER LAP BELT ANCHOR COVER
HINT:
Use the same procedure for the other outer lap belt anchor cover.
Detach the 3 claws and remove the outer lap belt anchor cover.
14.
REMOVE DECK TRIM SIDE PANEL ASSEMBLY LH
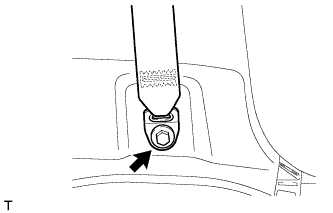
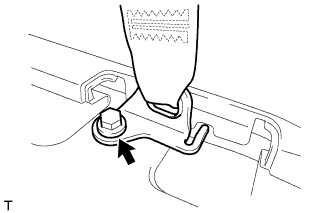
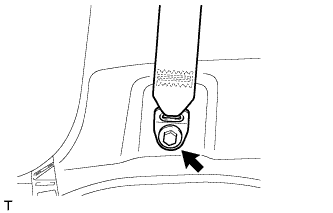
Remove the bolt and disconnect the front seat outer belt floor anchor.
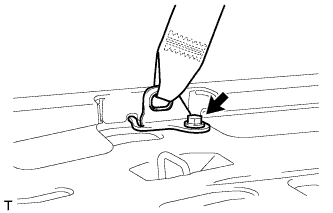
Remove the bolt and disconnect the rear No. 1 seat outer belt floor anchor.
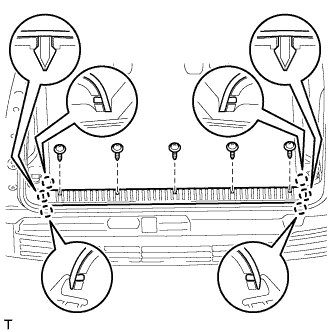
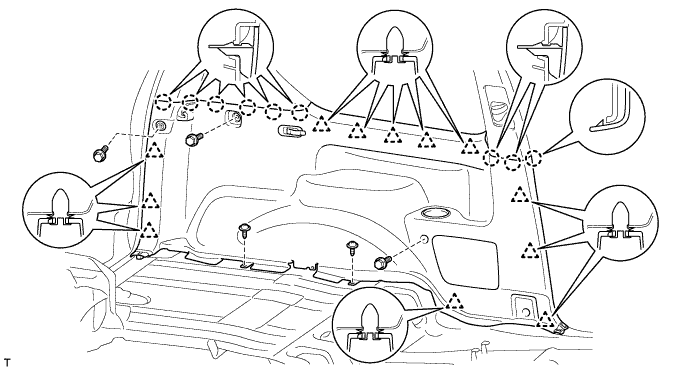
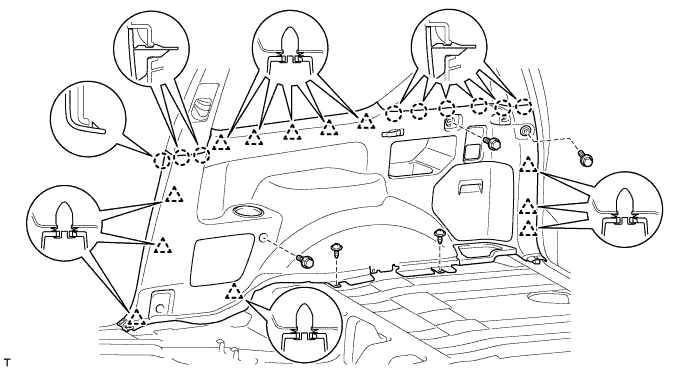
Remove the 3 bolts and 2 screws.
Detach the 9 claws and 12 clips and remove the deck trim side panel.
15.
REMOVE REAR QUARTER TRIM PANEL ASSEMBLY LH
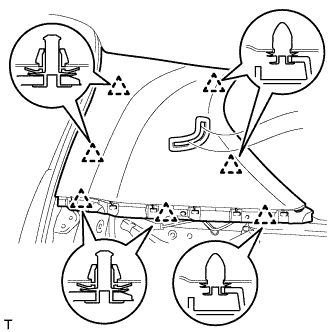
Detach the 7 clips.
Detach the 4 claws and 2 guides, pass the rear No. 1 seat belt floor anchor through the rear quarter trim panel and remove the rear quarter trim panel.
16.
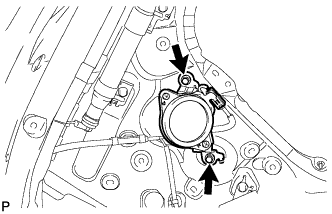
REMOVE REAR HEADER SPEAKER ASSEMBLY
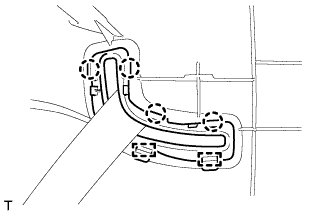
Disconnect the connector.
Remove the 2 bolts and rear header speaker assembly.
17.
REMOVE DOOR SCUFF PLATE ASSEMBLY RH
HINT:
Use the same procedure described for the LH side.
18.
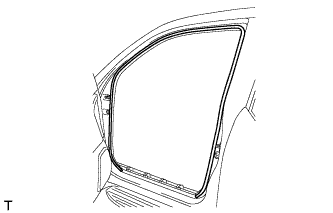
REMOVE FRONT DOOR OPENING TRIM WEATHERSTRIP RH
HINT:
Use the same procedure described for the LH side.
19.
REMOVE QUARTER TRIM COVER HOLE RH
HINT:
Use the same procedure described for the LH side.
20.
REMOVE OUTER LAP BELT ANCHOR COVER
HINT:
Use the same procedure for the other outer lap belt anchor cover.
Detach the 3 claws and remove the outer lap belt anchor cover.
21.
REMOVE DECK TRIM SIDE PANEL ASSEMBLY RH
Remove the bolt and disconnect the front seat outer belt floor anchor.
Remove the bolt and disconnect the rear No. 1 seat outer belt floor anchor.
Remove the 3 bolts and 2 screws.
Detach the 9 claws and 12 clips.
Disconnect the connector and remove the deck trim side panel.
22.
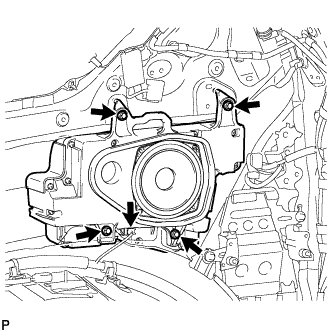
REMOVE NO. 1 SPEAKER WITH BOX ASSEMBLY
Disconnect the connector.
Remove the 4 bolts and No. 1 speaker with box assembly.