HEATING / AIR CONDITIONING AIR CONDITIONING SYSTEM(for Automatic Air Conditioning System) B14A2 Driver Side Solar Sensor Short Circuit
DESCRIPTION
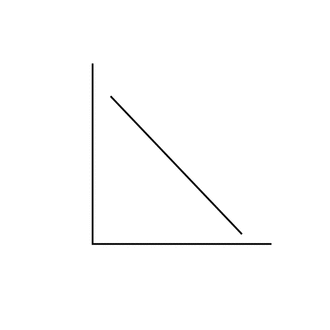
The automatic light control sensor is installed on the upper side of the instrument panel. It detects sunlight to control air conditioning AUTO mode. The output voltage from the automatic light control sensor varies in accordance with the amount of sunlight. When the sunlight increases, the output voltage increases. As the sunlight decreases, the output voltage decreases. The air conditioning amplifier assembly detects changes in the output voltage from the automatic light control sensor.
| DTC No. | Detection Item | DTC Detection Condition | Trouble Area | Memory | Note |
|---|---|---|---|---|---|
| B14A2 | Driver Side Solar Sensor Short Circuit | Short in driver side automatic light control sensor circuit | ·
Automatic light control sensor ·
Harness or connector ·
Main body ECU (multiplex network body ECU) ·
Air conditioning amplifier assembly |
Memorized (4 seconds or more) | - |
- HINT:
-
The air conditioning amplifier assembly stores the DTC of the respective malfunction if it has occurred for the period of time indicated in the brackets.
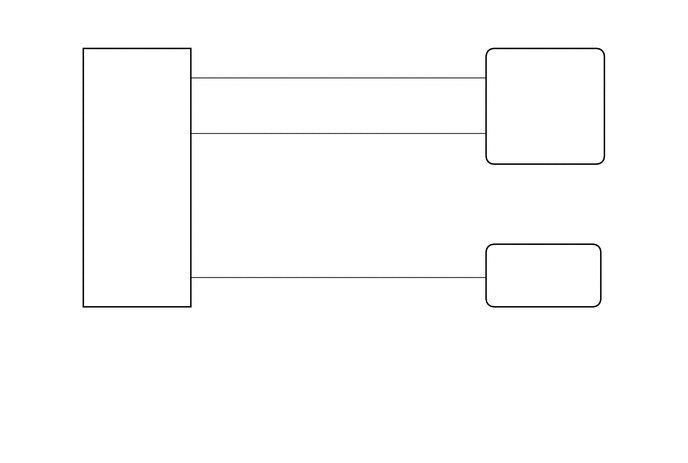
WIRING DIAGRAM
CAUTION / NOTICE / HINT
- NOTICE:
-
When the battery is disconnected or the air conditioning amplifier assembly is replaced, be sure to perform servo motor initialization.
PROCEDURE
Connect the Techstream to the DLC3.
Turn the ignition switch to ON.
Turn the Techstream on.
Enter the following menus: Body Electrical / Air Conditioner / Data List.
Check the value(s) by referring to the table below.
- Body Electrical > Air Conditioner > Data List
-
Tester Display Measurement Item Range Normal Condition Diagnostic Note Solar Sensor (D Side) Driver side automatic light control sensor Min.: 0
Max.: 255Driver side automatic light control sensor value increases as brightness increases -
- Body Electrical > Air Conditioner > Data List
-
Tester Display Solar Sensor (D Side) - 50003 121 4
- OK:
The display is as specified in the Normal Condition column.
- Result:
Result Proceed to OK (When troubleshooting according to Problem Symptoms Table) A OK (When troubleshooting according to the DTC) B NG C
A
B
C
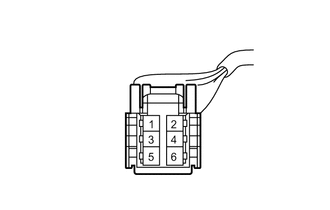
| *a | Front view of wire harness connector
(to Automatic Light Control Sensor) |
Disconnect the automatic light control sensor connector.
Measure the voltage according to the value(s) in the table below.
- Standard Voltage:
Tester Connection Switch Condition Specified Condition G2-6 (CLTB) - G2-3 (CLTE) Ignition switch off Below 1 V G2-6 (CLTB) - G2-3 (CLTE) Ignition switch ON 11 to 14 V
- Result:
Proceed to OK NG
OK
NG
Disconnect the G81 air conditioning amplifier assembly connector.
Disconnect the G2 automatic light control sensor connector.
Measure the resistance according to the value(s) in the table below.
- Standard Resistance:
Tester Connection Condition Specified Condition G81-33 (TSD) - G2-1 (TSL) Always Below 1 Ω G81-33 (TSD) - Body ground Always 10 kΩ or higher
- Result:
Proceed to OK NG
OK
NG
Remove the automatic light control sensor with the connectors still connected.
Click hereVehicle Exterior>LIGHTING (EXT)>AUTOMATIC LIGHT CONTROL SENSOR>REMOVAL
Inspect the automatic light control sensor.
Click hereVehicle Exterior>LIGHTING (EXT)>AUTOMATIC LIGHT CONTROL SENSOR>ON-VEHICLE INSPECTION
- Result:
Proceed to OK NG
OK
NG
Disconnect the G78 main body ECU (multiplex network body ECU) connector.
Disconnect the G2 automatic light control sensor connector.
Measure the resistance according to the value(s) in the table below.
- Standard Resistance:
Tester Connection Condition Specified Condition G78-20 (CLTB) - G2-6 (CLTB) Always Below 1 Ω G78-22 (CLTE) - G2-3 (CLTE) Always Below 1 Ω G78-20 (CLTB) - Body ground Always 10 kΩ or higher G78-22 (CLTE) - Body ground Always 10 kΩ or higher
- Result:
Proceed to OK NG
OK
NG