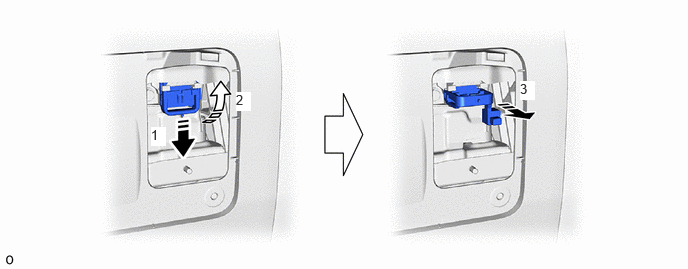
HYBRID / BATTERY CONTROL SERVICE PLUG GRIP REMOVAL
CAUTION / NOTICE / HINT
The necessary procedures (adjustment, calibration, initialization, or registration) that must be performed after parts are removed and installed, or replaced during service plug grip removal/installation are shown below.
| Replaced Part or Performed Procedure | Necessary Procedures | Effect/Inoperative Function when Necessary Procedure not Performed | Link |
|---|---|---|---|
|
*: When performing learning using the GTS. Click here( |
|||
| Auxiliary battery terminal is disconnected/reconnected | Perform steering sensor zero point calibration | Lane control system | ( ) |
| Parking support brake system* | |||
| Pre-collision system | |||
| Memorize steering angle neutral point | Parking assist monitor system | ()
|
|
| Panoramic view monitor system | ()
|
||
| Reset back door close position | Power back door system | ()
|
|
| Power back door initialization | Power door lock control system | ()
|
|
- CAUTION:
- ·
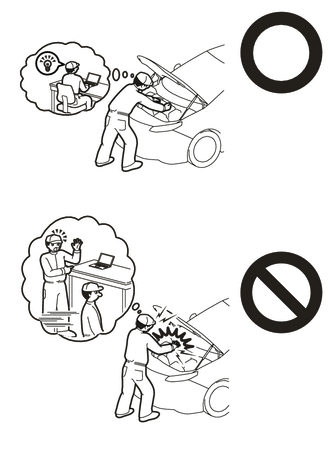
Orange wire harnesses and connectors indicate high-voltage circuits. To prevent electric shock, always follow the procedure described in the repair manual.
-
·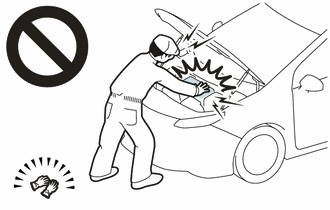
To prevent electric shock, wear insulated gloves when working on wire harnesses and components of the high voltage system.
- NOTICE:
-
After the power switch is turned off, the navigation system requires approximately a minute to record various types of memory and settings. As a result, after turning the power switch off, wait a minute or more before disconnecting the cable from the negative (-) auxiliary battery terminal.
PROCEDURE

 1.CHECK FOR DTC
Check for DTCs.
- CAUTION:
- ·
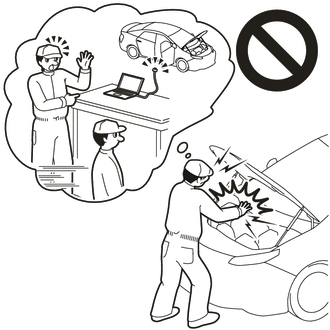
Confirm that DTC P0AA649 (Hybrid / EV Battery Voltage System Isolation Internal Electronic Failure), P1C7C49 (Hybrid / EV Battery Voltage System Isolation (A/C Area) Internal Electronic Failure), P1C7D49 (Hybrid / EV Battery Voltage System Isolation (Hybrid/EV Battery Area) Internal Electronic Failure), P1C7E49 (Hybrid / EV Battery Voltage System Isolation (Transaxle Area) Internal Electronic Failure) or P1C7F49 (Hybrid / EV Battery Voltage System Isolation (Direct Current Area) Internal Electronic Failure), P1C8049 (Hybrid/EV Battery Voltage System Isolation (Rear Motor Area) Internal Electronic Failure, for 4WD/AWD) is not output before removing or installing the HV battery. If this DTC is output, perform troubleshooting for this DTC first.
·To reduce the risk of electric shock, do not perform troubleshooting before checking for DTCs.
2. PRECAUTION
- NOTICE:
-
After turning the power switch off, waiting time may be required before disconnecting the cable from the negative (-) auxiliary battery terminal. Therefore, make sure to read the disconnecting the cable from the negative (-) auxiliary battery terminal notices before proceeding with work.
58410B
3.REMOVE DECK BOARD ASSEMBLY
for A25A-FXS:
Click hereGeneral>MAINTENANCE>A25A-FXS AUXILIARY BATTERY>REMOVAL
for A25B-FXS:
Click hereGeneral>MAINTENANCE>A25B-FXS AUXILIARY BATTERY>REMOVAL
58416K
4.REMOVE REAR NO. 2 FLOOR BOARD
for A25A-FXS:
Click hereGeneral>MAINTENANCE>A25A-FXS AUXILIARY BATTERY>REMOVAL
for A25B-FXS:
Click hereGeneral>MAINTENANCE>A25B-FXS AUXILIARY BATTERY>REMOVAL
65351A
5.REMOVE BATTERY HOLE COVER
for A25A-FXS:
Click hereGeneral>MAINTENANCE>A25A-FXS AUXILIARY BATTERY>REMOVAL
for A25B-FXS:
Click hereGeneral>MAINTENANCE>A25B-FXS AUXILIARY BATTERY>REMOVAL
6.DISCONNECT CABLE FROM NEGATIVE AUXILIARY BATTERY TERMINAL
for A25A-FXS:
Click hereGeneral>MAINTENANCE>A25A-FXS AUXILIARY BATTERY>REMOVAL
for A25B-FXS:
Click hereGeneral>MAINTENANCE>A25B-FXS AUXILIARY BATTERY>REMOVAL
58441J
7.REMOVE BATTERY SERVICE HOLE COVER
G3834
8.REMOVE SERVICE PLUG GRIP
- CAUTION:
- ·
Be sure to wear insulated gloves.
·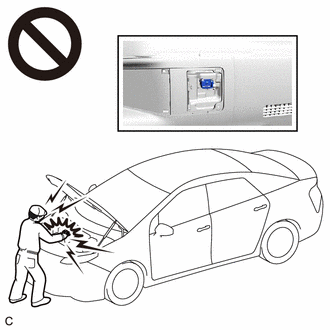
Do not inspect or service the high voltage system with the service plug grip installed.
·To reduce the risk of electric shock, make sure to remove the service plug grip to cut off the high voltage circuit before servicing the vehicle.
·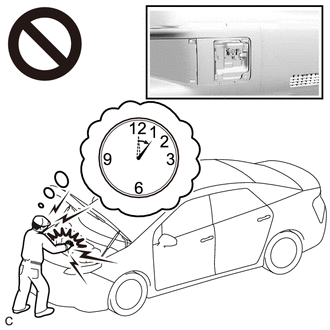
To reduce the risk of electric shock, make sure to wait at least 10 minutes after removing the service plug grip to fully discharge the high voltage capacitor inside the inverter with converter assembly.
·Keep the removed service plug grip in your pocket to prevent other technicians from accidentally installing it while you are servicing the vehicle.
- NOTICE:
- ·
After removing the service plug grip, turning the power switch on (READY) may cause a malfunction. Do not turn the power switch on (READY) unless instructed by the repair manual.
·Do not touch the terminals of the service plug grip.
·If the service plug grip has been struck or dropped, replace it.
- HINT:
-
Waiting for at least 10 minutes is required to discharge the high voltage capacitor inside the inverter with converter assembly.
While wearing insulated gloves, rotate the handle of the service plug grip and remove the service plug grip as indicated by the arrows, in the order shown in the illustration.