B48 ENGINE MECHANICAL BALANCESHAFT REMOVAL
PROCEDURE

 11321
1.REMOVE TIMING GEAR CASE
15100
2.REMOVE OIL PUMP ASSEMBLY
12121
3.REMOVE NO. 1 OIL PAN BAFFLE PLATE
13621
4.REMOVE NO. 1 BALANCE SHAFT
- HINT:
- ·
In the following operations, the engine is rotated by 180 degrees. The bottom points up.
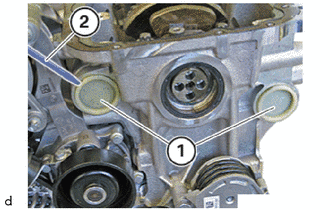
Remove both sealing caps (1) with a suitable tool (2).
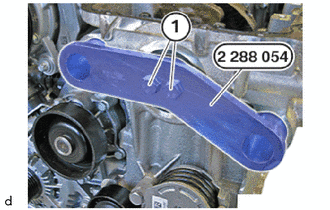
Rotate the crankshaft to the TDC of cylinder 1.
Install special tool 2 288 054 and apply the bolts (1) hand-tight.
- SST
- 09200-WA850
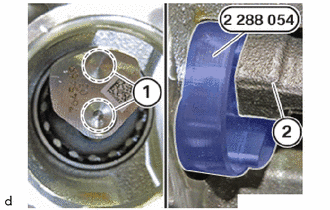
Make sure the special tool 2 288 054 is correctly fitted in the guides (1) of the No. 1 balanceshaft (2).
- SST
- 09200-WA850
- HINT:
-
The description is for one component only. The procedure is identical for all further components.
If necessary, turn the crankshaft slightly.
Tighten special tool 2 288 054.
- SST
- 09200-WA850
- Torque:
- 20 N*m (204 kgf*cm, 15 ft.*lbf)
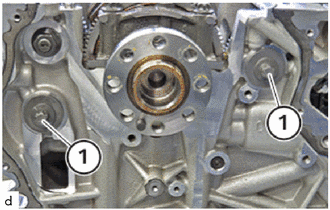
Loosen E14 bolts (1).
Loosen bolts (1).
Guide the special tool 2 288 054 out and remove.
- SST
- 09200-WA850
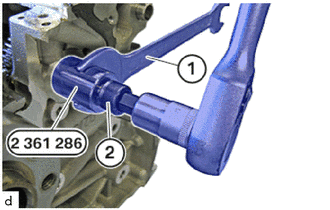
Screw the special tool 2 361 286 into the gear of the No. 1 balance shaft and use an open-end spanner (1) for counter support.
- SST
- 09200-WA460
- HINT:
- ·
The description is for one component only. The procedure is identical for all further components.
·The gears have been pressed onto the counterbalance shaft with a taper and they can exclusively be released using the special tool.
Screw the bolt (2) of the special tool 2 361 286 in to detach the counter balance shaft from the gear.
- SST
- 09200-WA460
- NOTICE:
- ·
Damage to the crankcase.
If the No. 1 balance shafts are removed or installed incorrectly, they could fall in the bearing positions.
-Remove and install the No. 1 balance shafts slowly and carefully.
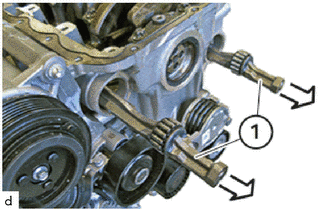
Carefully remove the No. 1 balance shafts (1) from the crankcase towards the front.
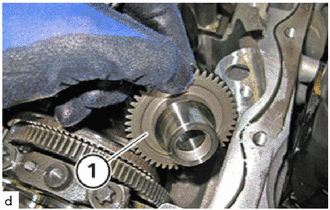
Remove the No. 1 balance shaft driven gear (1).
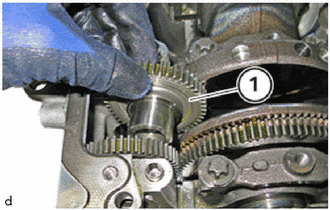
Remove the No. 1 balance shaft driven gear (1).
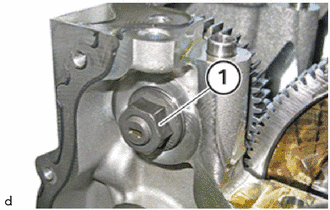
Unfasten nut (1).
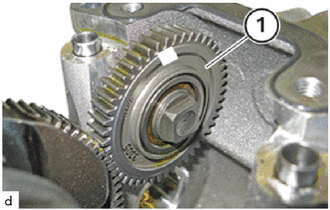
Remove the No. 2 balance shaft driven gear (1).