FRONT SEAT OUTER BELT ASSEMBLY (for CrewMax) > REMOVAL |
| 1. DISCONNECT CABLE FROM NEGATIVE BATTERY TERMINAL |
| 2. REMOVE FRONT SEAT ASSEMBLY |
for Manual Seat:
Remove the front seat (Click here).
for Power Seat:
Remove the front seat (Click here).
| 3. REMOVE FRONT DOOR SCUFF PLATE |
|
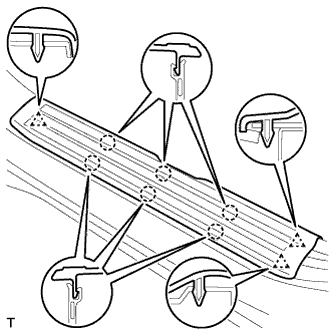
Detach the 6 claws and 3 clips, and remove the scuff plate.
| 4. REMOVE REAR DOOR SCUFF PLATE |
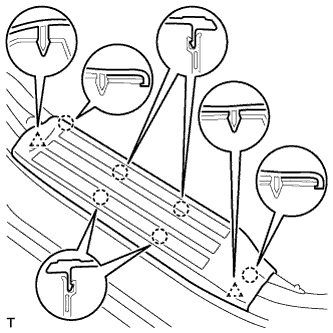 |
Detach the 6 claws and 2 clips, and remove the scuff plate.
| 5. REMOVE FRONT DOOR OPENING TRIM WEATHERSTRIP |
Partially remove the front door opening trim weatherstrip so that the center lower pillar garnish and center pillar garnish can be removed.
| 6. REMOVE LOWER CENTER PILLAR GARNISH |
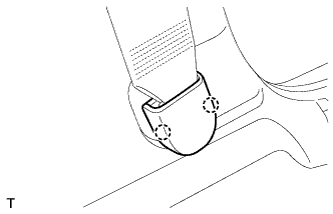 |
Detach the 2 claws and remove the cover.
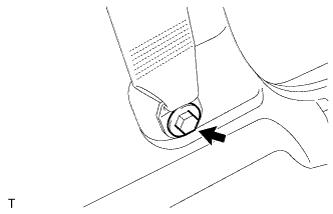 |
Remove the bolt and seat belt anchor.
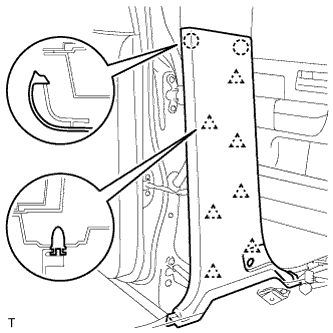 |
Detach the 7 clips and 2 claws, and remove the pillar garnish.
| 7. REMOVE CENTER PILLAR GARNISH |
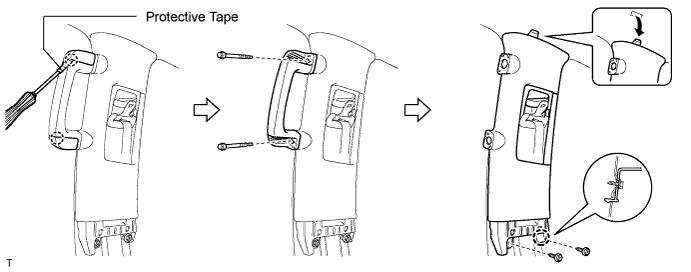
Using a screwdriver, detach the 2 claws and remove the 2 assist grip plugs.
Remove the 2 bolts and assist grip.
Remove the 2 screws.
Detach the claw.
Pass the front seat outer belt floor anchor through the center pillar garnish, and remove the center pillar garnish.
| 8. REMOVE FRONT SEAT OUTER BELT ASSEMBLY |
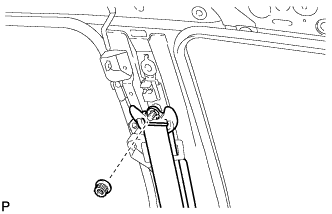 |
Remove the nut and shoulder anchor.
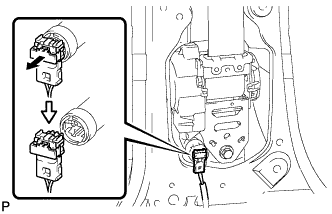 |
Disconnect the pretensioner connector as shown in the illustration.
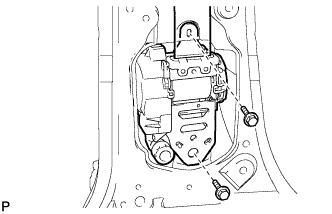 |
Remove the 2 bolts and seat belt.