 |
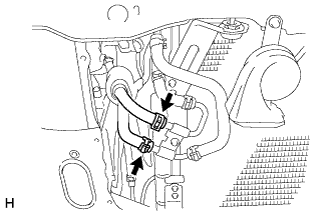
Using pliers, grip the claws of the clip and slide the clip.
CONDENSER > REMOVAL |
| 1. RECOVER REFRIGERANT FROM REFRIGERATION SYSTEM |
Start up the engine.
Turn the A/C switch ON.
Operate the cooler compressor with an engine speed of approximately 1000 rpm for 5 to 6 minutes to circulate the refrigerant and collect the compressor oil remaining in each component into the cooler compressor.
Stop the engine.
Recover the refrigerant from the A/C system using a refrigerant recovery unit.
| 2. PRECAUTION |
| 3. DISCONNECT CABLE FROM NEGATIVE BATTERY TERMINAL |
| 4. REMOVE FRONT BUMPER COVER |
for Steel Type Bumper:
Remove front bumper cover (Click here).
for Resin Type Bumper:
Remove front bumper cover (Click here).
| 5. DISCONNECT OIL COOLER HOSE (w/ Air Cooled Transmission Oil Cooler) |
|
Using pliers, grip the claws of the clip and slide the clip.
Disconnect the 2 oil cooler hoses.
| 6. REMOVE RADIATOR ASSEMBLY |
for 1GR-FE:
Remove the radiator (Click here).
for 1UR-FE:
Remove the radiator (Click here ).
for 3UR-FE:
Remove the radiator (Click here).
for 3UR-FBE:
Remove the radiator (Click here).
| 7. DISCONNECT DISCHARGE HOSE |
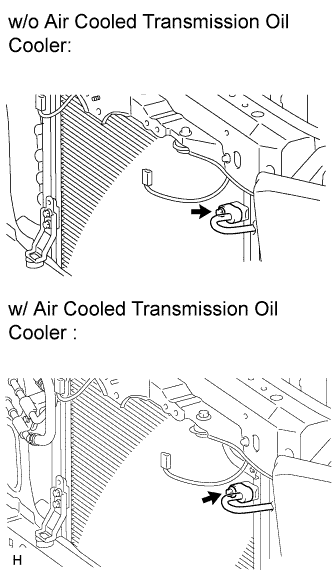 |
Remove the bolt and disconnect the discharge hose from the cooler condenser.
Remove the O-ring from the discharge hose.
| 8. DISCONNECT AIR CONDITIONING TUBE AND ACCESSORY ASSEMBLY |
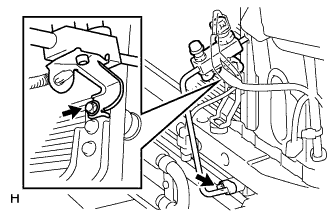 |
Remove the 2 bolts and air conditioning tube and accessory from the cooler condenser.
Remove the O-ring from the air conditioning tube and accessory.
| 9. REMOVE COOLER CONDENSER ASSEMBLY |
Remove the 2 bolts.
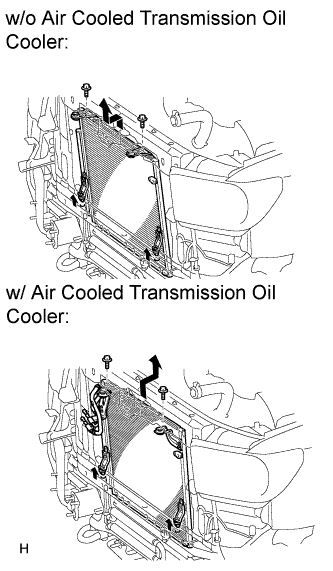 |
Remove the cooler condenser, as shown in the illustration.
| 10. REMOVE COOLER DRYER |
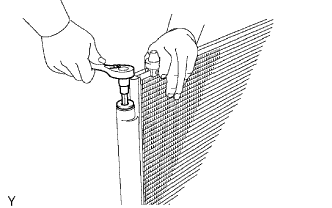 |
Using a 14 mm socket hexagon wrench, remove the cap from the modulator.
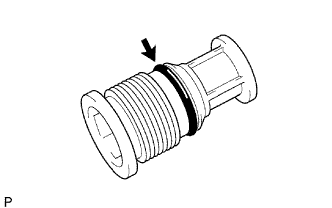 |
Remove the O-ring from the cap.
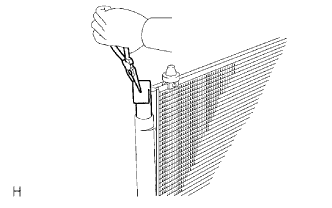 |
Using pliers, remove the cooler dryer.