G16E-GTS EMISSION CONTROL MONOLITHIC CONVERTER REMOVAL
CAUTION / NOTICE / HINT
The necessary procedures (adjustment, calibration, initialization or registration) that must be performed after parts are removed and installed, or replaced during exhaust manifold converter sub-assembly removal/installation are shown below.
| Replaced Part or Performed Procedure | Necessary Procedure | Effect/Inoperative Function when Necessary Procedure not Performed | Link |
|---|---|---|---|
| Gas leaks from exhaust system is repaired | Inspection after repair | ·
Poor idle, etc. ·
Engine start function, etc. |
( ) |
- CAUTION:
- ·
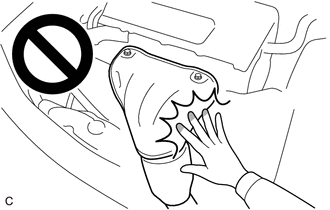
To prevent burns, do not touch the engine, exhaust manifold or other high temperature components while the engine is hot.
·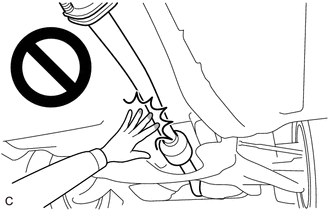
To prevent burns, do not touch the engine, exhaust pipe or other high temperature components while the engine is hot.
PROCEDURE

 89467B
1.REMOVE AIR FUEL RATIO SENSOR
37100
2.REMOVE PROPELLER SHAFT WITH CENTER BEARING ASSEMBLY
51201
3.REMOVE FRONT SUSPENSION CROSSMEMBER SUB-ASSEMBLY
25760
4.DISCONNECT VACUUM TRANSMITTING HOSE ASSEMBLY (w/ Differential Pressure Sensor)
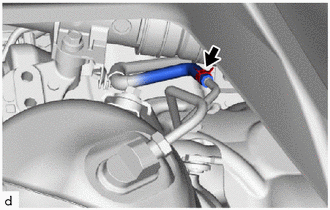
Slide the clip and disconnect the vacuum transmitting hose assembly from the No. 1 vacuum pipe.
25051
5.REMOVE EXHAUST MANIFOLD CONVERTER SUB-ASSEMBLY
- CAUTION:
-
To prevent burns, do not touch the engine, exhaust manifold or other high temperature components while the engine is hot.
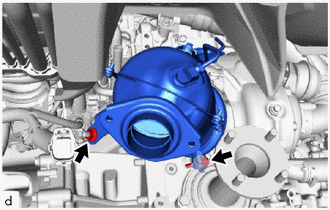
Remove the nut.
Loosen the bolt and slide the exhaust pipe clamp and remove the exhaust manifold converter sub-assembly from the turbocharger sub-assembly.
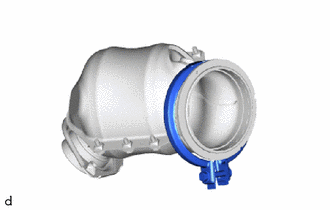
Remove the exhaust pipe clamp from the exhaust manifold converter sub-assembly.
17279
6.REMOVE OUTLET TURBINE ELBOW GASKET
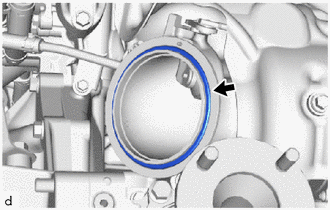
Remove the outlet turbine elbow gasket from the turbocharger sub-assembly.
25733A
7.REMOVE NO. 1 VACUUM PIPE (w/ Differential Pressure Sensor)
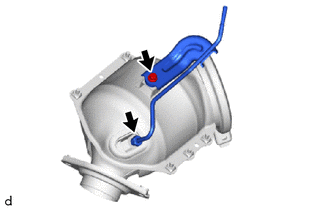
Using a 14 mm union nut wrench, loosen the union nut of No. 1 vacuum pipe.
Remove the bolt.
Disengage the union nut and No. 1 vacuum pipe from the exhaust manifold converter sub-assembly.