Vacuum Pump Removal and Installation
Precautions: General safety (00)
NOTICE:
The vacuum pump will lose its original performance if it is disassembled.
Do not disassemble and repair the vacuum pump. If any faulty condition is found, replace the vacuum pump with a new one.
Removal
1)Disconnect negative (–) cable at battery.
2)Remove engine cover. 
3)Remove air cleaner suction hose.
4)Remove WGV-VSV.
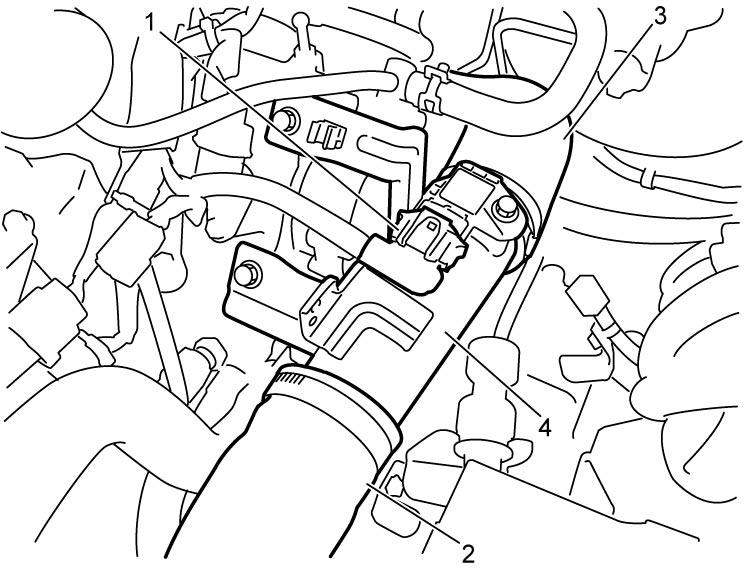
5)Disconnect boost pressure sensor with IAT sensor-2 connector (1).
6)Disconnect intercooler outlet hose No.1 (2) and intercooler outlet hose No.2 (3).
7)Remove intercooler outlet pipe (4).

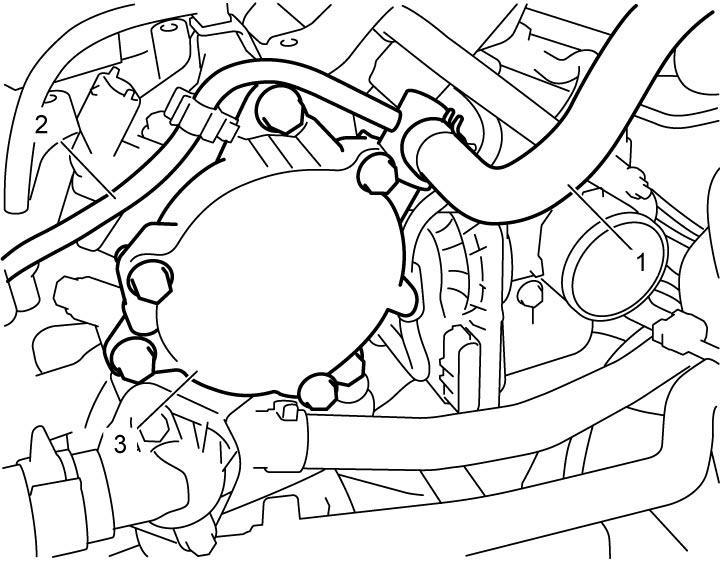
8)Disconnect brake vacuum pump hose (1) and waste gate control hose No.2 (2).
9)Remove vacuum pump (3) with O-ring.
Installation
1)Clean mating surfaces of thermostat case and vacuum pump.
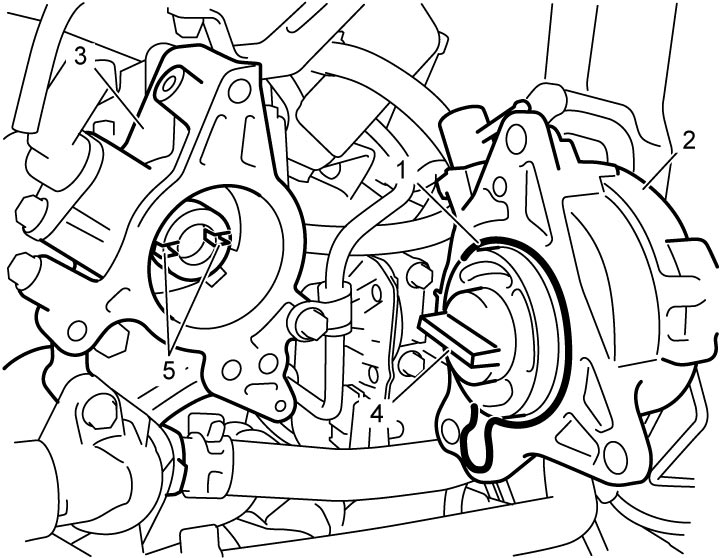
2)Install new O-ring (1) to vacuum pump.
3)Install vacuum pump (2) to thermostat case (3) aligning vacuum pump coupling (4) with slit (5) of camshaft.
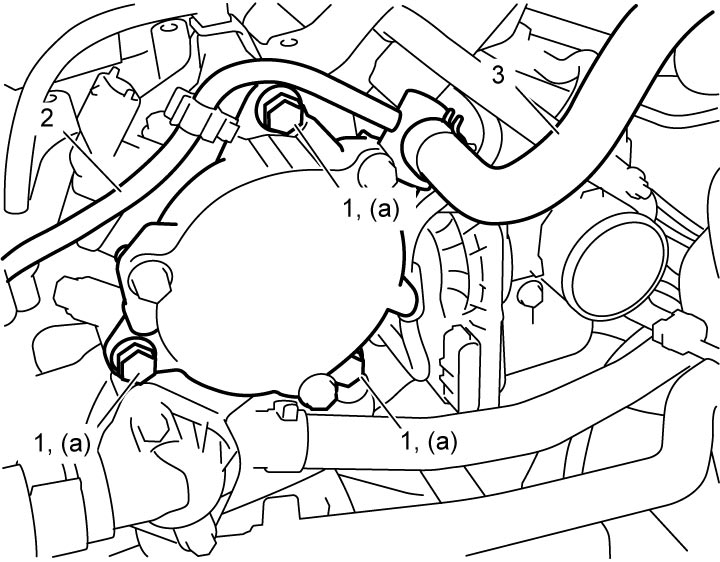
4)Tighten vacuum pump bolts (1) to specified torque.
5)Connect waste gate control hose No.2 (2) and brake vacuum pump hose (3).
6)Install intercooler outlet pipe (1).
7)Connect boost pressure sensor with IAT sensor-2 connector (2).
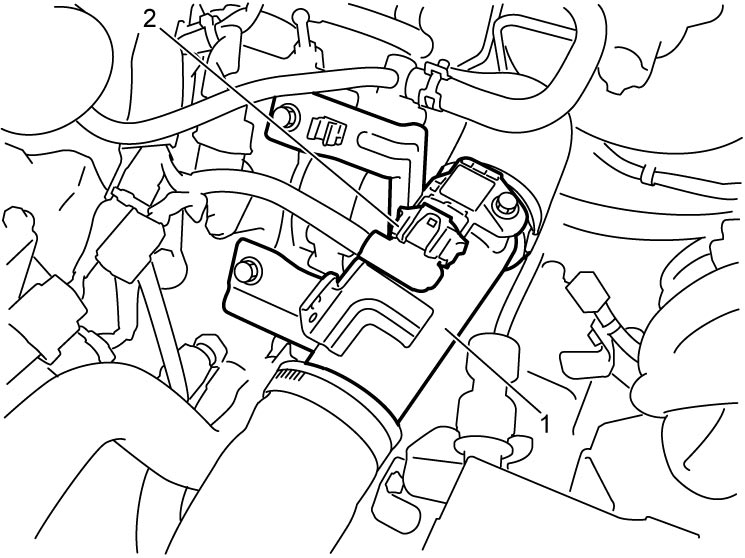
8)Tighten intercooler outlet hose No.1 clamp and intercooler outlet hose No.2 clamp to specified torque.
9)Install WGV-VSV.
10)Install air cleaner suction hose.
11)Install engine cover.
12)Connect negative (–) cable at battery.