HEATING / AIR CONDITIONING COMPRESSOR REMOVAL
PROCEDURE

 1. RECOVER REFRIGERANT FROM AIR CONDITIONING SYSTEM
G3834
2.REMOVE SERVICE PLUG GRIP
3.REMOVE RADIATOR ASSEMBLY
4.CHECK TERMINAL VOLTAGE
Remove the connector cover assembly.
Click hereEngine / Hybrid System>HYBRID / BATTERY CONTROL>INVERTER WITH CONVERTER>REMOVAL
Check terminal voltage.
Click hereEngine / Hybrid System>HYBRID / BATTERY CONTROL>INVERTER WITH CONVERTER>REMOVAL
Install the connector cover assembly.
Click hereEngine / Hybrid System>HYBRID / BATTERY CONTROL>INVERTER WITH CONVERTER>INSTALLATION
88711
5.DISCONNECT NO. 1 COOLER REFRIGERANT DISCHARGE HOSE
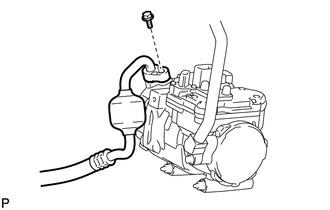
Remove the bolt and disconnect the No. 1 cooler refrigerant discharge hose from the compressor with motor assembly.
Remove the O-ring from the No. 1 cooler refrigerant discharge hose.
- NOTICE:
-
Seal the openings of the disconnected parts using vinyl tape to prevent entry of moisture and foreign matter.
88704
6.DISCONNECT SUCTION HOSE SUB-ASSEMBLY
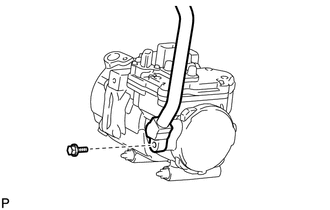
Remove the bolt and disconnect the suction hose sub-assembly from the compressor with motor assembly.
Remove the O-ring from the suction hose sub-assembly.
- NOTICE:
-
Seal the openings of the disconnected parts using vinyl tape to prevent entry of moisture and foreign matter.
88370
7.REMOVE COMPRESSOR WITH MOTOR ASSEMBLY
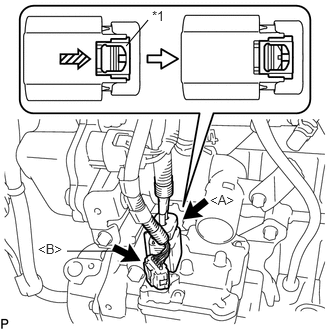
| *1 | Green-colored Lock |
Using a screwdriver, slide the green-colored lock of the connector <A> in the direction indicated by the arrow in the illustration to release it and disconnect the connector.
- CAUTION:
-
Make sure to wear insulating gloves.
- NOTICE:
-
Insulate the removed terminals and connector with insulating tape.
Disconnect the connector <B>.
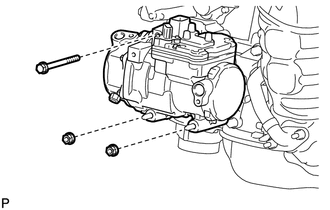
Remove the bolt, 2 nuts and compressor with motor assembly.
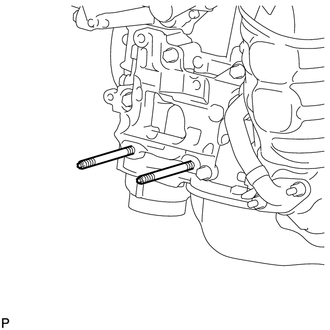
Using an E8 "TORX" socket, remove the 2 stud bolts.