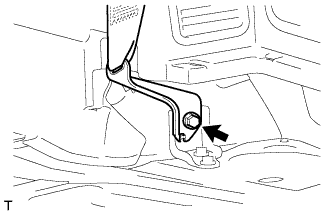
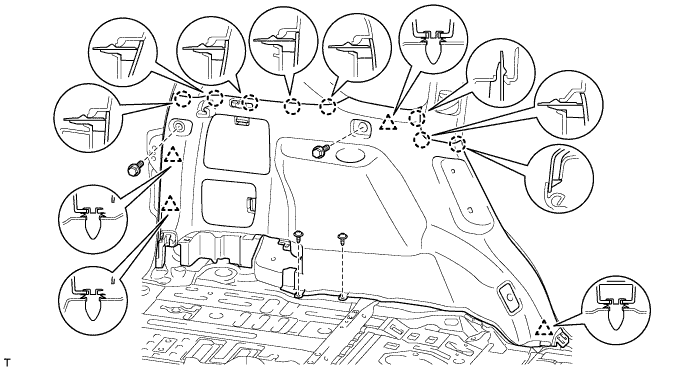
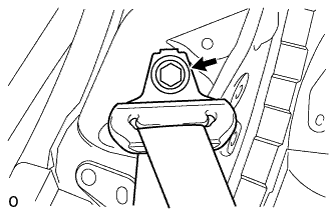
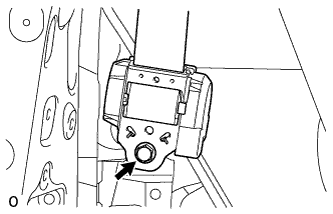
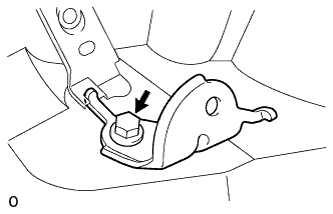
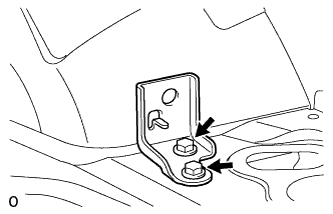
for Manual Seat Type: Remove the rear No. 2 seat assembly LH (Click here).
for Power Seat Type: Remove the rear No. 2 seat assembly LH (Click here).
2.
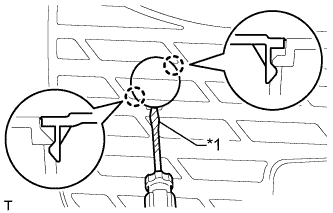
REMOVE REAR NO. 1 FLOOR STEP COVER
HINT:
Use the same procedure for all rear No. 1 floor step covers.
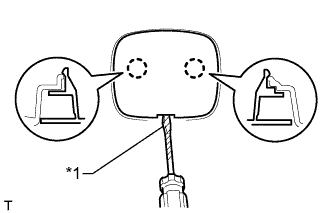
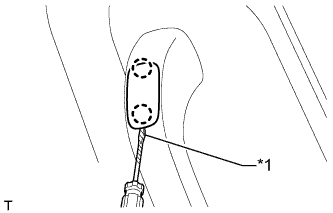
Using a screwdriver, detach the 2 claws and remove the rear No. 1 floor step cover.
HINT:
Tape the screwdriver tip before use.
Text in Illustration
*1
Protective Tape
3.
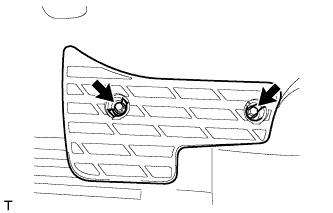
REMOVE QUARTER SCUFF PLATE LH
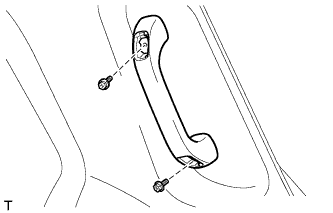
Remove the 2 bolts and quarter scuff plate.
4.
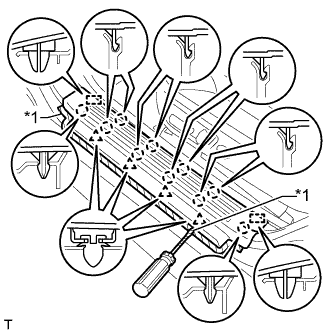
REMOVE REAR DOOR SCUFF PLATE LH
Put protective tape around the door scuff plate.
Using a screwdriver, detach the 4 clips, 10 claws and 2 guides and remove the door scuff plate.
HINT:
Tape the screwdriver tip before use.
Text in Illustration
*1
Protective Tape
5.
REMOVE REAR DOOR OPENING TRIM WEATHERSTRIP LH
Partially remove the rear door opening trim weatherstrip so that the front quarter trim panel assembly LH and deck trim side panel assembly LH can be removed (Click here).
6.
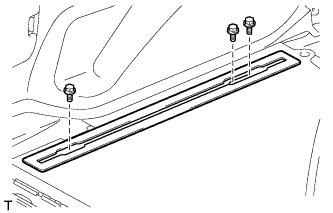
REMOVE FLOOR SIDE RAIL LH (w/ Deck Rail)
Remove the 3 bolts and floor side rail.
7.
REMOVE FLOOR SIDE RAIL RH (w/ Deck Rail)
HINT:
Use the same procedure described for the LH side.
8.
REMOVE REAR NO. 1 SEAT OUTER LAP BELT ANCHOR COVER
HINT:
Use the same procedure for the other rear No. 1 seat outer lap belt anchor cover.
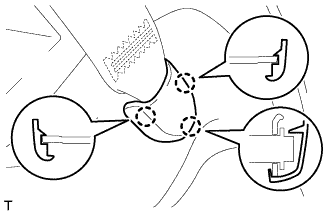
Detach the 3 claws and remove the rear No. 1 seat outer lap belt anchor cover.
9.
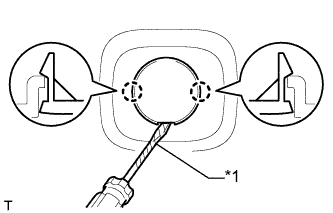
REMOVE NO. 1 LUGGAGE COMPARTMENT TRIM HOOK
HINT:
Use the same procedure for the other No. 1 luggage compartment trim hook.
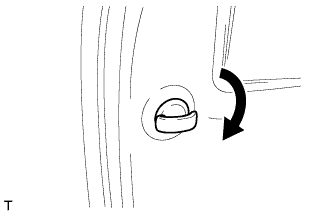
Remove the luggage compartment trim hook by turning it clockwise.