DRIVE SHAFT / PROPELLER SHAFT PROPELLER SHAFT ASSEMBLY REMOVAL
PROCEDURE

 50819
1.REMOVE FRONT FLOOR COVER
58166A
2.REMOVE FRONT FLOOR COVER LH
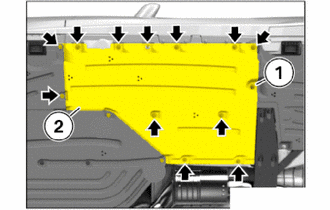
Loosen nut (1).
Unscrew all screws (arrows).
Remove the front floor cover LH (2).
58165C
3.REMOVE FRONT FLOOR COVER RH
- HINT:
-
Use the same procedure as for the LH side.
4.REMOVE EXHAUST PIPE ASSEMBLY (for B48)
5.REMOVE EXHAUST PIPE ASSEMBLY (for B58)
58151
6.REMOVE FRONT NO. 1 FLOOR HEAT INSULATOR
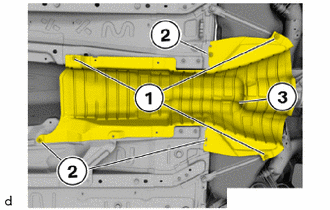
Loosen screws (1).
Unscrew the sheet metal nuts (2).
Remove the front No. 1 floor heat insulator of the tank (3).
57255
7.REMOVE REAR ENGINE MOUNTING MEMBER
37100
8.REMOVE PROPELLER SHAFT ASSEMBLY WITH CENTER BEARING
- NOTICE:
- ·
Damage to propeller shaft assembly during removal.
·Non-observance of the removal guidelines for the propeller shaft assembly on the rear axle differential may cause severe damage.
-Do not disassemble the three-hole flange, flexible coupling and propeller shaft assembly. The three-hole flange to the rear axle differential is balanced with the flexible coupling and propeller shaft assembly.
-Loosen the insert nut against the direction of travel in clockwise direction. The propeller shaft assembly must be loosened on the insert nut only and exclusively in the direction of rotation otherwise the anti-twist lock of the bi-hexagonal flange nut is damaged.
-In the event of a damaged anti-twist lock on the bi-hexagonal flange nut: Replace the rear axle differential.
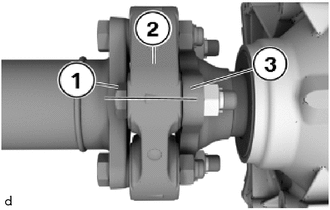
Mark the installation position of the bolt connection (1), the flexible coupling (2) and the three-hole flange (3) on the same level.
- HINT:
-
The mark makes it possible for the propeller shaft assembly with center bearing to be installed again in the same position. This should prevent a humming noise from the drive train during driving.
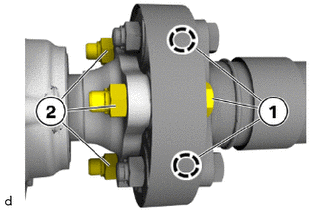
Release 18 mm bolts (1) and counter the 18 mm nuts (2).
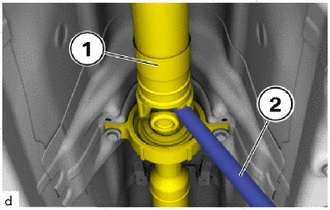
Secure the propeller shaft assembly with center bearing (1) on the center universal joint with a suitable tool (2) to protect it from twisting.
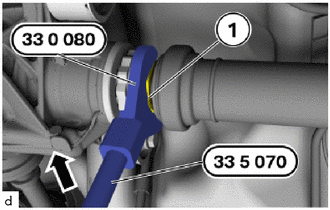
Release insert nut (1) in direction of arrow using the special tools 0 496 959 (33 0 080) and 0 495 554 (33 5 070).
- SST
- 09900-WA040
09500-WA170
- NOTICE:
- ·
Damage to rear axle differential.
·Non-observance of the removal and installation guidelines may cause severe damage to the rear axle differential.
-Do not use the double hexagon head flange nut as counter support.
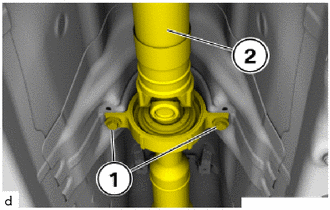
Release 13 mm bolts (1) and remove the propeller shaft assembly with center bearing (2).
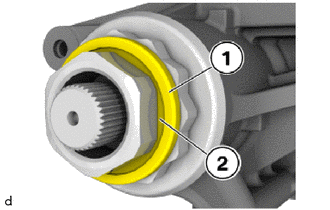
Remove retaining clip (1) and the seal (2).
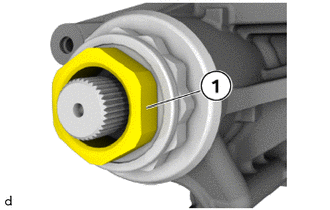
Remove insert nut (1).