B48 BATTERY / CHARGING GENERATOR REMOVAL
PROCEDURE

 1.DISCONNECT CABLE FROM NEGATIVE BATTERY TERMINAL
Click hereGeneral>MAINTENANCE>B48 BATTERY>REMOVAL
22030
2.REMOVE THROTTLE BODY WITH MOTOR ASSEMBLY
3.REMOVE FAN AND GENERATOR V BELT
22267
4.REMOVE THROTTLE BODY BRACKET
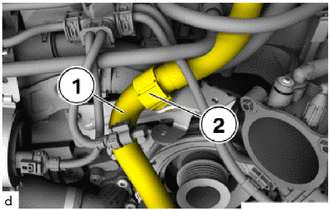
Detach the water by-pass hose (1) from the throttle body bracket (2) and set aside.
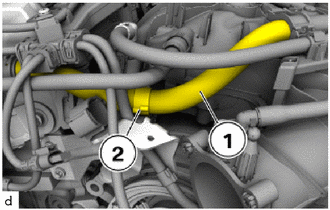
Release wiring harness (1) from throttle body bracket (2) and lay to one side.
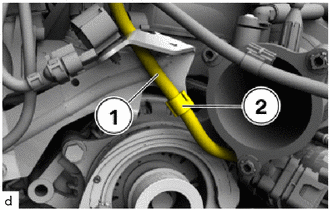
Detach the engine wire harness (1) from the throttle body bracket (2) and set aside.
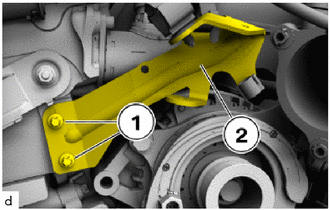
Unscrew the E8 bolts (1) and remove the throttle body bracket (2).
5.SEPARATE COMPRESSOR WITH PULLEY ASSEMBLY
- NOTICE:
- ·
Only loosen the air conditioning compressor, do not remove it.
·Do not draw off the refrigerant.
·Do not loosen the refrigerant lines.
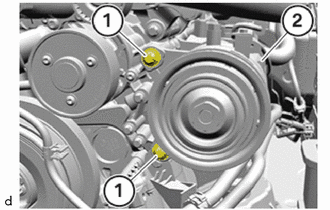
Loosen E12 bolts (1).
Slide the compressor with magnet clutch (2) out and set it aside.
27020
6.REMOVE GENERATOR ASSEMBLY
- CAUTION:
- ·
Working on 12 V vehicle electrical system.
Risk of short circuits! Risk of fire!
-Disconnect the cable from the negative (-) battery terminal.
- ·
Hot surfaces.
Risk of burning!
-Perform all work only on components that have cooled down.
- NOTICE:
- ·
Electrostatic discharge.
·Damage to or destruction of electrical components.
-Leave electrical components in original packaging until just before they are installed. Use the original packaging only for any return shipments. Always package removed components straight away.
-Only touch the housings of electrical components. Do not touch pins or multi-pin connectors directly.
-Anti static work clothing and antistatic shoes (with ESD symbol).
-For additional information see:
Click hereGeneral>INTRODUCTION>REPAIR INSTRUCTION>PRECAUTION
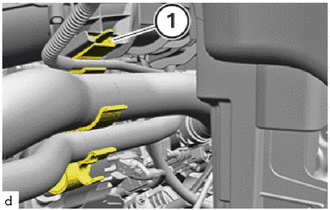
Thread out holder (1) with the radiator reserve tank hose, No.2 radiator hose and water by-pass hose and set aside.
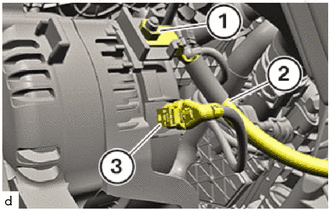
Unfasten nut (1).
Thread out generator wire (2) and set it aside.
Unlock and loosen connector (3).
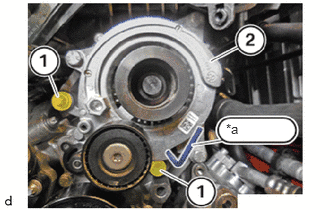
| *a | 4 mm Hexagon Wrench |
Make sure that the 4 mm hexagon wrench is fitted correctly.
Loosen E12 bolts (1).
Guide out generator assembly (2) and remove.
16620D
7.REMOVE V-RIBBED BELT TENSIONER ASSEMBLY