DOOR / HATCH BACK DOOR REASSEMBLY
CAUTION / NOTICE / HINT
- HINT:
-
A bolt without a torque specification is shown in the standard bolt chart (See page General>SPECIFICATIONS>STANDARD BOLT>SPECIFIED TORQUE FOR STANDARD BOLTS).
PROCEDURE

 1.INSTALL BACK DOOR STAY ASSEMBLY LH
2.INSTALL BACK DOOR STAY ASSEMBLY RH
- HINT:
-
Use the same procedure described for the LH side.
3.INSTALL BACK DOOR LOWER STOPPER
- HINT:
-
Use the same procedure for both back door lower stoppers.
Install the back door lower stopper with the bolt.
4.INSTALL BACK DOOR PANEL CUSHION
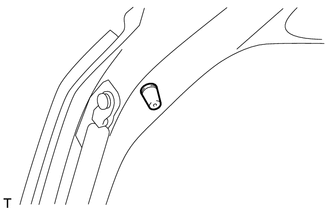
for Upper Side:
- HINT:
-
Use the same procedure for both back door panel cushions.
Install a new back door panel cushion.
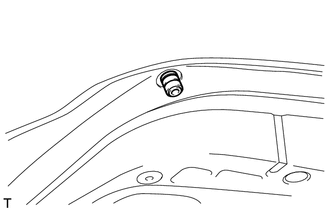
for Lower Side:
- HINT:
-
Use the same procedure for both back door panel cushions.
Install a new back door panel cushion.
5.INSTALL BACK DOOR GLASS CHANNEL LH
6.INSTALL BACK DOOR GLASS CHANNEL RH
- HINT:
-
Use the same procedure described for the LH side.
7.INSTALL REAR WASHER NOZZLE SUB-ASSEMBLY
8.INSTALL CENTER STOP LIGHT ASSEMBLY
9.INSTALL CENTER STOP LIGHT COVER
10.INSTALL REAR WIPER MOTOR GROMMET
11.INSTALL REAR WIPER MOTOR ASSEMBLY
12.INSTALL REAR WIPER ARM AND BLADE ASSEMBLY
13.INSTALL REAR TELEVISION CAMERA ASSEMBLY (w/ Rear View Monitor System)
14.INSTALL BACK DOOR OUTSIDE GARNISH
15.INSTALL BACK DOOR OUTSIDE HANDLE
Install the back door outside handle with the 2 nuts.
16.INSTALL BACK DOOR LOCK ASSEMBLY
17.INSTALL BACK DOOR TRIM BOARD ASSEMBLY
Attach the 16 clips to install the back door trim board.