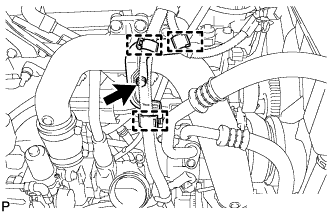
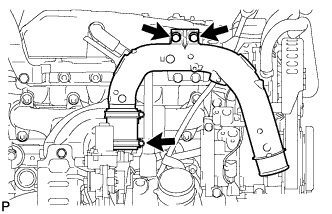
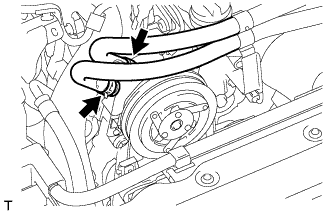
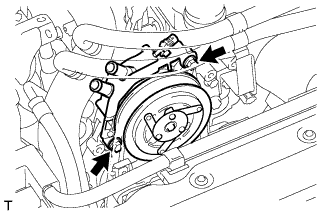
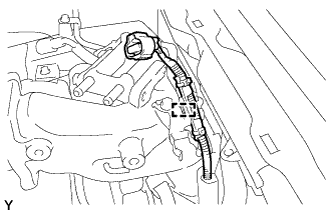
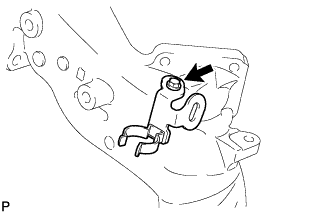
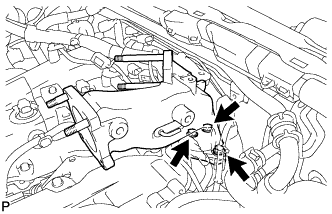
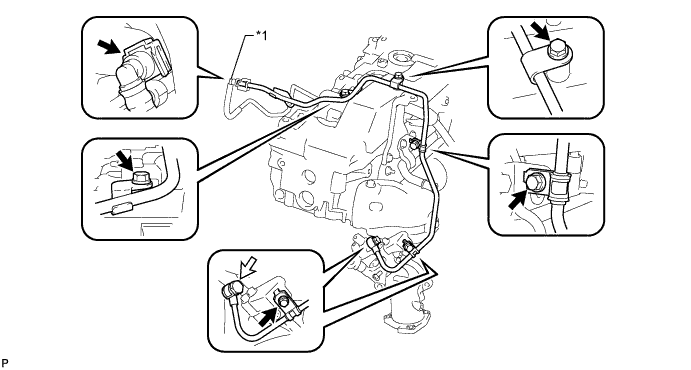
When replacing the injectors (including shuffling the injectors between the cylinders), common rail or cylinder head, it is necessary to replace the injection pipes with new ones.
When replacing the fuel supply pump, common rail, cylinder block, cylinder head, cylinder head gasket or timing gear case, it is necessary to replace the fuel inlet pipe with a new one.
After removing the injection pipes, clean them with a brush and compressed air.
1.
DISCONNECT CABLE FROM NEGATIVE BATTERY TERMINAL
NOTICE:
After turning the engine switch off, waiting time may be required before disconnecting the cable from the battery terminal. Therefore, make sure to read the disconnecting the cable from the battery terminal notice before proceeding with work (Click here).
When disconnecting the cable, some systems need to be initialized after the cable is reconnected (Click here).
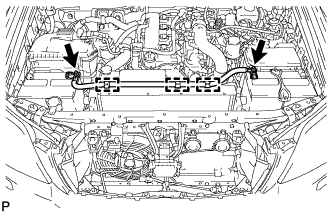
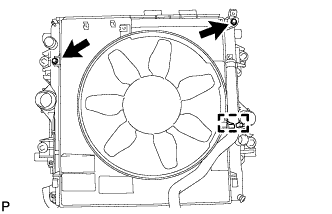
Remove the 13 clips and upper radiator support seal.
4.
REMOVE FRONT BUMPER LOWER COVER
Remove the clip, 5 bolts and front bumper lower cover.
5.
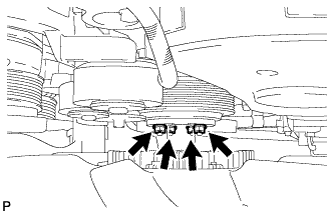
REMOVE NO. 1 ENGINE UNDER COVER SUB-ASSEMBLY
Remove the 4 bolts and No. 1 engine under cover.
6.
REMOVE ENGINE REAR UNDER COVER ASSEMBLY
Remove the 4 bolts and rear engine under cover.
7.
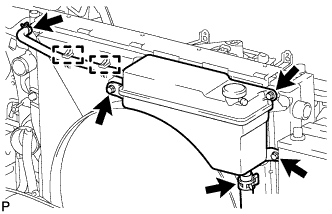
DRAIN ENGINE COOLANT
CAUTION:
Do not remove the radiator reservoir cap while the engine and radiator are still hot. Pressurized, hot engine coolant and steam may be released and cause serious burns.
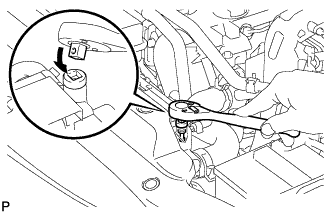
Loosen the radiator drain cock plug.
HINT:
Collect the coolant in a container and dispose of it according to the regulations in your area.
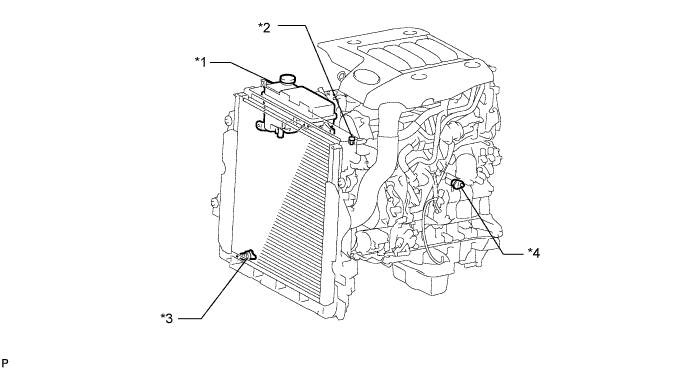
Drain the coolant by removing the reservoir cap and, using a wrench, remove the vent plug.
Loosen the cylinder block drain cock plug.
Text in Illustration
*1
Radiator Reservoir
*2
Vent Plug
*3
Radiator Drain Cock Plug
*4
Cylinder Block Drain Cock Plug
8.
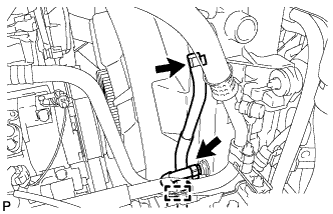
DISCONNECT HEATER WATER PIPE SUB-ASSEMBLY
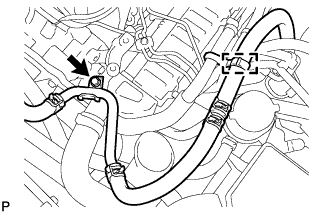
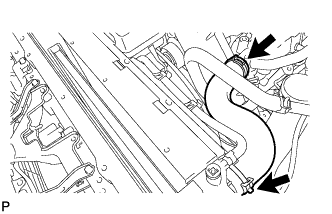
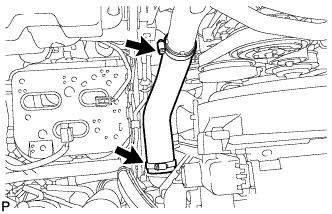
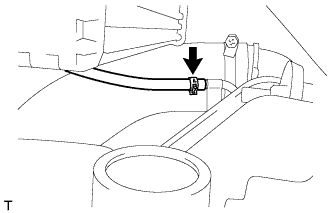
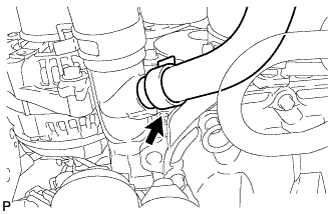
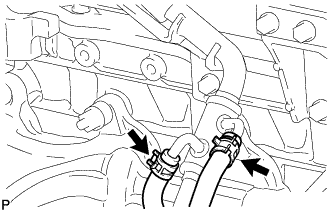
Detach the water by-pass hose clamp.
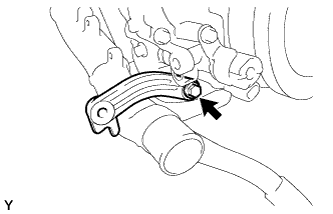
Remove the bolt and disconnect the heater water pipe.
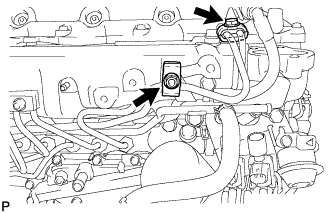
Remove the 4 bolts, union bolt, gasket and No. 1 fuel pipe.
Text in Illustration
*1
No. 2 Fuel Pipe
-
-
Union Bolt
-
-
35.
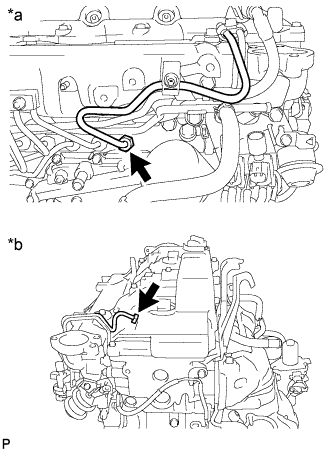
REMOVE NO. 4 INJECTION PIPE SUB-ASSEMBLY
Remove the bolt, nut and 2 No. 2 injection pipe clamps.
Using a 17 mm union nut wrench, loosen the union nuts and remove the No. 4 injection pipe sub-assembly.
Text in Illustration
*a
Common Rail Assembly Side
*b
Injector Assembly Side
36.
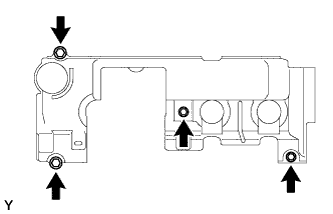
REMOVE NO. 2 CYLINDER HEAD COVER SUB-ASSEMBLY
Remove the 4 bolts and No. 2 cylinder head cover sub-assembly.
37.
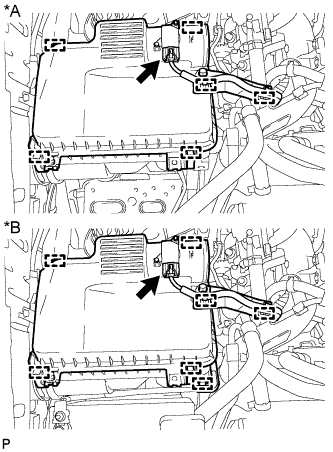
REMOVE VENTILATION PIPE
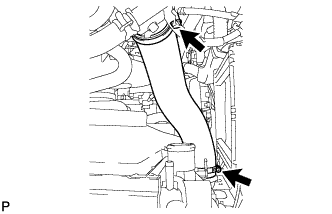
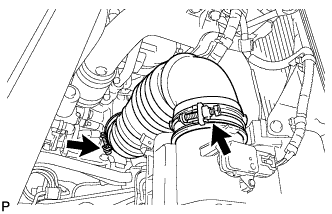
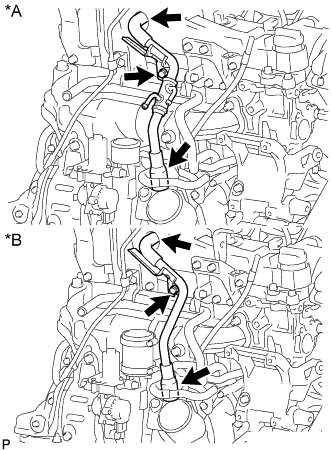
Type A Slide the 2 clamps and disconnect the No. 3 turbo water hose and No. 4 turbo water hose from the ventilation pipe.
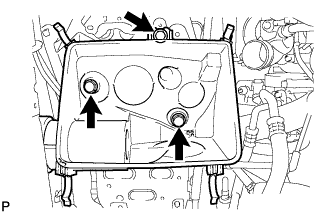
Remove the bolt and disconnect the 2 ventilation hoses and ventilation pipe from the cylinder head sub-assembly.
Text in Illustration
*A
Type A
*B
Type B
38.
REMOVE CYLINDER HEAD COVER SUB-ASSEMBLY
NOTICE:
If the cylinder head cover sub-assembly is removed, replace the 4 No. 3 cylinder head cover gaskets with new ones.
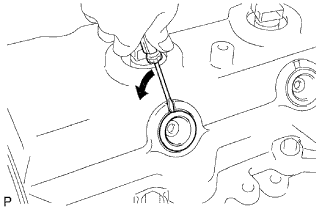
Using a small screwdriver, remove the nozzle holder seal by prying the portion between the nozzle holder seal and the cutout part of the cylinder head cover sub-assembly.
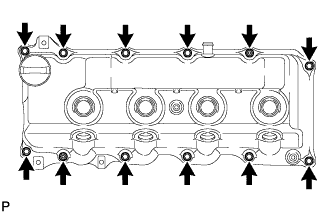
Remove the 10 bolts, 2 nuts, cylinder head cover sub-assembly and cylinder head cover gasket.
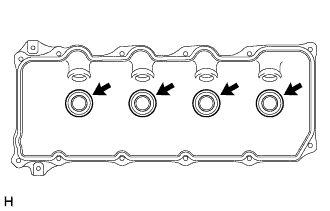
Remove the 4 No. 3 cylinder head cover gaskets from the cylinder head cover sub-assembly.
39.
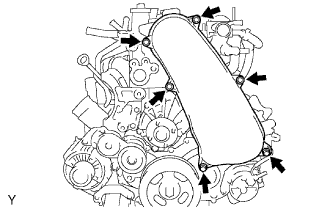
REMOVE NO. 1 TIMING BELT COVER
Remove the 6 bolts, 6 washers and timing belt cover.
40.
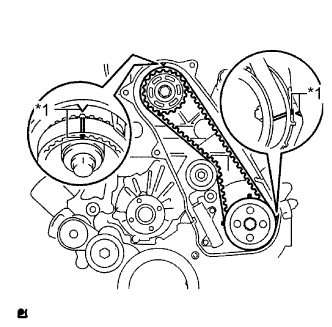
REMOVE TIMING BELT
Turn the crankshaft clockwise and align the timing marks as shown in the illustration.
Text in Illustration
*1
Timing Mark
HINT:
If reusing the timing belt, place matchmarks on the timing belt so that it can be installed exactly as before.
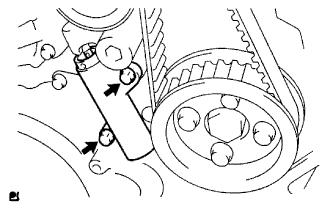
Uniformly loosen and remove the 2 bolts and No. 1 timing belt tensioner.
Remove the timing belt.
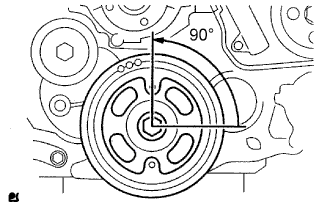
HINT:
If turning the camshaft while the timing belt is removed, turn the crankshaft 90° counterclockwise as shown in the illustration.
When installing the timing belt, turn the camshaft to align the timing marks and then turn the crankshaft clockwise to align the timing marks.
41.
REMOVE CAMSHAFT TIMING PULLEY
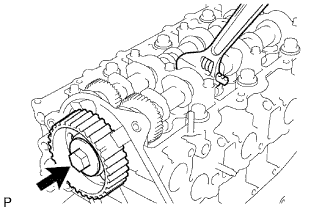
Remove the bolt of the camshaft timing pulley while holding the camshaft with a wrench.
NOTICE:
Make sure the timing belt is not installed when removing the bolt of camshaft timing pulley.
Remove the camshaft timing pulley.
42.
REMOVE NO. 1 TIMING BELT IDLER SUB-ASSEMBLY
NOTICE:
When inspecting the No. 1 timing belt idler, do not remove it unless absolutely necessary.
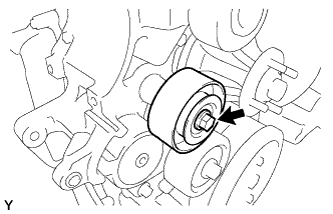
Using a 10 mm hexagon wrench, remove the bolt, No. 1 timing belt idler and washer.
43.
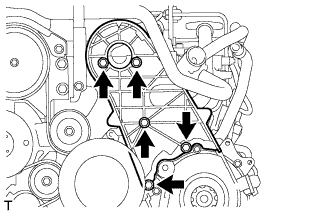
REMOVE NO. 2 TIMING BELT COVER
Remove the 4 bolts, nut and No. 2 timing belt cover.
44.
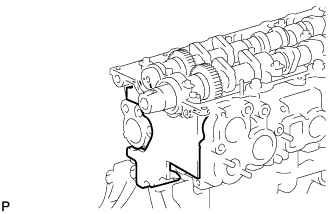
REMOVE CYLINDER BLOCK INSULATOR
Remove the cylinder block insulator from the cylinder head.
45.
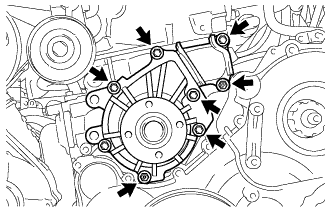
REMOVE ENGINE WATER PUMP ASSEMBLY
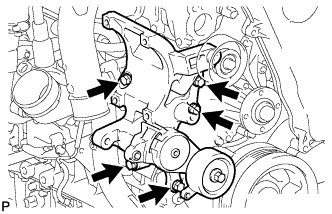
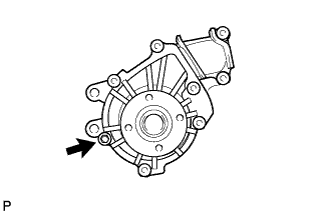
Remove the 2 nuts, 5 bolts, engine water pump assembly and the gasket from the cylinder block sub-assembly.
Remove the bolt, water pump assembly without cover and the gasket from the water pump cover.
46.
REPLACE STUD BOLT
HINT:
Perform this procedure only when replacement of the stud bolts is necessary.
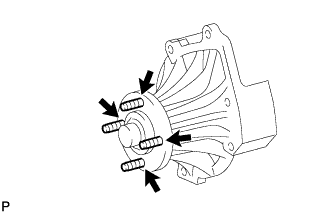
Remove the 4 stud bolts from the water pump assembly without cover.
Install the 4 stud bolts to the water pump assembly without cover.
Torque:
7.8 N*m{
80 kgf*cm
, 69 in.*lbf
}
47.
REPLACE WATER PUMP SET RING PIN
HINT:
Perform this procedure only when replacement of the water pump set ring pin is necessary.
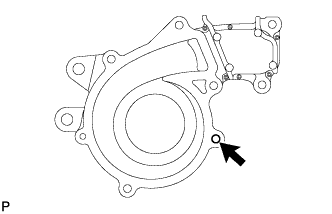
Remove the water pump set ring pin from the water pump cover.
Using a plastic-faced hammer, tap in the water pump set ring pin to the water pump cover.