When replacing the injectors (including shuffling the injectors between the cylinders), common rail or cylinder head, it is necessary to replace the injection pipes with new ones.
When replacing the fuel supply pump, common rail, cylinder block, cylinder head, cylinder head gasket or timing gear case, it is necessary to replace the fuel inlet pipe with a new one.
1.
DISCONNECT CABLE FROM NEGATIVE BATTERY
TERMINAL
NOTICE:
After turning the ignition switch off, waiting time may be required before disconnecting the cable from the battery terminal. Therefore, make sure to read the disconnecting the cable from the battery terminal notice before proceeding with work (Click here).
When disconnecting the cable, some systems need to be initialized after the cable is reconnected (Click here).
2.
REMOVE FRONT BUMPER LOWER COVER
Remove the clip, 5 bolts and front bumper lower cover.
3.
REMOVE NO. 1 ENGINE UNDER COVER SUB-ASSEMBLY
Remove the 4 bolts and No. 1 engine under cover.
4.
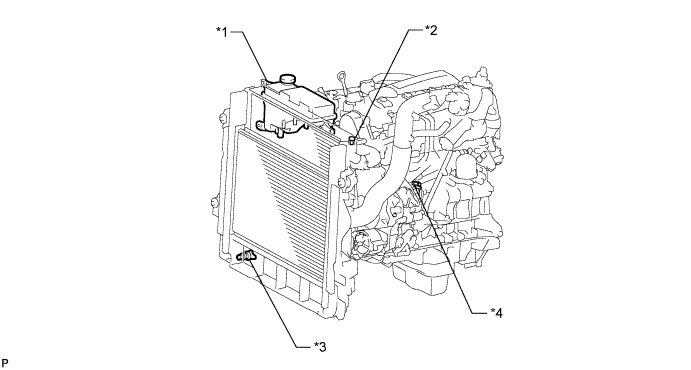
DRAIN ENGINE COOLANT
CAUTION:
Do not remove the radiator cap while the engine and radiator are still hot. Pressurized, hot engine coolant and steam may be released and cause serious burns.
Loosen the radiator drain cock plug.
HINT:
Collect the coolant in a container and dispose of it according to the regulations in your area.
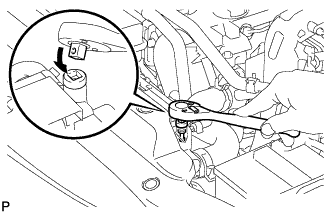
Drain the coolant by removing the reservoir cap and, using a wrench, remove the vent plug.
Loosen the cylinder block drain cock plug.
Text in Illustration
*1
Radiator Reservoir
*2
Vent Plug
*3
Radiator Drain Cock Plug
*4
Cylinder Block Drain Cock Plug
5.
DRAIN ENGINE OIL
Remove the oil filler cap.
Remove the oil pan drain plug and gasket, and then drain the engine oil into a container.
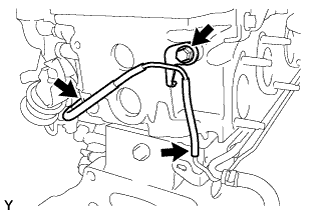
Remove the bolt and No. 3 vacuum transmitting pipe.
14.
REMOVE CAMSHAFT TIMING PULLEY
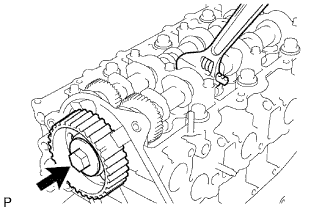
Remove the bolt of the camshaft timing pulley while holding the camshaft with a wrench.
NOTICE:
Make sure the timing belt is not installed when removing the bolt of camshaft timing pulley.
Remove the camshaft timing pulley.
15.
REMOVE NO. 2 TIMING BELT COVER
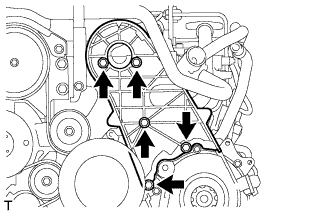
Remove the 4 bolts, nut and No. 2 timing belt cover.
16.
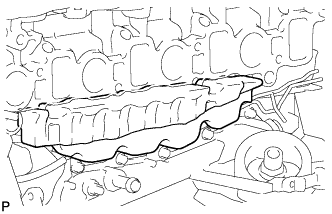
REMOVE CYLINDER BLOCK INSULATOR
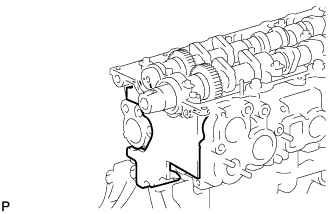
Remove the cylinder block insulator from the cylinder head.
17.
REMOVE CAMSHAFT
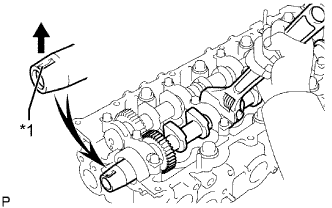
Turn the camshaft with a wrench so that the key groove of the camshaft faces upward.
Text in Illustration
*1
Key Groove
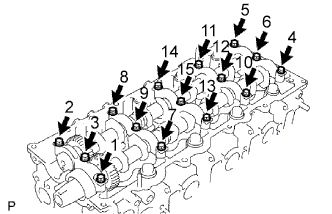
Uniformly loosen the 15 bearing cap bolts in several passes in the sequence shown in the illustration.
Remove the 15 bearing cap bolts, 5 bearing caps, oil seal and 2 camshafts.
18.
REMOVE CYLINDER HEAD SUB-ASSEMBLY
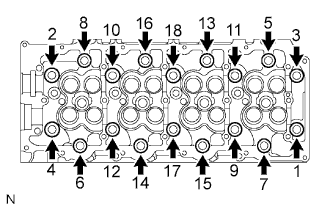
Uniformly loosen the 18 cylinder head bolts in several passes in the sequence shown in the illustration. Then remove the 18 cylinder head bolts and 18 washers.
NOTICE:
Head warpage or cracking could result from removing bolts in the incorrect order.
Remove the cylinder head from the dowels on the cylinder block and place the cylinder head on wooden blocks on a workbench.
NOTICE:
Be careful not to damage the contact surfaces of the cylinder head and cylinder block.
HINT:
If the cylinder head is difficult to remove, use a screwdriver to pry between the cylinder head and block.