V35A-FTS FUEL FUEL INJECTOR(for Direct Injection) REMOVAL
CAUTION / NOTICE / HINT
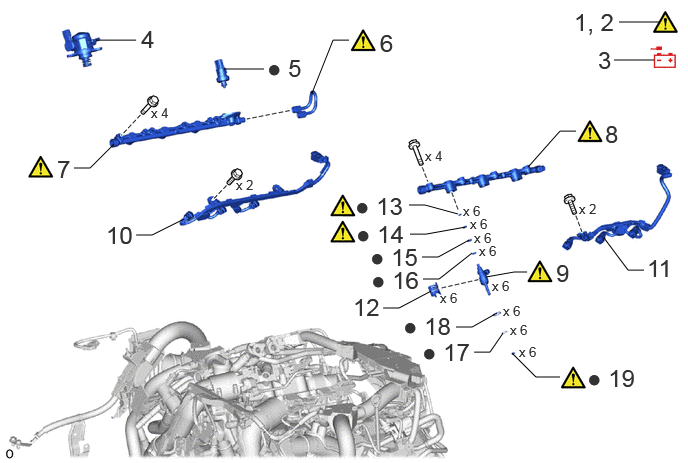
| Procedure | Part Name Code |

|

|

|
|
|---|---|---|---|---|---|
| 1 | DISCHARGE FUEL SYSTEM PRESSURE | - | ( ) |
- | - |
| 2 | PRECAUTION | - | () |
- | - |
| 3 | DISCONNECT CABLE FROM NEGATIVE BATTERY TERMINAL | - | - | - | - |
| 4 | FUEL (ENGINE ROOM SIDE) PUMP ASSEMBLY | 23100X | - | - | - |
| 5 | FUEL PRESSURE SENSOR | 89458 | - | - | - |
| 6 | NO. 3 FUEL PIPE SUB-ASSEMBLY | 23803B | () |
- | - |
| 7 | NO. 2 FUEL DELIVERY PIPE SUB-ASSEMBLY RH | 23807M | () |
- | - |
| 8 | NO. 2 FUEL DELIVERY PIPE SUB-ASSEMBLY LH | 23808B | () |
- | - |
| 9 | DIRECT FUEL INJECTOR ASSEMBLY | 23250E | () |
- | - |
| 10 | NO. 5 ENGINE WIRE | 82125N | - | - | - |
| 11 | NO. 6 ENGINE WIRE | 82126A | - | - | - |
| 12 | NOZZLE HOLDER CLAMP | 23695A | - | - | - |
| 13 | NO. 3 FUEL INJECTOR BACK-UP RING | 23258 | () |
- | - |
| 14 | NO. 2 FUEL INJECTOR BACK-UP RING | 23257 | () |
- | - |
| 15 | FUEL INJECTOR O-RING | 23250B | - | - | - |
| 16 | NO. 1 FUEL INJECTOR BACK-UP RING | 23256 | - | - | - |
| 17 | C-RING | - | - | - | - |
| 18 | INJECTOR VIBRATION INSULATOR | 23291A | - | - | - |
| 19 | FUEL INJECTOR SEAL | 23255A | () |
- | - |
| ● | Non-reusable part | - | - |
CAUTION / NOTICE / HINT
The necessary procedures (adjustment, calibration, initialization or registration) that must be performed after parts are removed and installed, or replaced during direct fuel injector assembly removal/installation are shown below.
| Replaced Part or Performed Procedure | Necessary Procedure | Effect/Inoperative Function when Necessary Procedure not Performed | Link |
|---|---|---|---|
| Battery terminal is disconnected/reconnected | Memorize steering angle neutral point | Parking assist monitor system | () |
| Multi-terrain monitor system | () |
||
| Panoramic view monitor system | () |
||
| Replacement of direct fuel injector assembly | Inspection After Repair |
·
Poor idle, etc.
·
Engine start function, etc. |
() |
- HINT:
-
When the cable is disconnected/reconnected to the battery terminal, systems temporarily stop operating. However, each system has a function that completes learning the first time the system is used.
-
·
Learning completes when vehicle is driven
Effect/Inoperative Function When Necessary Procedures are not Performed Necessary Procedures Link Stop and start system Drive the vehicle until stop and start control is permitted (approximately 5 to 60 minutes) ( )Lighting system (EXT) Cornering lights Drive the vehicle straight ahead at 35 km/h (22 mph) or more for 5 seconds or more. ( )Pre-collision system Lane tracing assist system Lane departure alert system Adaptive high beam system
·Learning completes when vehicle is operated normally
Effect/Inoperative Function When Necessary Procedures are not Performed Necessary Procedures Link Power back door system Fully close the back door by hand.
- HINT:
-
Initialization is not necessary if the above procedures are performed while the back door is closed.
( )Air conditioning system After the ignition switch is turned to ON, the servo motor and expansion valve standard position is recognized. -
- CAUTION:
-
·
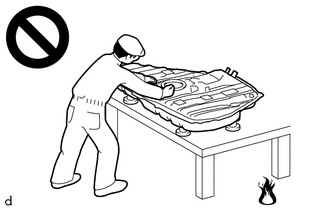
Never perform work on fuel system components near any possible ignition sources.
·Vaporized fuel could ignite, resulting in a serious accident.
-
·
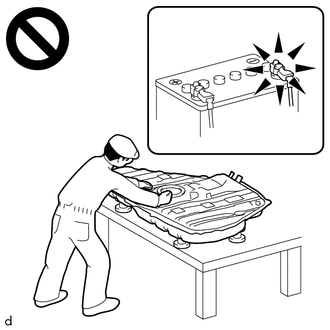
Do not perform work on fuel system components without first disconnecting the cable from the negative (-) battery terminal.
·Sparks could cause vaporized fuel to ignite, resulting in a serious accident.
·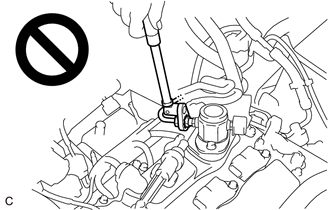
To prevent serious injury due to fuel spray from the high-pressure fuel lines, always discharge fuel system pressure before removing any fuel system components.
- NOTICE:
-
This procedure includes the removal of small-head bolts. Refer to Small-Head Bolts of Basic Repair Hint to identify the small-head bolts.
-
Click hereGeneral>INTRODUCTION>REPAIR INSTRUCTION>PRECAUTION
PROCEDURE

 1. DISCHARGE FUEL SYSTEM PRESSURE
2. PRECAUTION
- NOTICE:
-
After turning the ignition switch off, waiting time may be required before disconnecting the cable from the negative (-) battery terminal.
-
Click hereGeneral>SETUP>WHEN DISCONNECTING OR RECONNECTING BATTERY TERMINAL>BEFORE DISCONNECTING BATTERY
3.DISCONNECT CABLE FROM NEGATIVE BATTERY TERMINAL
23100X 4.REMOVE FUEL (ENGINE ROOM SIDE) PUMP ASSEMBLY
89458 5.REMOVE FUEL PRESSURE SENSOR
23803B 6.REMOVE NO. 3 FUEL PIPE SUB-ASSEMBLY
|
|
|
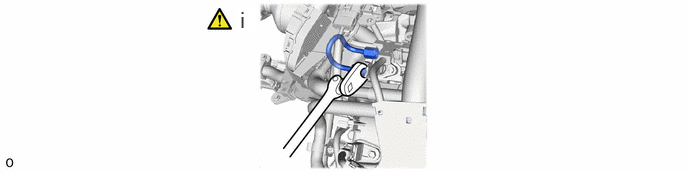
Using a 17 mm union nut wrench, loosen the 2 union nuts and remove the No. 3 fuel pipe sub-assembly from the No. 2 fuel delivery pipe sub-assembly RH and No. 2 fuel delivery pipe sub-assembly LH.
23807M 7.REMOVE NO. 2 FUEL DELIVERY PIPE SUB-ASSEMBLY RH
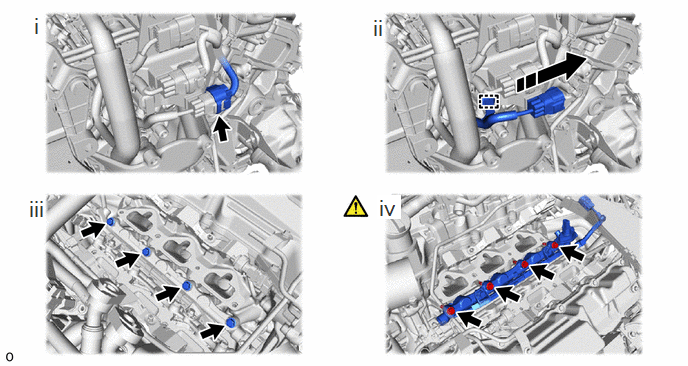
Disconnect the connector from the No. 5 engine wire.
Detach the clamp, slide the connector and disconnect the No. 5 engine wire.
Remove the 4 bolts of the No. 2 fuel delivery pipe sub-assembly LH.
Remove the 4 bolts and No. 2 fuel delivery pipe sub-assembly RH from the cylinder head sub-assembly RH.
- NOTICE:
-
Do not strike the tips of the direct fuel injector assembly.
23808B 8.REMOVE NO. 2 FUEL DELIVERY PIPE SUB-ASSEMBLY LH
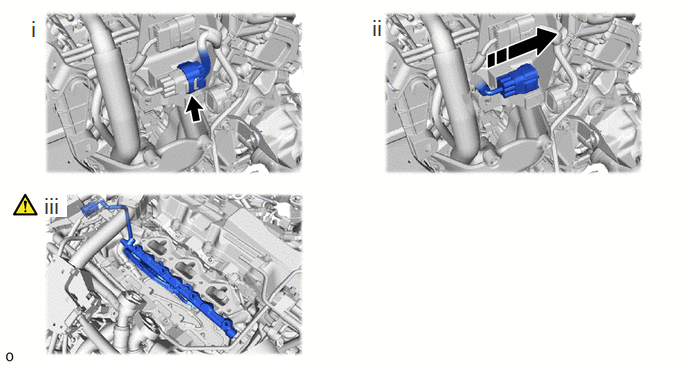
Disconnect the connector from the No. 6 engine wire.
Slide the connector and disconnect the No. 6 engine wire.
Remove the No. 2 fuel delivery pipe sub-assembly LH from the cylinder head sub-assembly LH.
- NOTICE:
-
Do not strike the tips of the direct fuel injector assembly.
23250E 9.REMOVE DIRECT FUEL INJECTOR ASSEMBLY
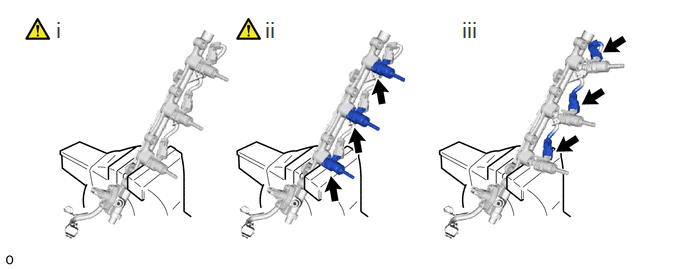
Fix the No. 2 fuel delivery pipe sub-assembly RH in a vise between aluminum plates.
- NOTICE:
-
·
Do not tighten the vise more than necessary.
·Do not damage the direct fuel injector assembly.
Disconnect the 3 direct fuel injector assemblies from the No. 2 fuel delivery pipe sub-assembly RH.
- NOTICE:
-
·
Pull and remove each direct fuel injector assembly in a straight line to avoid damaging the seal surface of the No. 2 fuel delivery pipe sub-assembly RH O-ring.
·After removing the direct fuel injector assemblies, remove any O-rings, No. 1 fuel injector back-up rings, No. 2 fuel injector back-up rings and No. 3 fuel injector back-up rings remaining on the No. 2 fuel delivery pipe sub-assembly RH side.
·Cover each tip of the direct fuel injector assembly to prevent it from being damaged.
Disconnect the 3 connectors from the 3 direct fuel injector assemblies.
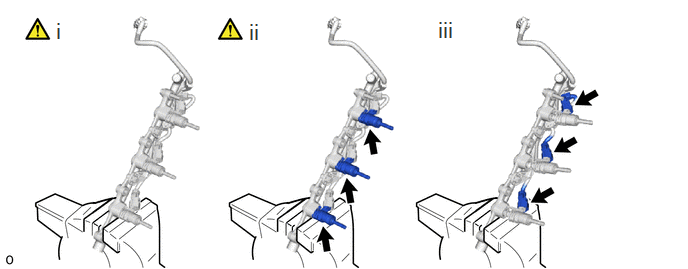
Fix the No. 2 fuel delivery pipe sub-assembly LH in a vise between aluminum plates.
- NOTICE:
-
·
Do not tighten the vise more than necessary.
·Do not damage the direct fuel injector assembly.
Disconnect the 3 direct fuel injector assemblies from the No. 2 fuel delivery pipe sub-assembly LH.
- NOTICE:
-
·
Pull and remove each direct fuel injector assembly in a straight line to avoid damaging the seal surface of the No. 2 fuel delivery pipe sub-assembly LH O-ring.
·After removing the direct fuel injector assemblies, remove any O-rings, No. 1 fuel injector back-up rings, No. 2 fuel injector back-up rings and No. 3 fuel injector back-up rings remaining on the No. 2 fuel delivery pipe sub-assembly LH side.
·Cover each tip of the direct fuel injector assembly to prevent it from being damaged.
Disconnect the 3 connectors from the 3 direct fuel injector assemblies.
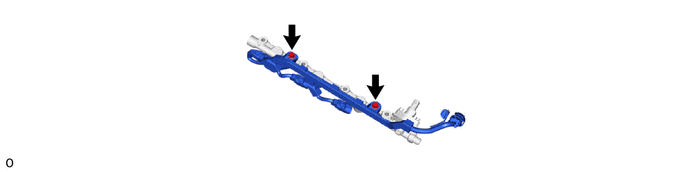
82125N 10.REMOVE NO. 5 ENGINE WIRE
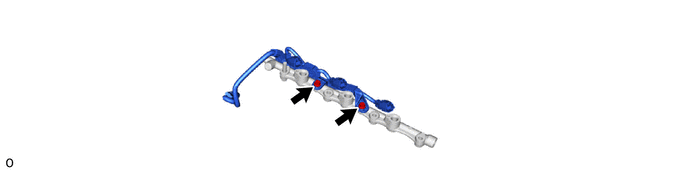
82126A 11.REMOVE NO. 6 ENGINE WIRE
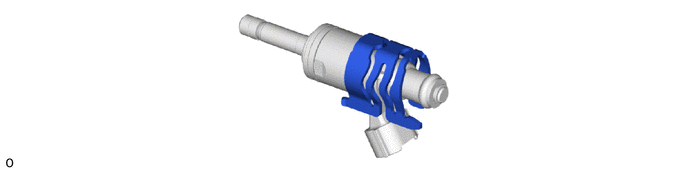
23695A 12.REMOVE NOZZLE HOLDER CLAMP
23258 13.REMOVE NO. 3 FUEL INJECTOR BACK-UP RING
|
|
|
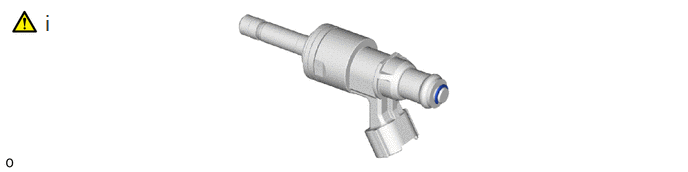
Using needle nose pliers, remove the No. 3 fuel injector back-up ring from each direct fuel injector assembly.
23257 14.REMOVE NO. 2 FUEL INJECTOR BACK-UP RING
|
|
|
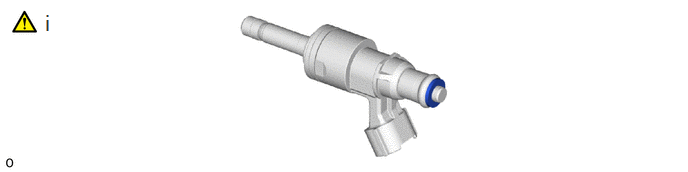
Using needle nose pliers, remove the No. 2 fuel injector back-up ring from each direct fuel injector assembly.
23250B 15.REMOVE FUEL INJECTOR O-RING
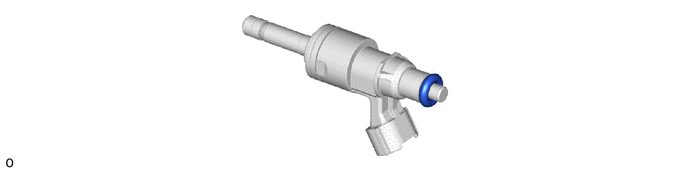
23256 16.REMOVE NO. 1 FUEL INJECTOR BACK-UP RING
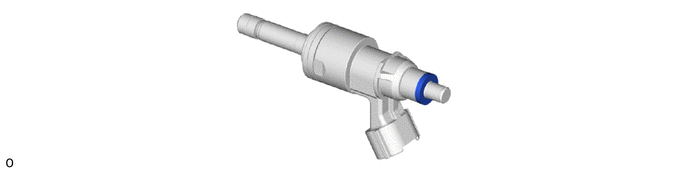
17.REMOVE C-RING
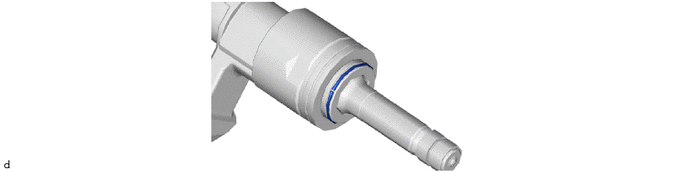
23291A 18.REMOVE INJECTOR VIBRATION INSULATOR
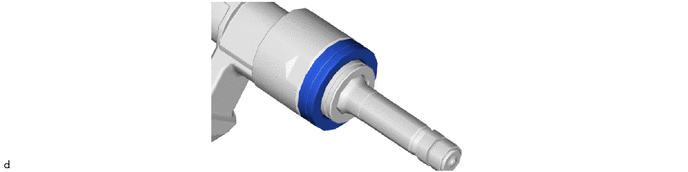
23255A 19.REMOVE FUEL INJECTOR SEAL

Using the tip of needle nose pliers, pinch and pull the fuel injector seal at several points to stretch it.
- NOTICE:
-
·
Excessively pinching the fuel injector seal may damage the groove of the direct fuel injector assembly.
·If a direct fuel injector assembly is dropped or the tip of the direct fuel injector assembly is struck, replace it with a new one.
Remove the fuel injector seal from each direct fuel injector assembly.