LIGHTING (EXT) SWITCH HOUSING INSTALLATION
CAUTION / NOTICE / HINT
- HINT:
- ·
Use the same procedure for RHD and LHD vehicles.
·The procedure listed below is for LHD vehicles.
PROCEDURE

 84319
1.INSTALL STEERING WHEEL SWITCH HOUSING
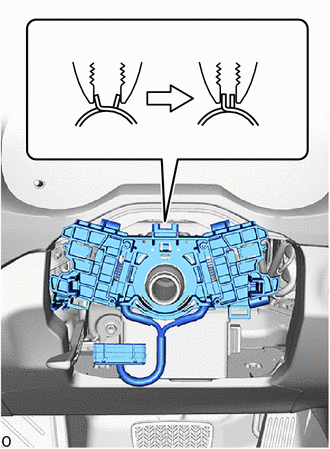
If reusing the steering wheel switch housing:
Using pliers, support the band clamp while loosened and set the steering wheel switch housing.
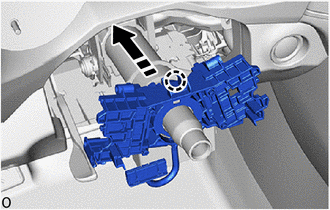

|
Install in this Direction |
Push the steering wheel switch housing forward to attach the claw to install it.
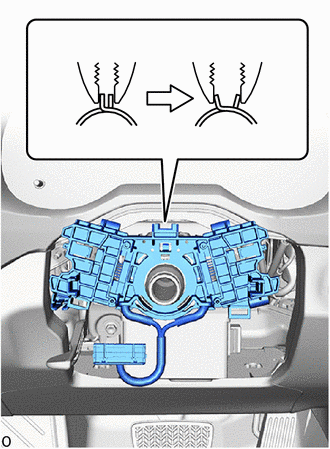
Tighten the band clamp.
If installing a new steering wheel switch housing:
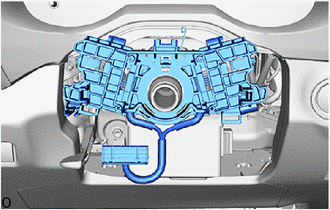
Set the steering wheel switch in place.
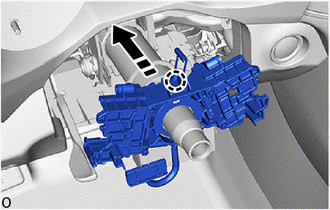
|
|
Install in this Direction |
Push the steering wheel switch housing forward to attach the claw to install it.
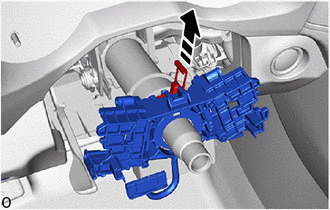
|
|
Remove in this Direction |
Remove the pin to tighten the band clamp.
84329
2.INSTALL TURN SIGNAL SWITCH
84650
3.INSTALL WINDSHIELD WIPER SWITCH ASSEMBLY
4.INSTALL SPIRAL WITH SENSOR CABLE SUB-ASSEMBLY
5.CONNECT CABLE TO NEGATIVE AUXILIARY BATTERY TERMINAL
for A25A-FKS:
for M20A-FKS:
for A25A-FXS:
Click hereGeneral>MAINTENANCE>A25A-FXS AUXILIARY BATTERY>INSTALLATION
- NOTICE:
-
When disconnecting the cable, some systems need to be initialized after the cable is reconnected.
-
Click hereGeneral>INTRODUCTION>REPAIR INSTRUCTION>INITIALIZATION
65351A
6.INSTALL BATTERY HOLE COVER (for HV Model)
58416K
7.INSTALL REAR NO. 2 FLOOR BOARD (for HV Model)
58410B
8.INSTALL DECK BOARD ASSEMBLY (for HV Model)
9. PERFORM DIAGNOSTIC SYSTEM CHECK
w/o Occupant Classification System:
for Gasoline Model with Occupant Classification System:
for HV Model with Occupant Classification System:
10.CHECK SRS WARNING LIGHT
w/o Occupant Classification System:
for Gasoline Model with Occupant Classification System:
for HV Model with Occupant Classification System:
11.PERFORM SYSTEM INITIALIZATION AND CALIBRATION