B48 ENGINE MECHANICAL CYLINDER HEAD GASKET REMOVAL
CAUTION / NOTICE / HINT
- CAUTION:
- ·
Hot fluids.
Risk of scalding!
-Conduct all work in the vehicle wearing appropriate personal protective equipment only.
- ·
Hot surfaces.
Risk of burning!
-Perform all work only on components that have cooled down.
PROCEDURE

 25051
1.REMOVE EXHAUST MANIFOLD CONVERTER SUB-ASSEMBLY
15474
2.REMOVE OUTLET TURBO OIL PIPE
51219
3.REMOVE FRONT SUSPENSION MEMBER LOWER PROTECTOR
4. DRAIN ENGINE COOLANT (for Low Temperature)
16020
5.REMOVE WATER PUMP ASSEMBLY
13050
6.REMOVE CAMSHAFT TIMING GEAR ASSEMBLY
13070A
7.REMOVE CAMSHAFT TIMING EXHAUST GEAR ASSEMBLY
8.REMOVE SST
11101
9.REMOVE CYLINDER HEAD SUB-ASSEMBLY
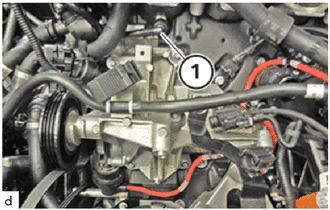
Unlock radiator reserve tank hose (1) and pull off.
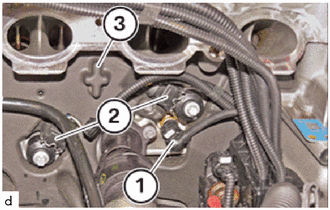
Unlock and disconnect the plug connections (1) and (2).
Loosen the No. 4 engine cover (3) around the cylinder head sub-assembly.
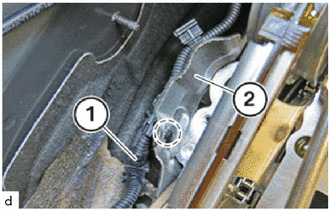
Unclip the transmission wire (1) from the rear cylinder block cover (2) in the marked area.
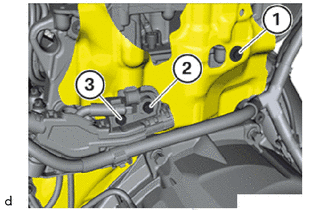
Loosen T30 bolt (1), E8 bolts (2) and (3).
- NOTICE:
-
The figure shows the rear side of the engine.
Remove rear cylinder block cover.
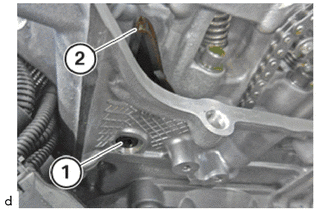
Release the T45 bearing journal (1) from the No. 1 chain vibration damper (2).
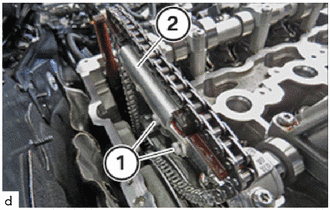
Loosen E10 bolts (1).
Remove the chain damper guide (2).
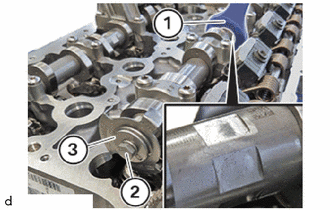
Secure the intake camshaft sub-assembly with an open-end spanner (1).
Loosen bolt (2).
Remove the camshaft sensor wheel (3).
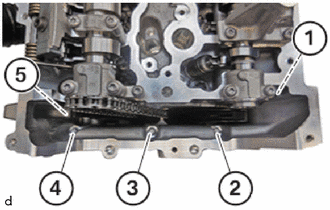
Loosen E10 bolts (1) to (5).
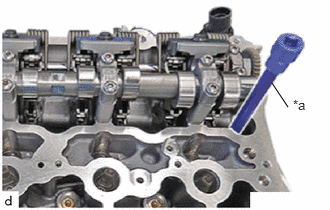
| *a | T60 Long "TORX" Socket Wrench |
Using a T60 deep "TORX" socket wrench, To unscrew the cylinder head T60 bolts.
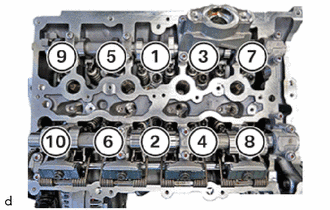
Loosen the cylinder head T60 bolts in the sequence from (10) to (1).
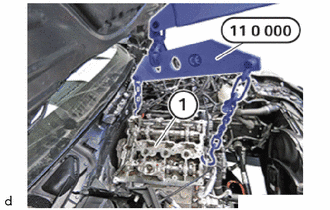
Remove the cylinder head sub-assembly (1) and the turbocharger sub-assembly with the special tool 0 490 561 (11 0 000).
- SST
- 09200-WA870
11115
10.REMOVE CYLINDER HEAD GASKET
- NOTICE:
-
- ·
Damage to the surface.
The use of metal-cutting tools (e.g. emery cloth) to clean the surfaces can damage them and lead to leaks or engine damage.
-Do not use any metal-cutting tools.
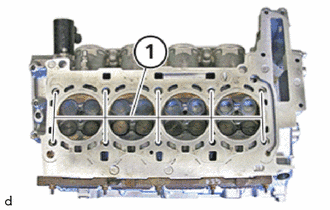
Remove oil and dirt from the blind holes (1).
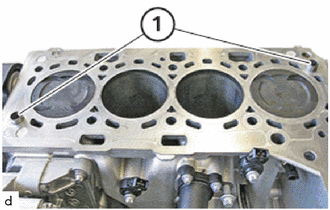
Check the ring pins (1) for secure fit and damage.
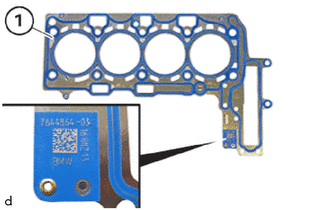
Identify the cylinder head gasket (1) using the part number.
If the cylinder head sub-assembly is reworked, an additional thicker 0.3 mm cylinder head gasket is available for service personnel.
Replace cylinder head gasket (1).
11. SEALING OIL DUCT
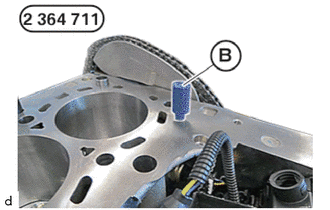
Seal the oil duct using special tool (B) from the set of special tools 2 364 711.
- SST
- 09200-WA530
12. CLEAN SEALING SURFACES
- NOTICE:
- ·
Damage to the surface.
The use of metal-cutting tools (e.g. emery cloth) to clean the surfaces can damage them and lead to leaks or engine damage.
-Do not use any metal-cutting tools.
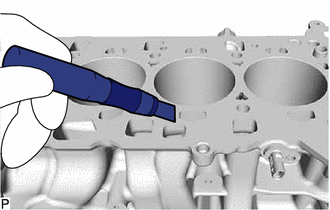
Remove coarse backlogs from the sealing surfaces of the cylinder head sub-assembly and the cylinder block sub-assembly.
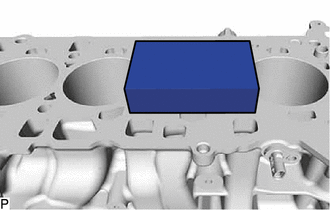
Remove fine backlogs from the sealing surfaces of the cylinder head sub-assembly and the cylinder block sub-assembly.
Clean all the blind holes of the cylinder head sub-assembly and the cylinder block sub-assembly.
Remove special tool (B) contained in the set of special tools 2 364 711.
- SST
- 09200-WA530