Apron Side Member Removal and Installation
Precautions: Precautions for Body Structure · Precautions for Body, Cab and Accessories · General safety (00)
NOTE:
The figure below shows condition where the following parts are removed.
•Front fender 
•Hood lock member and lamp support brace
•Front fender lower bracket, front fender bracket and front fender rear bracket
•Cowl side outer member
•Dash side front panel with cowl top side front panel
•Fender apron panel and fender apron extension
•Hood lock member and lamp support brace
•Front fender lower bracket, front fender bracket and front fender rear bracket
•Cowl side outer member
•Dash side front panel with cowl top side front panel
•Fender apron panel and fender apron extension
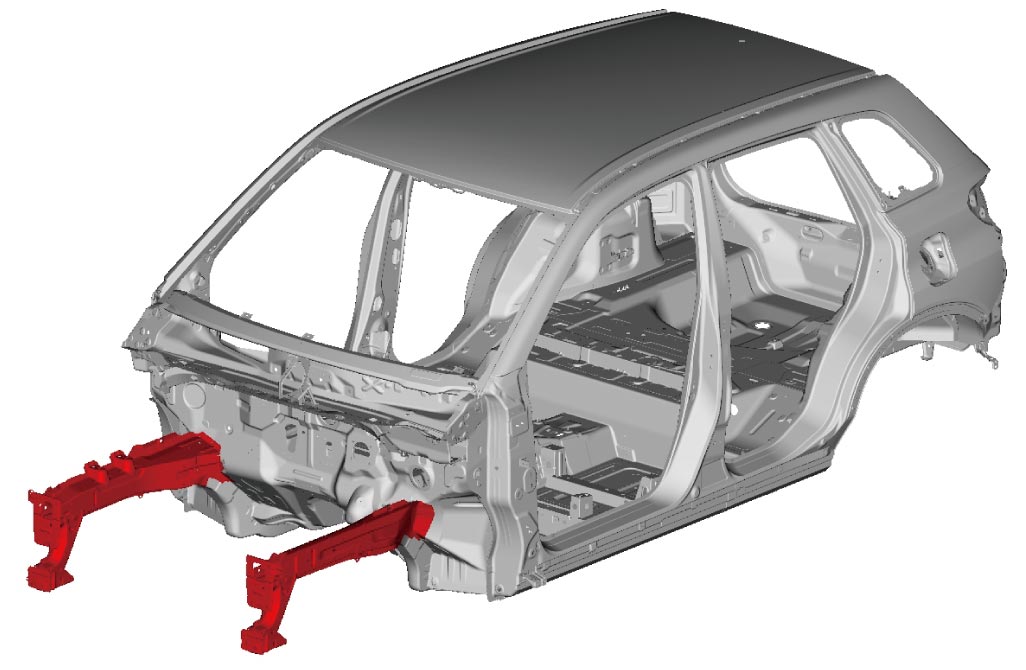
General Notes
Welding method and number of welding points are the same on both sides. This repair instruction shows procedure for left side.
Removal
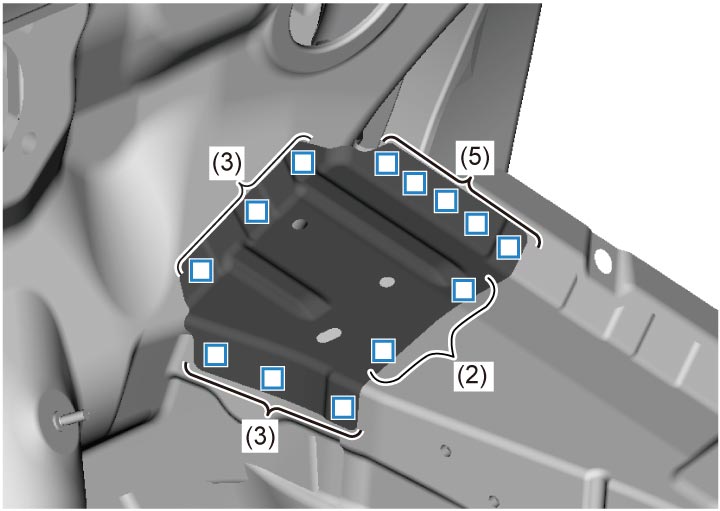
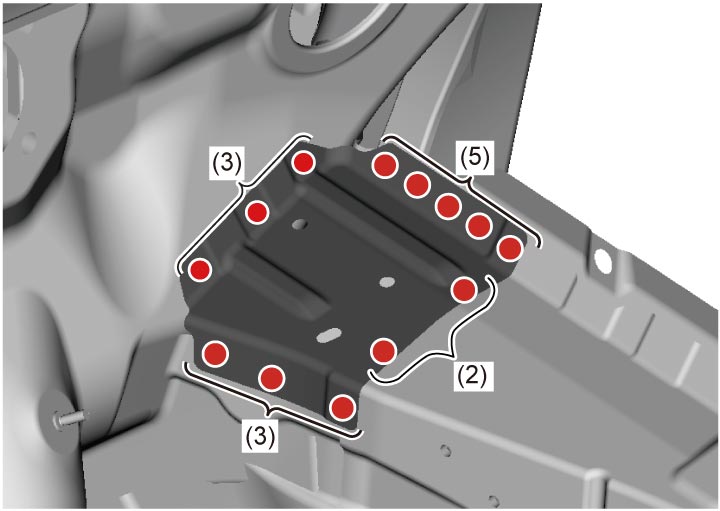
1)Drill out welding spots and remove apron side rear reinforcement.

2)Drill out welding spots and remove apron side member.
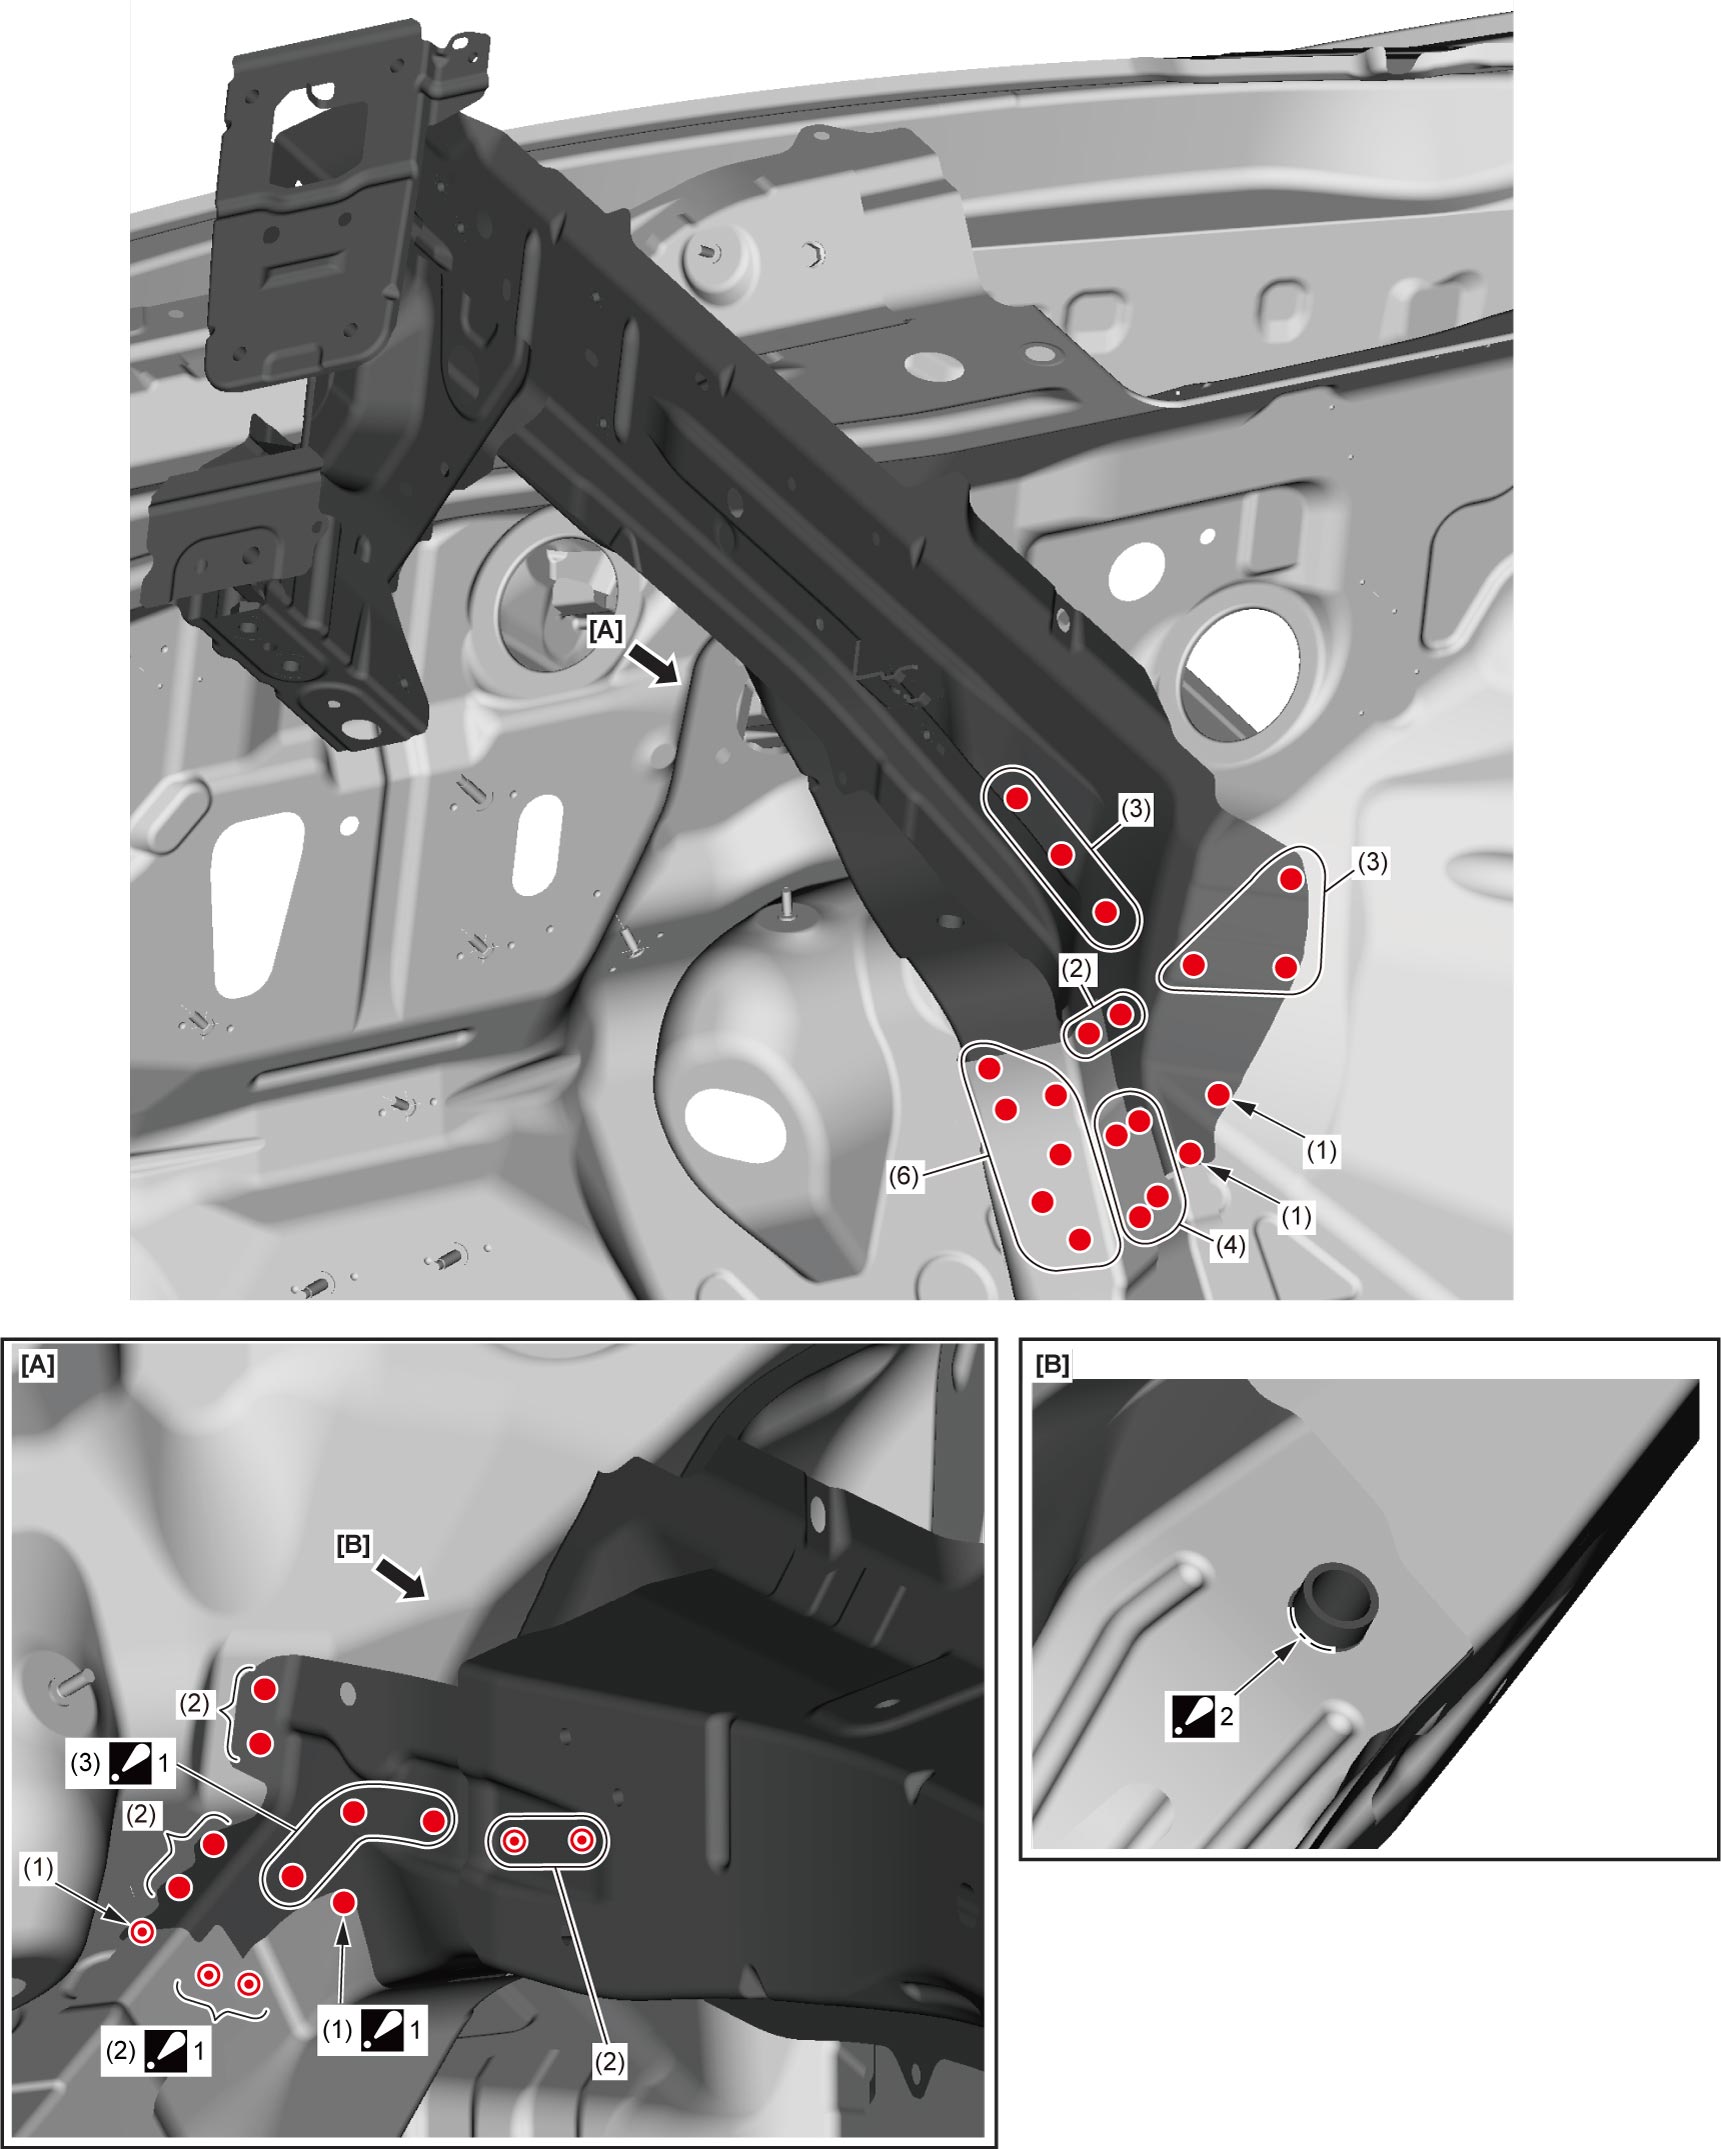
 1: 1: |
Grind welding spots using belt sander, if necessary. |
2: |
Grind continuous weld using belt sander. |
Installation
NOTE:
•Before conducting any weld, check installation position and condition for installation part(s).
—Front body:
—Underbody:
•Perform repair while taking into consideration installation of parts that affect appearance. —Underbody:
1)Install apron side member.
2)Conduct resistance spot weld, plug weld and continuous weld.
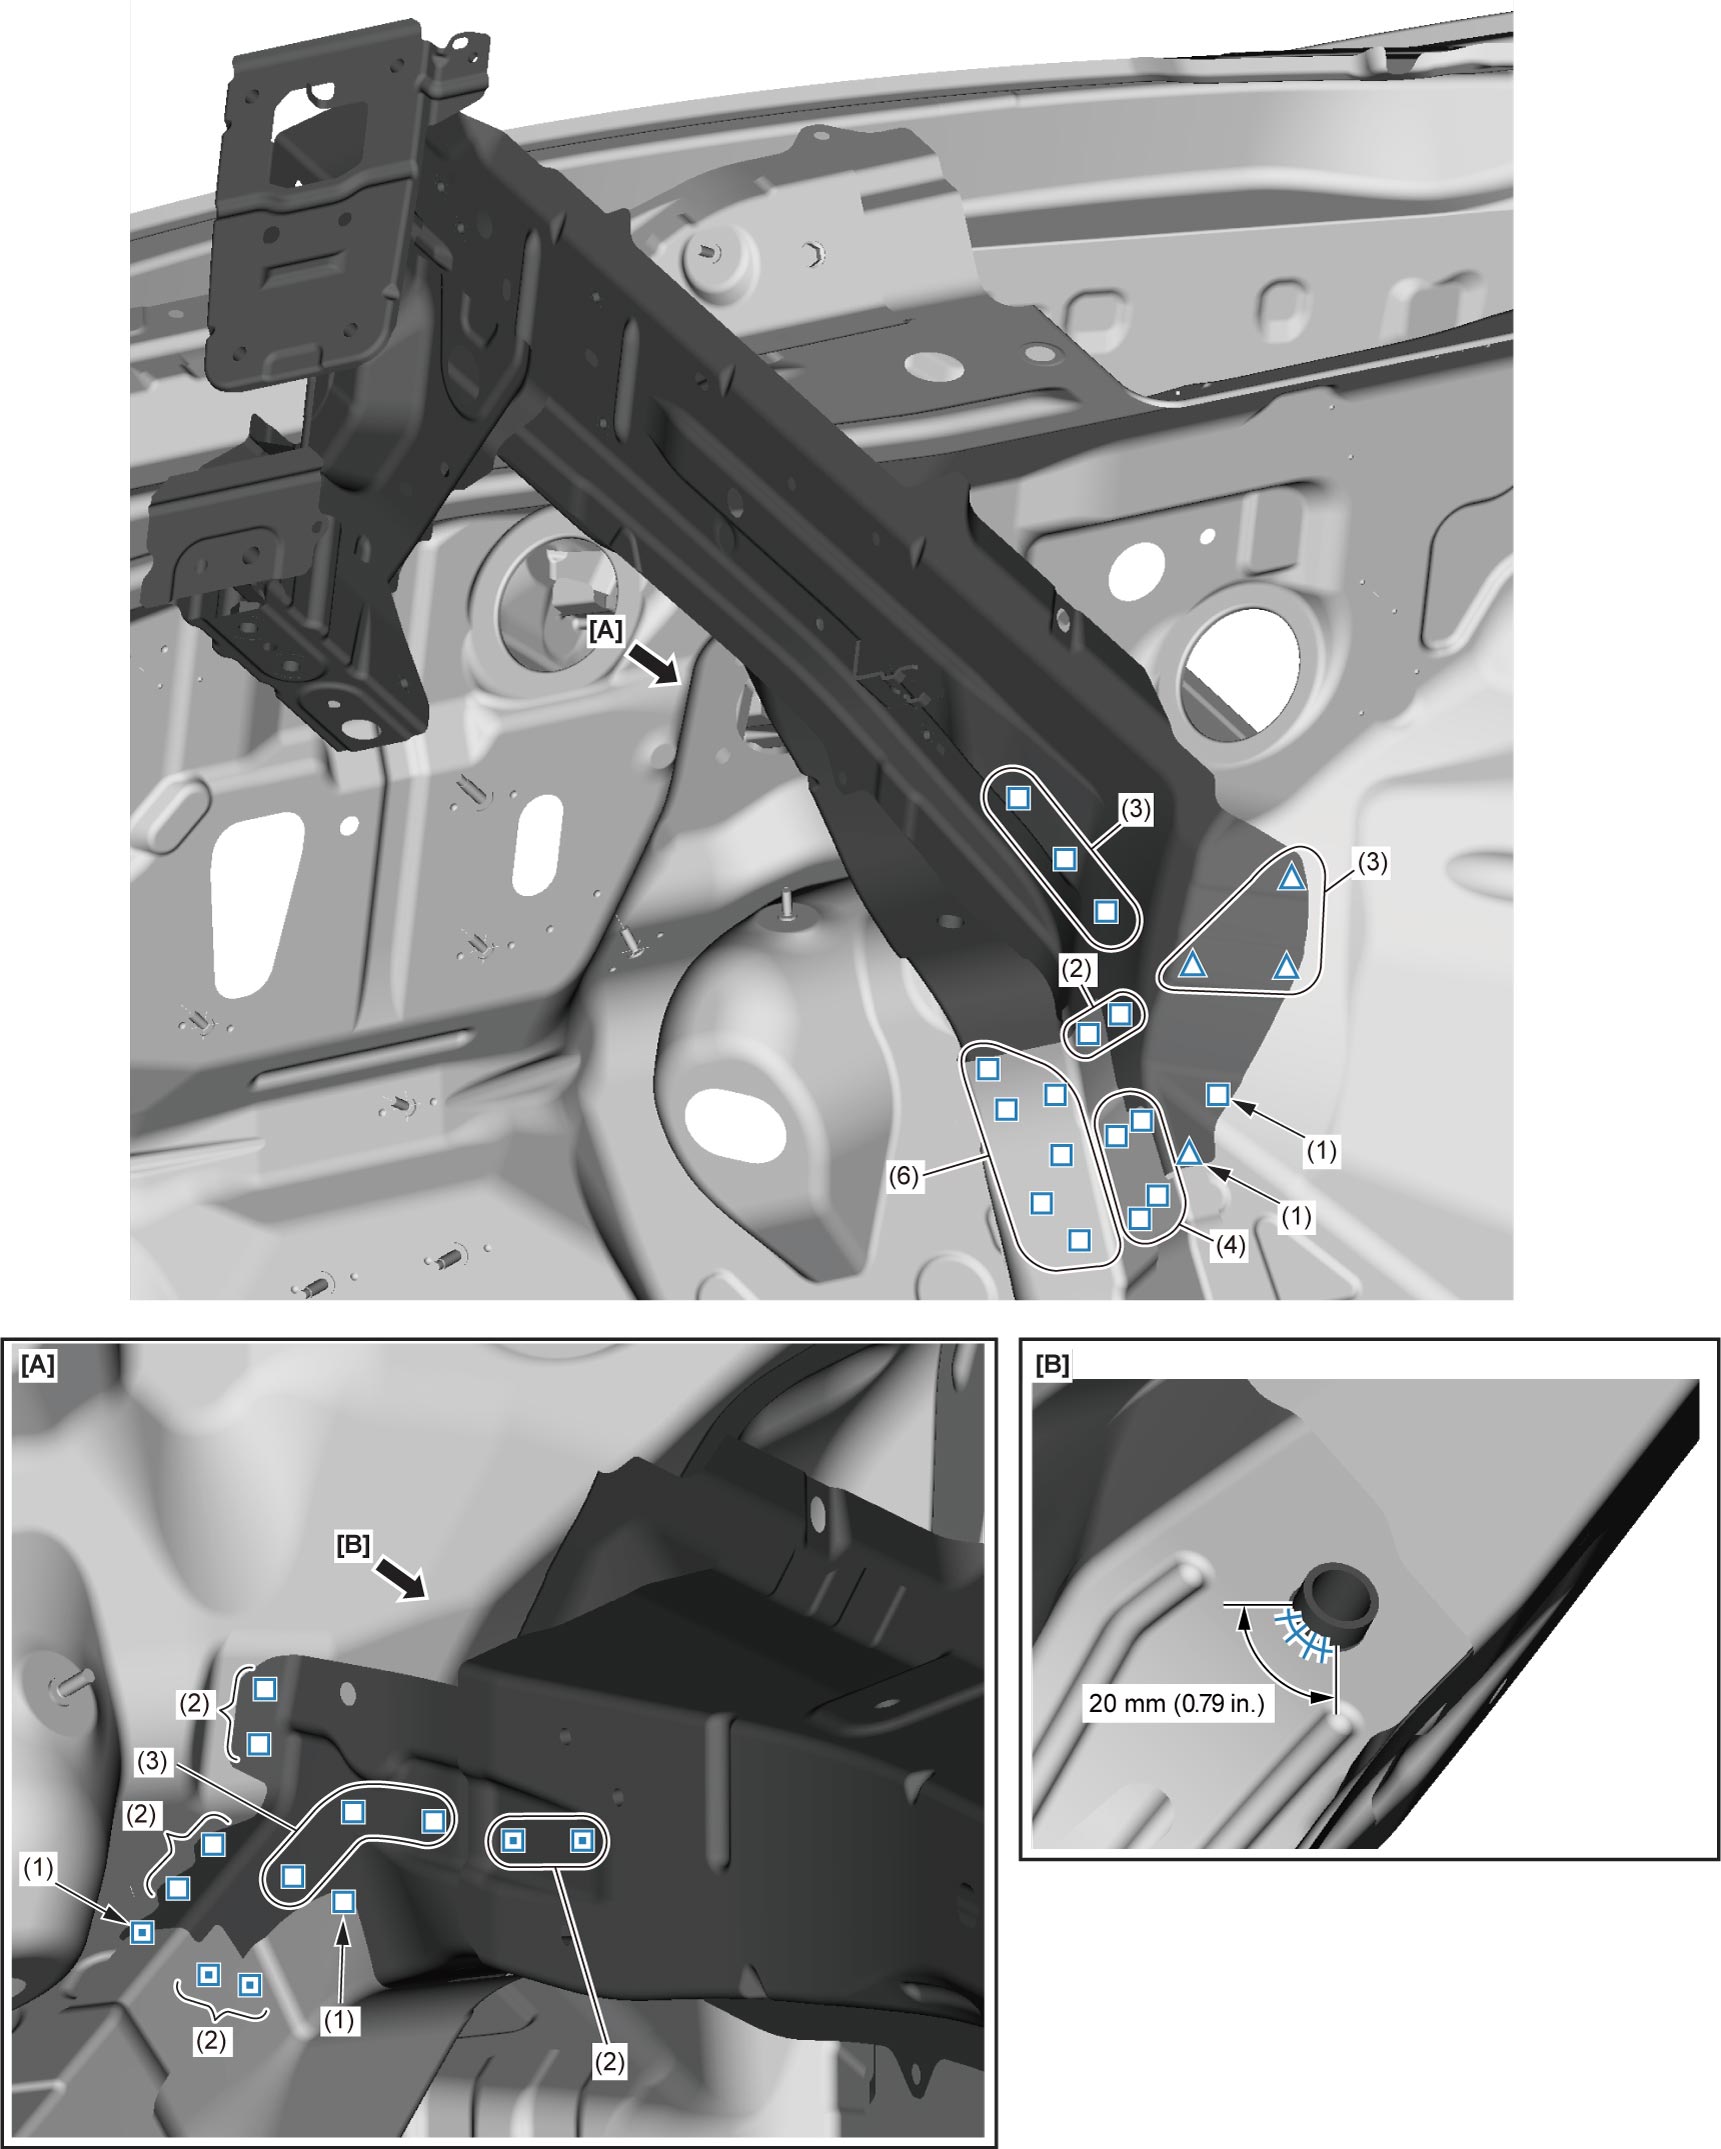
3)Install apron side rear reinforcement.
4)Conduct plug weld.