FRONT SUSPENSION FRONT SHOCK ABSORBER REMOVAL
CAUTION / NOTICE / HINT
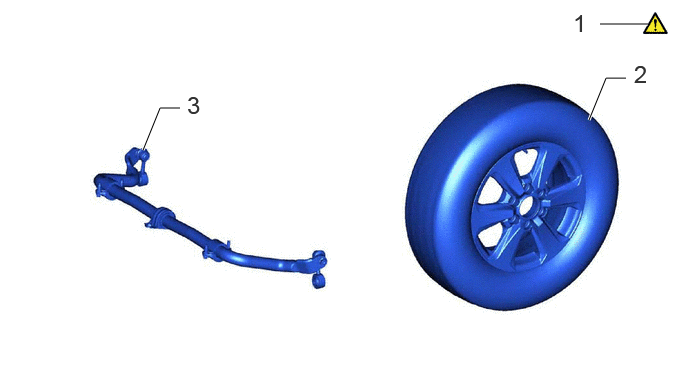
| Procedure | Part Name Code |

|

|

|
|
|---|---|---|---|---|---|
| 1 | DISABLE BRAKE CONTROL | - | ( ) |
- | - |
| 2 | FRONT WHEEL | - | - | - | - |
| 3 | FRONT STABILIZER BAR | 48811 | - | - | - |
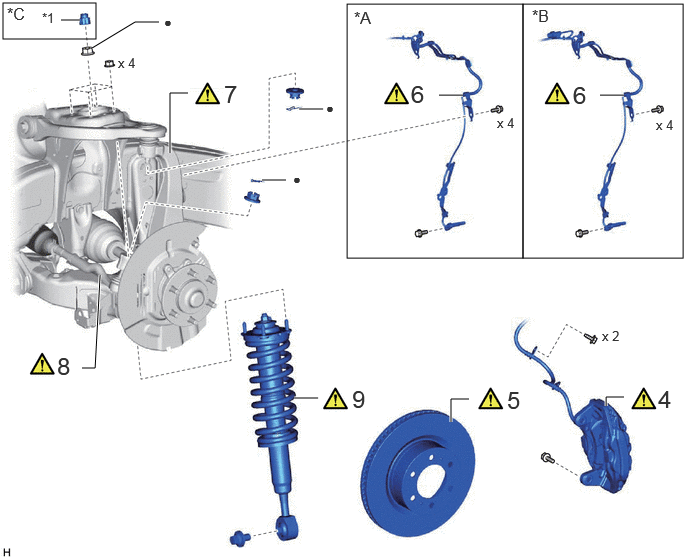
| Procedure | Part Name Code |
|
|
|
|
|---|---|---|---|---|---|
| 4 | FRONT DISC BRAKE CALIPER ASSEMBLY LH | - | () |
- | - |
| 5 | FRONT DISC LH | 43512 | () |
- | - |
| 6 | FRONT SPEED SENSOR LH | 89543 | () |
- | - |
| 7 | STEERING KNUCKLE | - | () |
- | - |
| 8 | TIE ROD END SUB-ASSEMBLY LH | 45047 | () |
- | - |
| 9 | FRONT SHOCK ABSORBER WITH COIL SPRING | - | () |
- | - |
| *1 | Upper Shock Absorber Cap | - | - |
| *A | w/o AVS | *B | w/ AVS |
| *C | w/ Cap | - | - |
| ● | Non-reusable part | - | - |
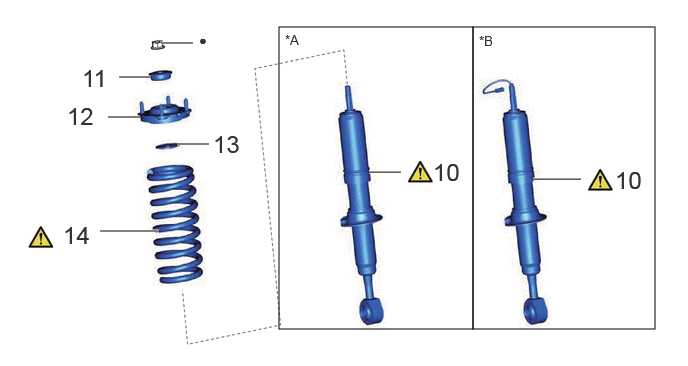
| Procedure | Part Name Code |
|
|
|
|
|---|---|---|---|---|---|
| 10 | FRONT SHOCK ABSORBER ASSEMBLY LH | 48520 | () |
- | - |
| 11 | FRONT UPPER SHOCK ABSORBER BRACKET SUB-ASSEMBLY LH | 48502 | - | - | - |
| 12 | FRONT SUSPENSION SUPPORT SUB-ASSEMBLY | 48609A | - | - | - |
| 13 | SHOCK ABSORBER CUSHION RETAINER | 48597 | - | - | - |
| 14 | FRONT COIL SPRING LH | 48132 | () |
- | - |
| *A | w/o AVS | *B | w/ AVS |
| ● | Non-reusable part | - | - |
CAUTION / NOTICE / HINT
The necessary procedures (adjustment, calibration, initialization, or registration) that must be performed after parts are removed, installed, or replaced during the front shock absorber removal/installation are shown below.
- Necessary Procedure After Parts Removed/Installed/Replaced:
-
Replacement Part or Procedure Necessary Procedures Effects/Inoperative when not Performed Link Suspension, tires, etc. Rear television camera assembly optical axis (Back camera position setting) Parking assist monitor system ( )·Parking assist ECU initialization
·Adjust steering angle
·Rear television camera view adjustment (for Rear camera detection system)
Panoramic view monitor system ( )Replacement of the rear height control sensor sub-assembly LH, removal and reinstallation of the rear height control sensor sub-assembly LH, replacement of the suspension, etc. have been performed. Perform headlight ECU sub-assembly LH initialization Automatic headlight beam level control system ( )Wheel alignment adjustment Perform "Calibration" ·DTCs are stored
·ABS warning light illuminates
·Brake system warning light (yellow indicator) illuminates
·Slip indicator light illuminates
·Electronically controlled brake system does not operate correctly
( )
- HINT:
-
·
Use the same procedure for the RH and LH sides.
·The procedure listed below is for the LH side.
PROCEDURE

 1.DISABLE BRAKE CONTROL
|
|
Click here() |
2.REMOVE FRONT WHEEL
48811 3.REMOVE FRONT STABILIZER BAR
w/ Electronic-Kinetic Dynamic Suspension System: Click hereSuspension>FRONT SUSPENSION>FRONT STABILIZER BAR (w/ Electronic-Kinetic Dynamic Suspension System)>REMOVAL
w/o Electronic-Kinetic Dynamic Suspension System: Click hereSuspension>FRONT SUSPENSION>FRONT STABILIZER BAR (w/o Electronic-Kinetic Dynamic Suspension System)>REMOVAL
4.DISCONNECT FRONT DISC BRAKE CALIPER ASSEMBLY LH
|
|
Click here() |
43512 5.REMOVE FRONT DISC LH
|
|
Click here() |
89543 6.DISCONNECT FRONT SPEED SENSOR LH
|
|
|
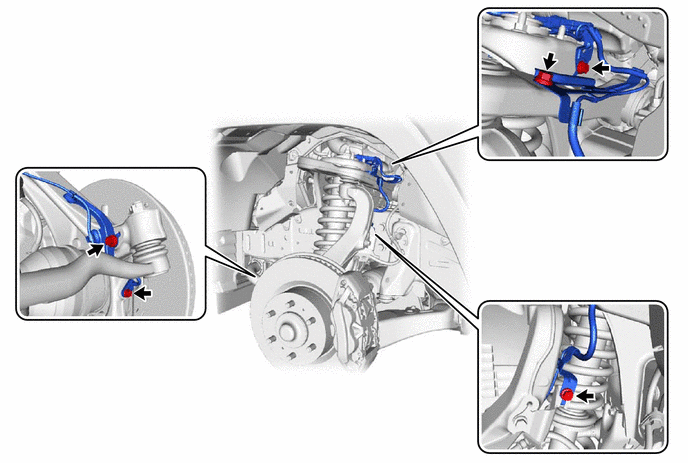
w/ AVS:
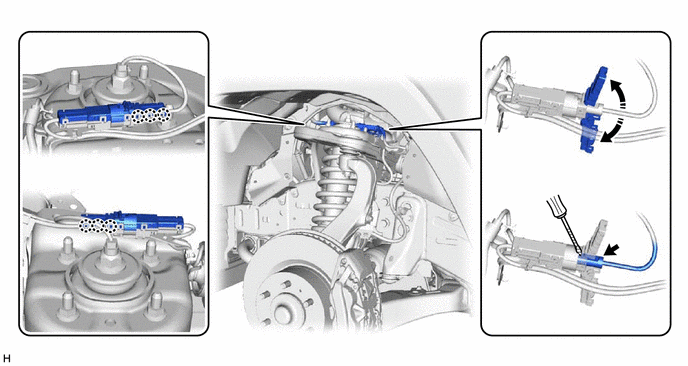
7.DISCONNECT STEERING KNUCKLE
|
|
Click here() |
45047 8.DISCONNECT TIE ROD END SUB-ASSEMBLY LH
|
|
Click here() |
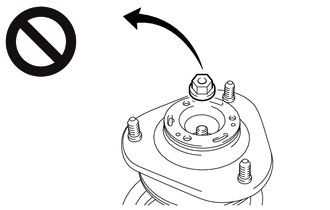
9.REMOVE FRONT SHOCK ABSORBER WITH COIL SPRING
|
|
|
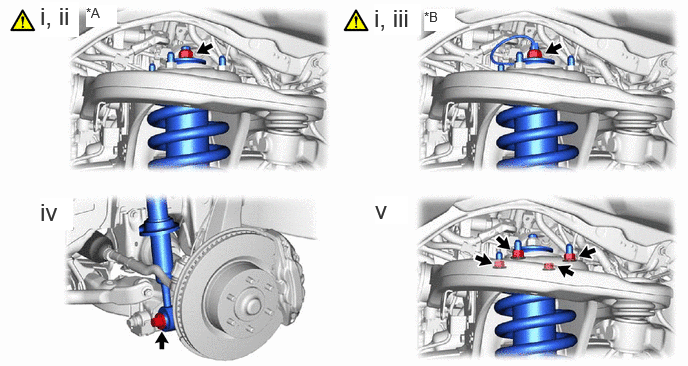
| *A | w/o AVS | *B | w/ AVS |
w/ Cap:
Remove the upper shock absorber cap.
w/o AVS:
Loosen the lock nut.
w/ AVS:
Using a union nut wrench, Loosen the lock nut.
Remove the bolt from the shock absorber lower side.
Remove the 4 nuts from the shock absorber upper side.
48520 10.REMOVE FRONT SHOCK ABSORBER ASSEMBLY LH
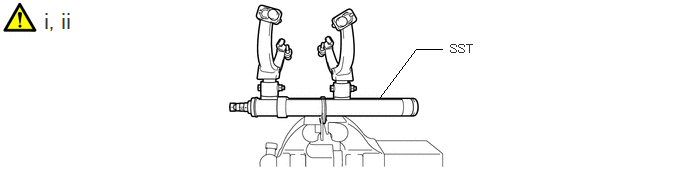
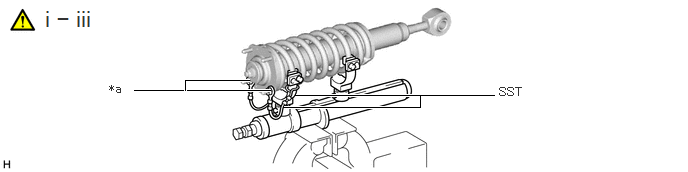
Secure SST in a vise.
- SST
-
09727-30022 (09727-00010, 09727-00022, 09727-00031)
Attach the hooks of each SST arm across the diameter of the coil spring.
- CAUTION:
-
·
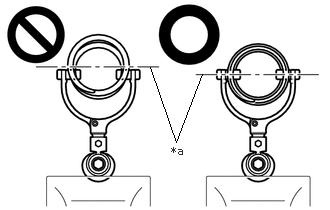 1.563,0.698 1.833,1.479 1.833,1.479 2.104,0.771 false 1.781,1.5 2.094,1.698 0.313,0.198 10 false *a
*a Front Coil Spring Diameter
Do not perform the work without checking to make sure that the claws of the hooks are securely engaged.
·It could cause the hook to slip off and the spring to fly out, which could result in an injury.
·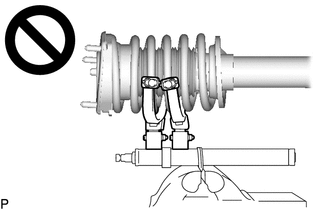
Do not install SST to the front coil spring unless its top and bottom hook distance is set to the widest condition.
·It could cause the hook to slip off and the spring to fly out, which could result in an injury.
·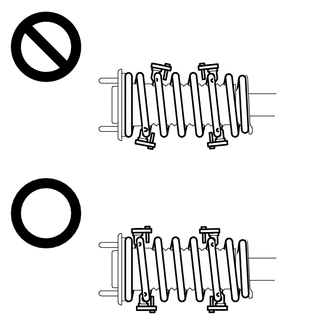
Do not install SST when the distances between the SST arms or the number of coils of the coil spring between the hooks are not the same.
·It could cause the hook to slip off and the spring to fly out, which could result in an injury.
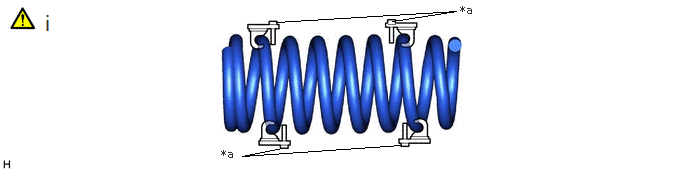
| *a | Stopper Pin | - | - |
Install the stopper pins to the hooks of SST.
- CAUTION:
-
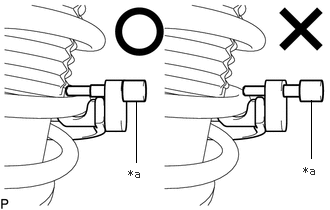 1.417,1.688 1.417,1.052 false 3.24,1.646 3.24,1.042 false 1.333,1.74 1.646,1.896 0.313,0.156 10 false *a 3.156,1.708 3.365,1.865 0.208,0.156 10 false *a
*a Stopper pin
-
Do not perform the work if the stopper pin is not securely installed.
| *a | Vehicle Nut | - | - |
Install SST and 2 vehicle nuts to the upper support as shown in the illustration.
- SST
-
09727-30022 (09727-00090, 09727-00100)
Using SST, compress the coil spring.
- CAUTION:
-
·
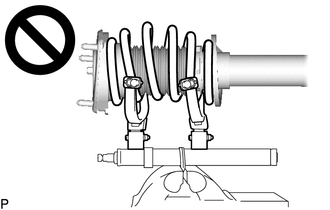
While compressing the spring, if the front coil spring starts to bend into a bow shape, do not continue the work.
·It could cause the hook to slip off and the spring to fly out, which could result in an injury.
·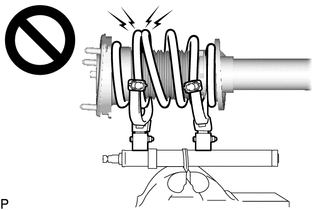
Do not compress the springs so far that the coils of the springs touch each other.
·It could cause the hook to slip off and the spring to fly out, which could result in an injury.
·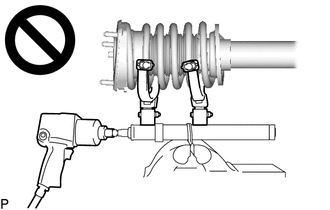
Do not use an impact wrench.
·The threads may be stripped, or the sudden compression may result in slack that causes the hooks to slip off, causing the spring to fly out and possibly resulting in injury.
Install SST as shown in the illustration.
- SST
-
09727-00110
- CAUTION:
-
·
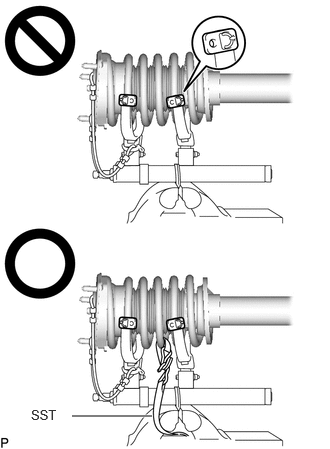 0.75,4.333 1.583,4.333 true 0.323,4.24 0.781,4.438 0.458,0.198 10 false SST
If a stopper pin touches the coil spring while using SST, remove the stopper pin and continue with the procedure.
·If a stopper pin is removed, install a coil spring stopper belt as shown in the illustration.
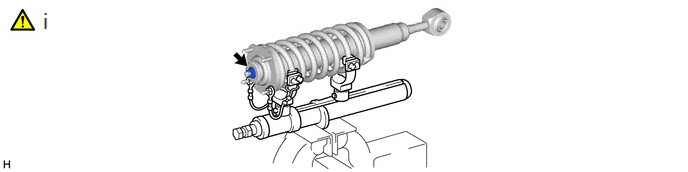
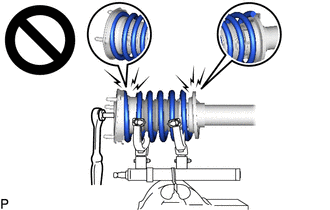
Check that the front coil spring LH has become free, and remove the front support to front shock absorber lock nut.
- CAUTION:
-
-
·
If the front coil spring has not become free, do not remove the front support to front shock absorber lock nut.
·The spring force will cause the components to be scattered, possibly resulting in injury.
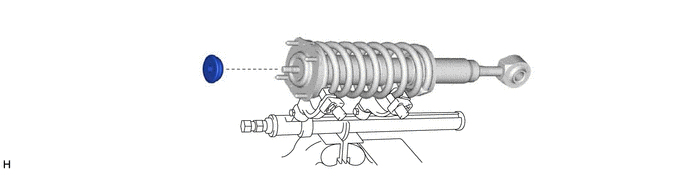
48502 11.REMOVE FRONT UPPER SHOCK ABSORBER BRACKET SUB-ASSEMBLY LH
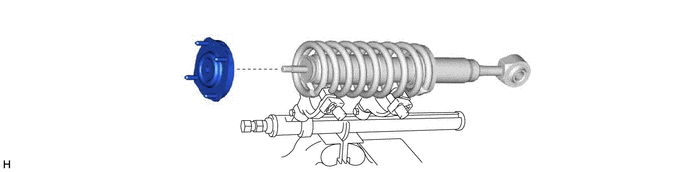
48609A 12.REMOVE FRONT SUSPENSION SUPPORT SUB-ASSEMBLY
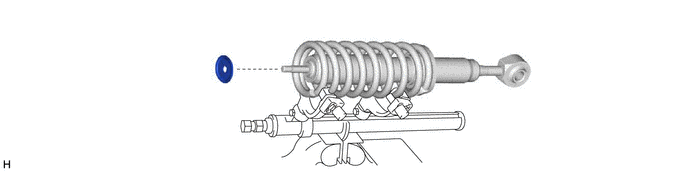
48597 13.REMOVE SHOCK ABSORBER CUSHION RETAINER
48132 14.REMOVE FRONT COIL SPRING LH
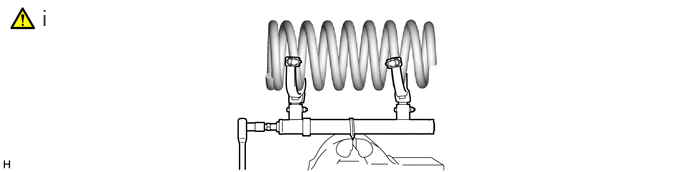
Remove the front coil spring LH and SST.
- NOTICE:
-
Do not use an impact wrench. It will damage SST.