M20A-FKS STARTING STARTER(for 1.2 kW Type) REMOVAL
CAUTION / NOTICE / HINT
The necessary procedures (adjustment, calibration, initialization or registration) that must be performed after parts are removed and installed, or replaced during starter assembly removal/installation are shown below.
| Replaced Part or Performed Procedure | Necessary Procedure | Effect/Inoperative Function when Necessary Procedure not Performed | Link |
|---|---|---|---|
|
*: When performing learning using the GTS. Click here( |
|||
| Battery terminal is disconnected/reconnected | Perform steering sensor zero point calibration | Lane control system | ( ) |
| Parking support brake system (for Gasoline model)* | |||
| Pre-collision system | |||
| Memorize steering angle neutral point | Parking assist monitor system | ()
|
|
| Panoramic view monitor system (for Gasoline model) | ()
|
||
| Reset back door close position | Power back door system (for Gasoline model) | ()
|
|
| Power back door initialization | Power door lock control system | ()
|
|
- NOTICE:
-
After the ignition switch is turned off, the navigation system requires approximately a minute to record various types of memory and settings. As a result, after turning the ignition switch off, wait a minute or more before disconnecting the cable from the negative (-) battery terminal.
PROCEDURE

 1. PRECAUTION
- NOTICE:
-
After turning the engine switch off, waiting time may be required before disconnecting the cable from the negative (-) battery terminal. Therefore, make sure to read the disconnecting the cable from the negative (-) battery terminal notices before proceeding with work.
2.DISCONNECT CABLE FROM NEGATIVE BATTERY TERMINAL
12361A
3.REMOVE FRONT ENGINE MOUNTING INSULATOR
12601B
4.REMOVE NO. 1 ENGINE COVER SUB-ASSEMBLY
17750A
5.REMOVE INLET AIR CLEANER ASSEMBLY
6.REMOVE AIR CLEANER ASSEMBLY WITH AIR CLEANER HOSE
11363A
7.REMOVE FLYWHEEL HOUSING SIDE COVER
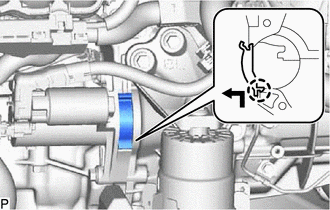
Detach the claw as shown in the illustration to remove the flywheel housing side cover.
28100
8.REMOVE STARTER ASSEMBLY
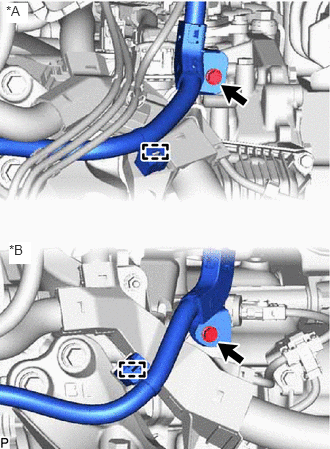
| *A | for CVT |
| *B | for Manual Transaxle |
Detach the clamp, remove the bolt and disconnect the engine wire.
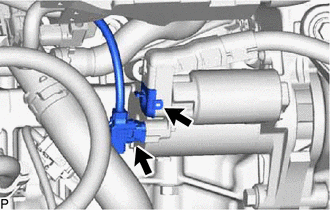
Disconnect the starter assembly connector.
Open the terminal cap.
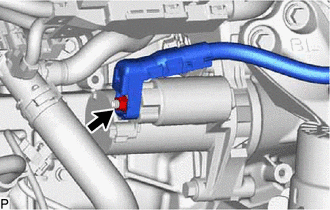
Remove the nut and disconnect the engine wire from terminal 30.
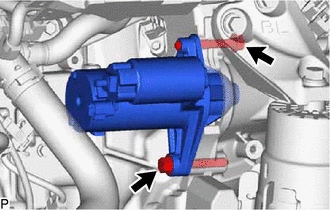
Remove the 2 bolts and starter assembly from the cylinder block sub-assembly.