Brake Pedal Assembly Removal and Installation
Precautions: Precautions for Brake Service · Precautions for Brakes · General safety (00)
NOTICE:
The brake pedal assembly will lose their original performance if they are disassembled and reassembled.
If any faulty condition is found with the brake pedal assembly, replace the part rather than trying to disassemble and repair it.
Removal
1)Remove combination meter. 
2)Remove instrument panel undercover and steering column hole cover.
3)Remove accelerator pedal assembly.
•M16A model:
•K14C model:
•D16AA model:
•K14C model:
•D16AA model:
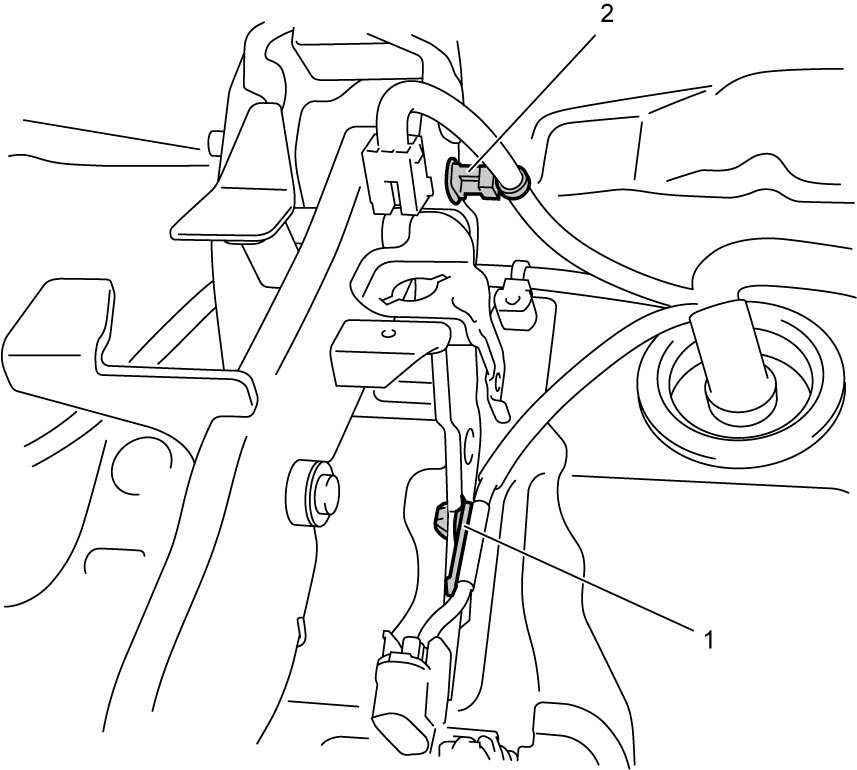
4)Disconnect accelerator pedal wiring harness clamp (1) and brake light switch wiring harness clamp (2).

5)Remove brake light switch.
6)Remove clip, clevis pin and brake booster nuts from brake pedal bracket.
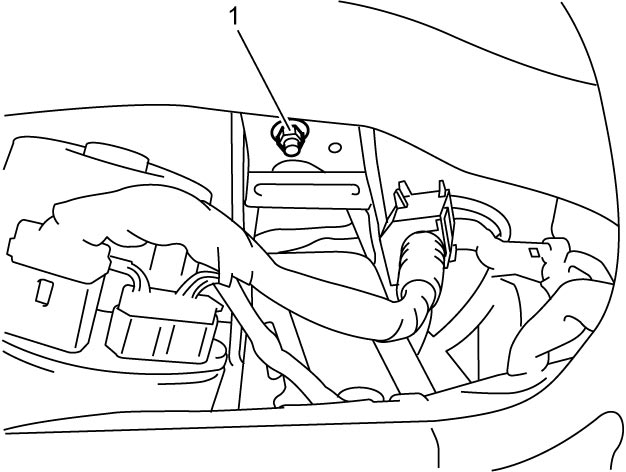
7)Remove brake pedal bracket nut (1).
8)Remove brake pedal assembly.
Installation
1)Install brake pedal assembly.
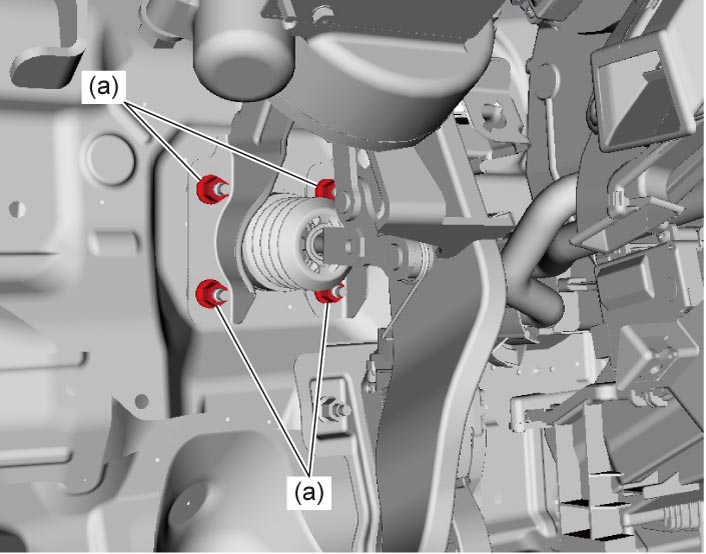
2)Tighten brake booster nuts to specified torque.
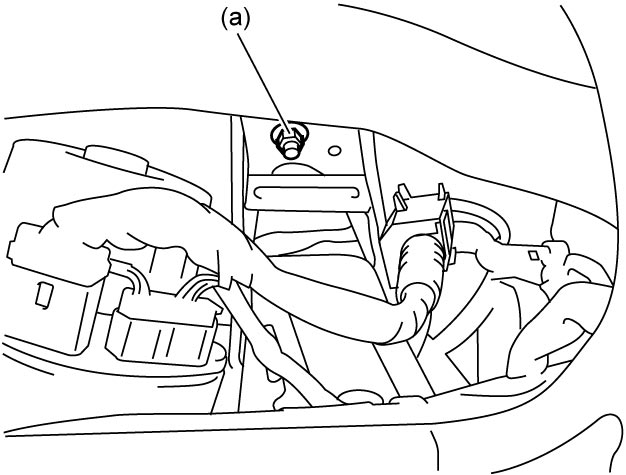
3)Tighten brake pedal bracket nut to specified torque.
4)Install clip and clevis.
5)Install brake light switch.
6)Check brake pedal free height and play.
•Brake pedal free height:
•Brake pedal play:
•Brake pedal play:
7)Connect clamps of accelerator pedal and brake light switch wiring harness.
8)Install accelerator pedal assembly.
•M16A model:
•K14C model:
•D16AA model:
•K14C model:
•D16AA model:
9)Install steering column hole cover and instrument panel undercover.
10)Install combination meter.
11)Check that brake system operates properly.