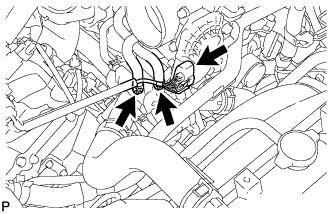
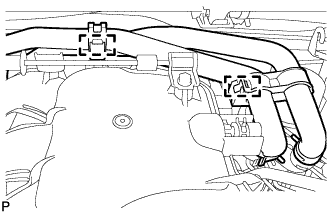
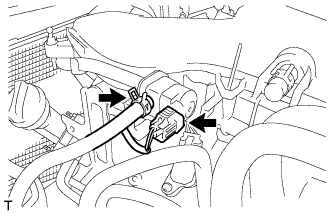
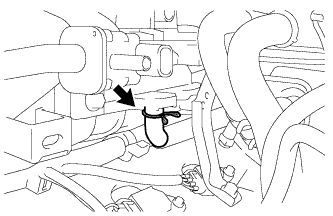
2.
DISCONNECT CABLE FROM NEGATIVE BATTERY TERMINAL
NOTICE:
When disconnecting the cable, some systems need to be initialized after the cable is reconnected (Click here).
3.
REMOVE NO. 1 ENGINE UNDER COVER SUB-ASSEMBLY
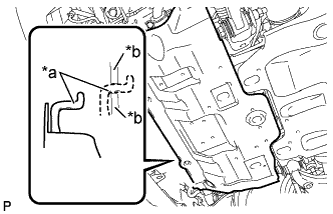
Remove the 4 bolts.
Unhook the engine under cover from the frame as shown in the illustration.
Text in Illustration
*a
Hook
*b
Frame
4.
REMOVE TRANSMISSION UNDER COVER (w/ Transmission Under Cover)
Remove the 2 bolts and transmission under cover.
5.
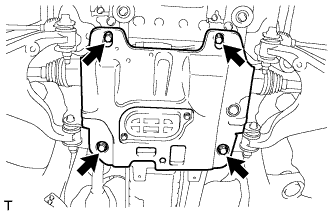
REMOVE REAR ENGINE UNDER COVER ASSEMBLY
Remove the 4 bolts and rear engine under cover.
6.
DRAIN ENGINE COOLANT
CAUTION:
Do not remove the radiator cap sub-assembly while the engine and radiator assembly are still hot. Pressurized, hot engine coolant and steam may be released and cause serious burns.
Remove the service hole cover from the engine under cover.
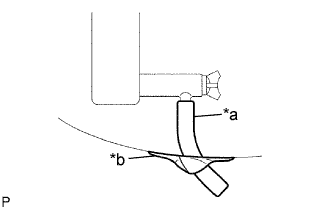
Install a vinyl hose to the radiator drain cock on the radiator assembly side.
Text in Illustration
*a
Vinyl Hose
*b
Tape
Fix the vinyl hose with tape.
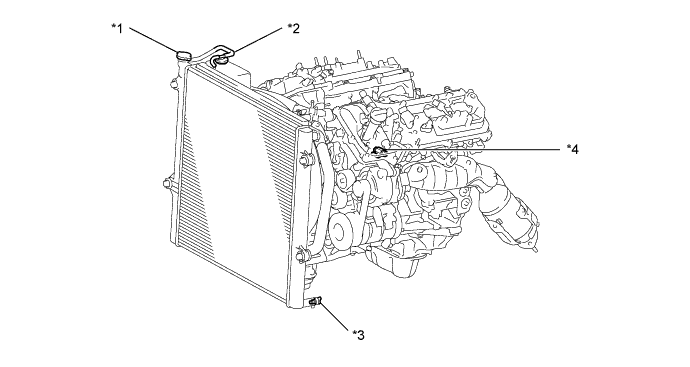
Text in Illustration
*1
Radiator Cap Sub-assembly
*2
Radiator Reserve Tank Cap Sub-assembly
*3
Radiator Drain Cock Plug
*4
Cylinder Block Drain Cock Plug
Loosen the radiator drain cock plug.
Remove the radiator cap sub-assembly and drain the engine coolant.
HINT:
Collect the engine coolant in a container and dispose of it according to the regulations in your area.
Loosen the cylinder block drain cock plug and drain the engine coolant from the engine.
NOTICE:
If engine coolant is not drained from the radiator drain cock plug, cylinder block drain cock plug and radiator reservoir, clogging in the radiator assembly or engine coolant leakage from the seal of water pump may result.
7.
DRAIN ENGINE OIL
Remove the oil filler cap.
Remove the oil pan drain plug and drain the engine oil into a container.
Install a new gasket and the oil pan drain plug.
Torque:
40 N*m{
408 kgf*cm
, 30 ft.*lbf
}
8.
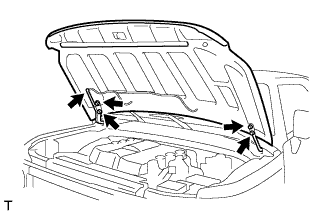
REMOVE HOOD SUPPORT
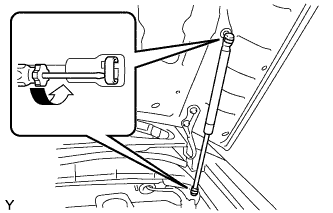
Using a screwdriver with its tip wrapped in protective tape, remove the 2 stop rings and the hood support.
NOTICE:
Do not touch the rod of the hood support with gloves, to avoid fibers from adhering.
When foreign matter adheres to the rod, it prevents the rod from moving smoothly and reduces its holding power.
HINT:
Support the hood by hand while removing the hood support.
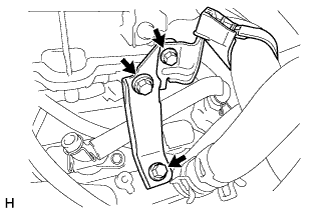
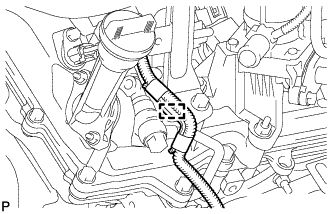
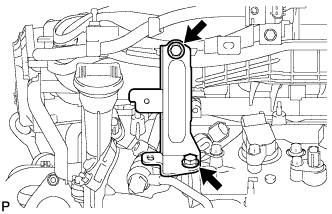
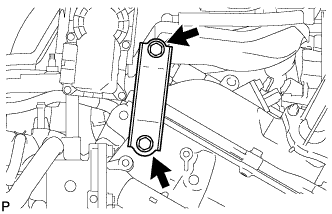
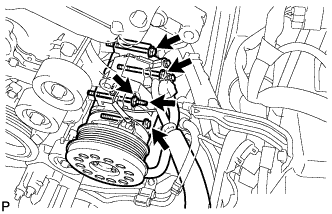
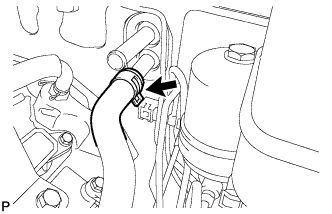
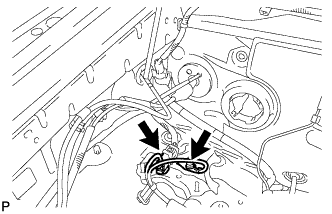
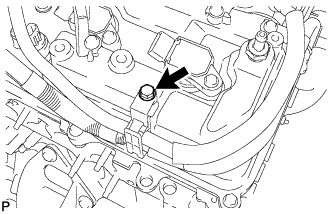
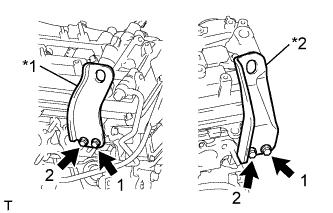
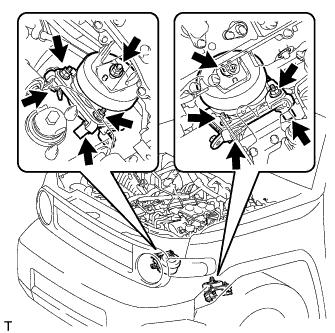
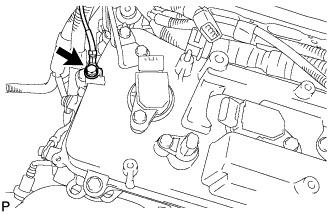
It is not necessary to completely remove the compressor. With the hoses connected to the compressor, hang the compressor on the vehicle body with a rope.
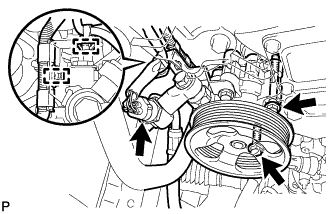
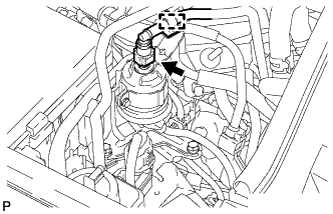
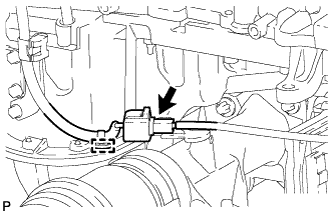
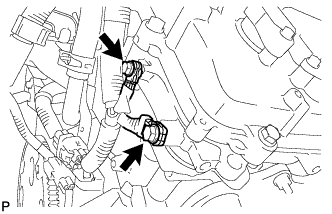
Disconnect the cooler compressor connector.
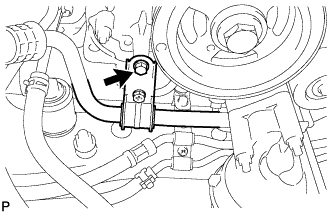
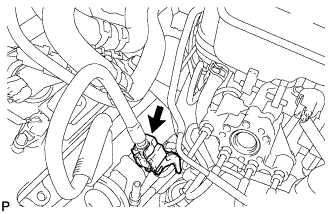
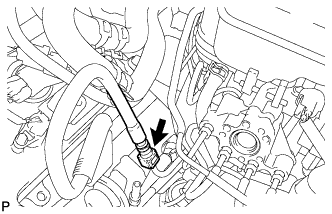
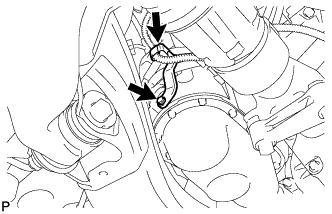
Remove the bolt and separate the suction hose.
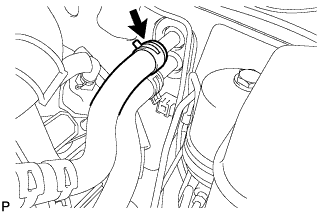
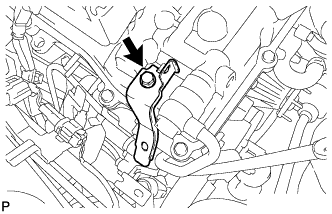
Remove the 3 bolts and nut.
Using a E8 "TORX" socket wrench, remove the stud bolt and separate the cooler compressor assembly.