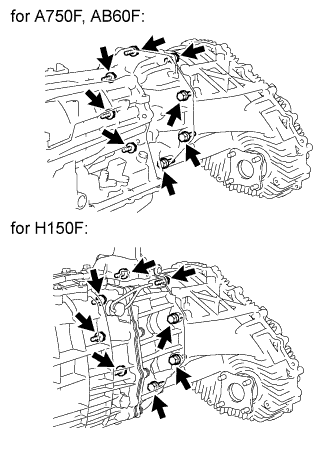
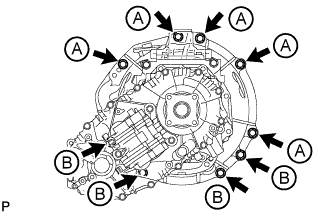
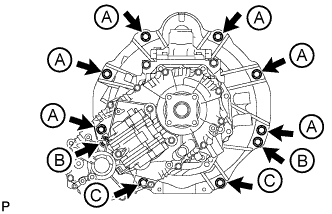
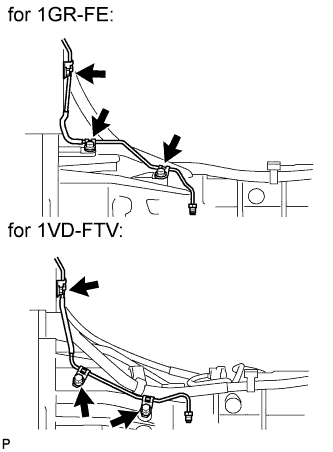
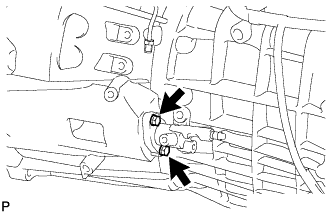
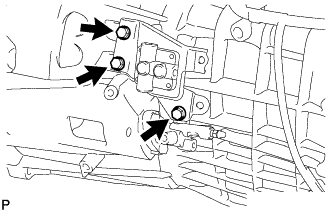
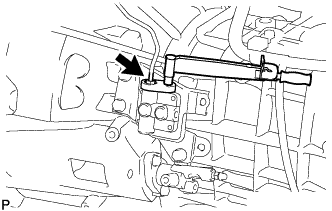
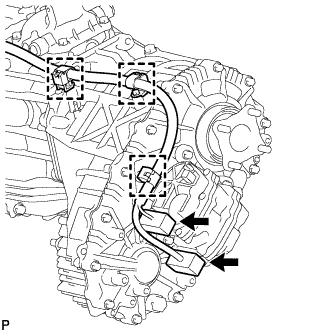
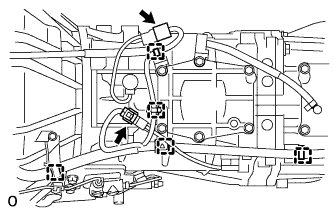
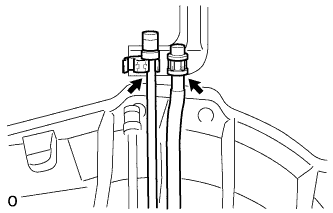
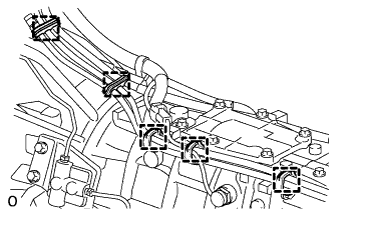
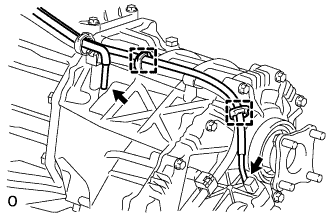
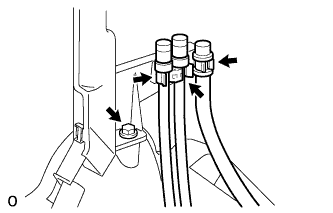
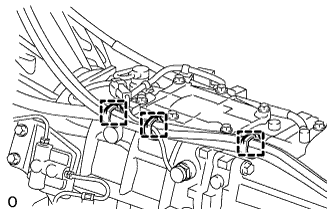
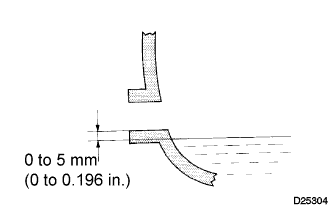
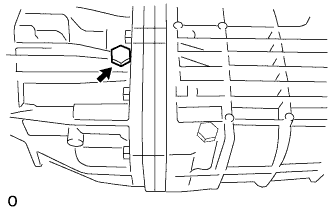
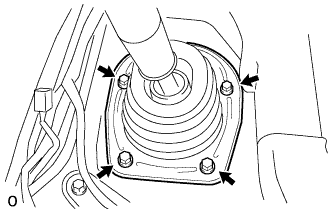
Check that the oil level is within 5 mm (0.196 in.) of the lowest point of the transmission filler plug opening.
NOTICE:
Problems may occur when the oil level is too high or low.
After replacing the oil, drive the vehicle and check the oil level again.
Inspect for oil leaks when the oil level is low.
Install a new gasket and the filler plug.
Torque:
37 N*m{
380 kgf*cm
, 27 ft.*lbf
}
26.
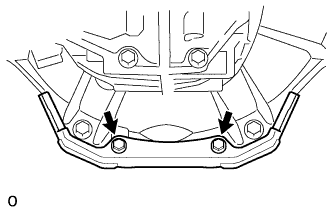
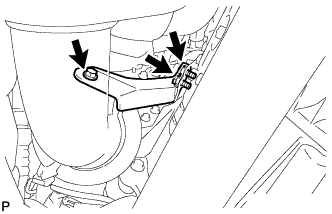
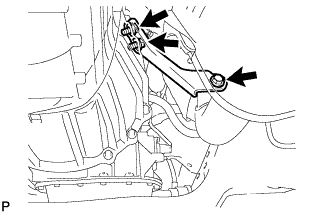
INSTALL LOWER TRANSFER CASE PROTECTOR
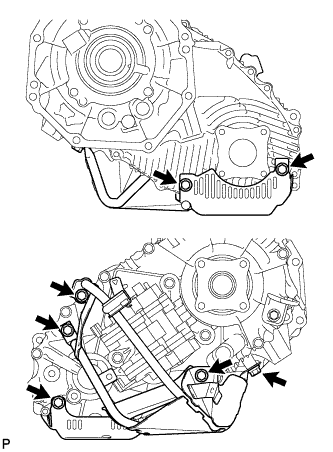
Install the lower transfer case protector with the 7 bolts.
Torque:
14 N*m{
139 kgf*cm
, 10 ft.*lbf
}
27.
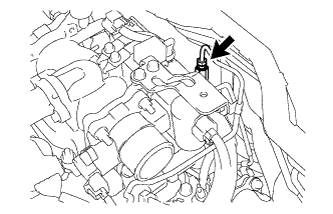
INSTALL TRANSFER DYNAMIC DAMPER (for 1VD-FTV)
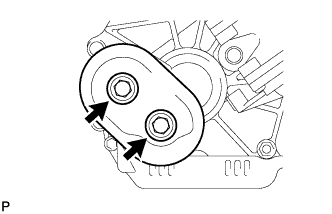
Install the transfer dynamic damper with the 2 bolts.
Torque:
12 N*m{
122 kgf*cm
, 9 ft.*lbf
}
28.
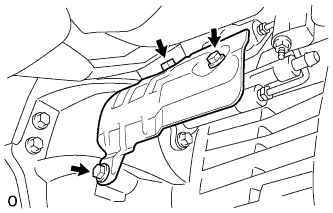
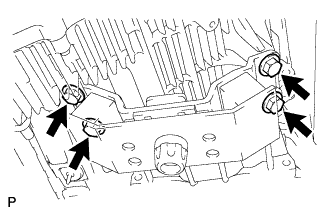
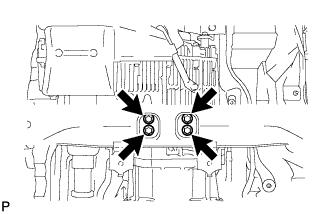
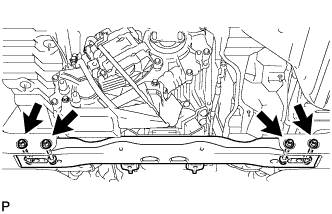
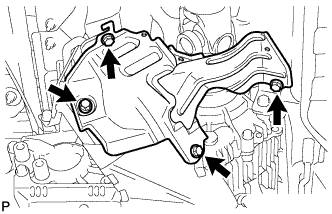
INSTALL TRANSFER HEAT INSULATOR
Install the insulator with the 4 bolts.
Torque:
30 N*m{
306 kgf*cm
, 22 ft.*lbf
}
29.
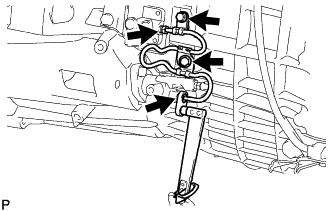
INSTALL TUBE CONNECTOR TO FLEXIBLE HOSE TUBE (for 1VD-FTV)
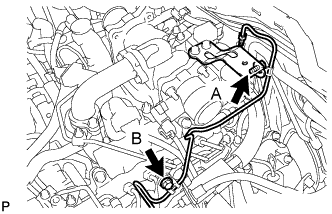
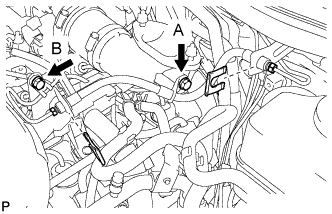
Temporarily install the flare nut of the tube connector to flexible hose tube to the clutch tube to release cylinder 2 way by hand.
Temporarily install the tube connector to flexible hose tube with the 2 bolts.
Tighten the bolt labeled A.
Torque:
20 N*m{
204 kgf*cm
, 15 ft.*lbf
}
NOTICE:
Tighten the bolt labeled B after installing the clutch hose.
30.
INSTALL AIR TUBE SUB-ASSEMBLY LH (for 1VD-FTV)
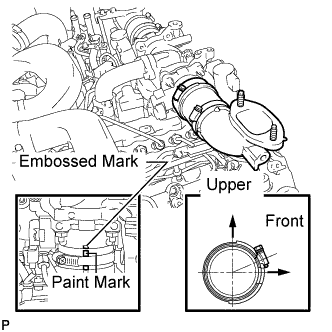
Install the air tube to the throttle body.
Align the embossed mark of the throttle body with the paint mark of the No. 4 air hose.
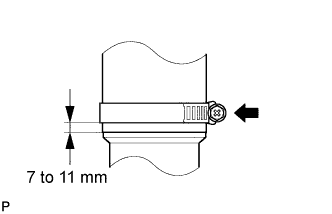
Tighten the hose clamp so that it is 7 to 11 mm (0.276 to 0.433 in.) from the end of the hose as shown in the illustration.
Torque:
6.3 N*m{
64 kgf*cm
, 56 in.*lbf
}
31.
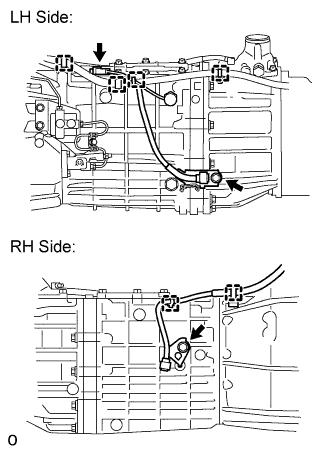
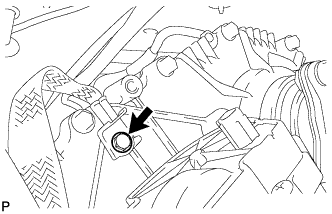
INSTALL CLUTCH HOSE (for 1VD-FTV)
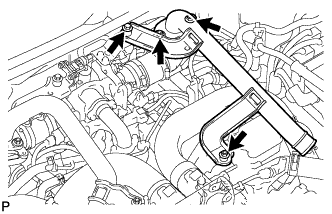
Connect the clutch hose to the air tube with the bolt labeled A.
Temporarily install the clutch hose to the clutch master cylinder tube to flexible hose tube and tube connector to flexible hose tube, and fix it in place with the 2 clips.
Torque:
20 N*m{
204 kgf*cm
, 15 ft.*lbf
}
Tighten the bolt labeled B.
Torque:
20 N*m{
204 kgf*cm
, 15 ft.*lbf
}
Tighten the flexible hose tube.
NOTICE:
Do not bend or damage the flexible hose tube.
Do not allow any foreign matter such as dirt and dust to enter the flexible hose tube from the connecting points.
HINT:
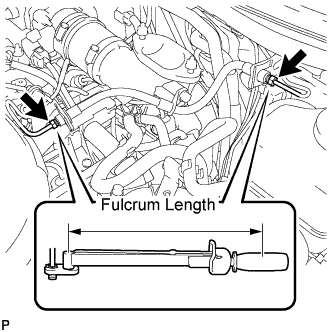
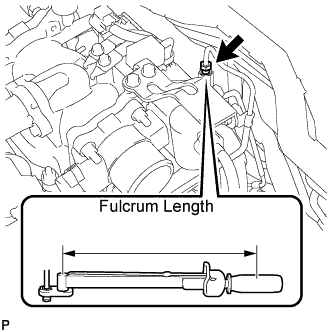
Use a torque wrench with a fulcrum length of 30 cm (11.8 in.). If using a torque wrench with a length that is not 30 cm (11.8 in.), calculate the torque specification for the torque wrench and SST based on the "without SST" torque specification (Click here).
Make sure union nut wrench and the wrench are connected in a straight line.
Using a 10 mm union nut wrench, tighten the 2 flare nuts of the flexible hose tube.
Torque:
without union nut wrench:
15 N*m{
154 kgf*cm
, 11 ft.*lbf
}
with union nut wrench:
14 N*m{
141 kgf*cm
, 10 ft.*lbf
}
Using a 10 mm union nut wrench, tighten the flare nut of the flexible hose tube.
Torque:
without union nut wrench:
15 N*m{
154 kgf*cm
, 11 ft.*lbf
}
with union nut wrench:
14 N*m{
141 kgf*cm
, 10 ft.*lbf
}
32.
INSTALL NO. 2 COOL AIR INLET (w/o Intercooler)
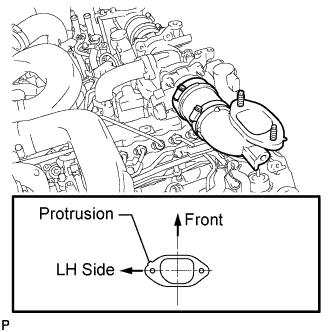
Install a new gasket to the air tube LH.
HINT:
Install the gasket with the protrusion facing as shown in the illustration.
Install the No. 2 cool air inlet with the 3 nuts and bolt.
Torque:
21 N*m{
214 kgf*cm
, 15 ft.*lbf
}
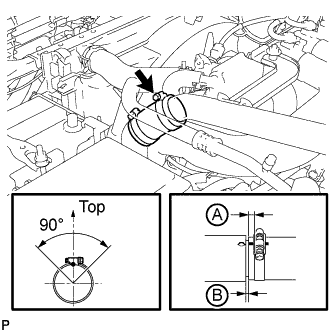
Connect the No. 2 air hose to the No. 2 cool air inlet.
Tighten the No. 2 air hose clamp.
Torque:
6.3 N*m{
64 kgf*cm
, 56 in.*lbf
}
HINT:
Align the paint mark of the air hose with the protrusion and push on the air hose so that distance B is 0 to 3 mm (0 to 0.118 in.).
Position the clamp so that distance A is 2 to 6 mm (0.0787 to 0.236 in.).
Make sure the direction of the hose clamp is as shown in the illustration.
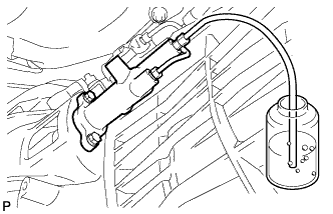
Depress the clutch pedal several times, and then loosen the bleeder plug while the pedal is depressed.
When fluid no longer comes out, tighten the bleeder plug, and then release the clutch pedal.
Repeat the previous 2 steps until all the air in the fluid is completely bled.
Tighten the bleeder plug.
Torque:
11 N*m{
110 kgf*cm
, 8 ft.*lbf
}
Install the bleeder plug cap.
Check that all the air has been bled from the clutch line.
40.
CHECK FLUID LEVEL IN RESERVOIR
Check the fluid level. If the brake fluid level is low, check for leaks and inspect the disc brake pad. If necessary, refill the reservoir with brake fluid after repair or replacement.
Brake fluid:
SAE J1703 or FMVSS No. 116 DOT 3
41.
INSPECT FOR CLUTCH FLUID LEAK
42.
CONNECT CABLE TO NEGATIVE BATTERY TERMINAL
NOTICE:
When disconnecting the cable, some systems need to be initialized after the cable is reconnected (Click here).