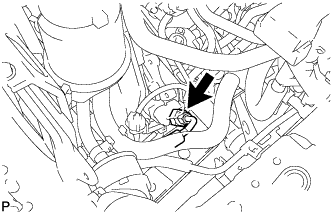
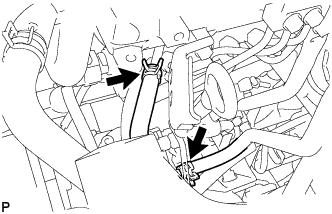
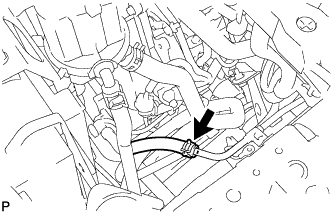
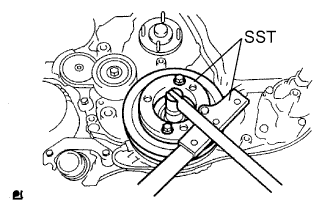
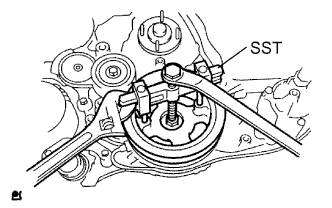
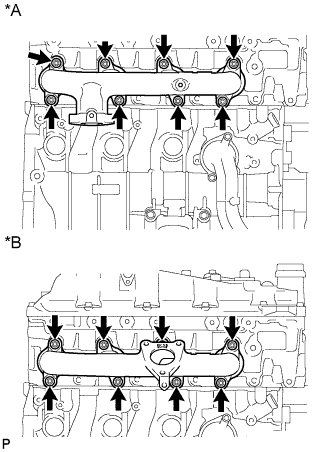
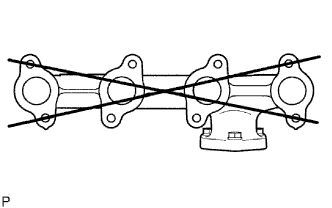
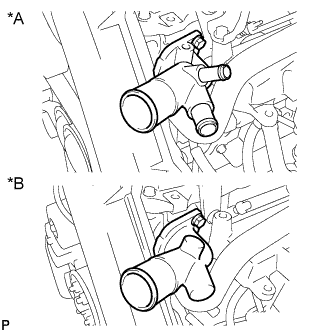
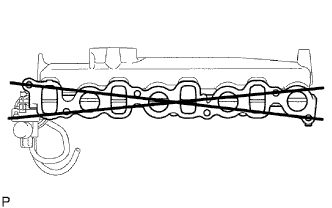
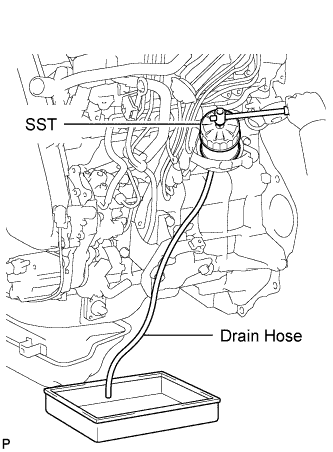
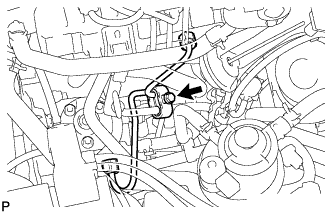
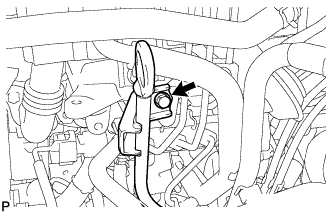
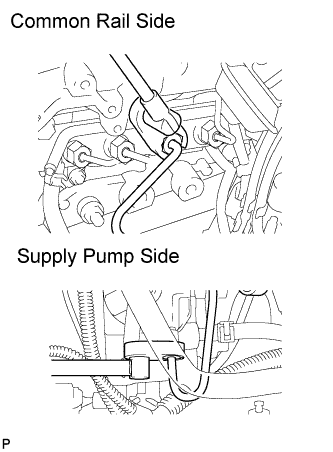
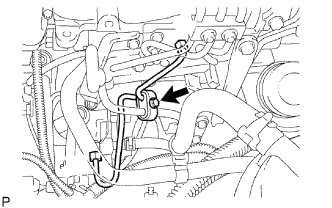
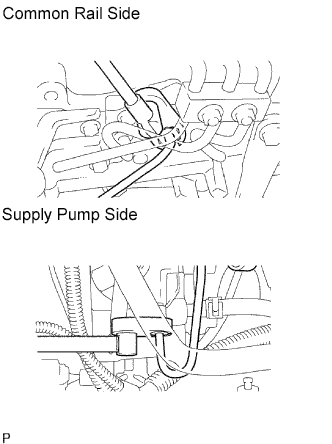
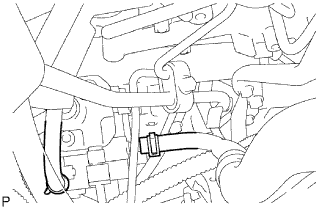
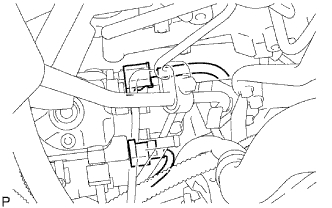
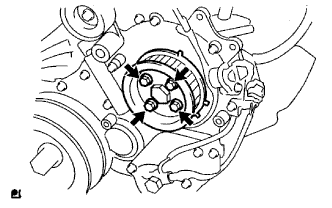
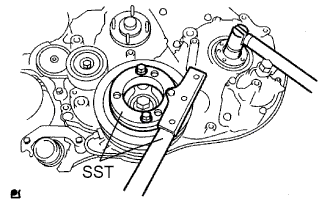
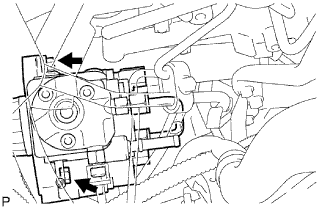
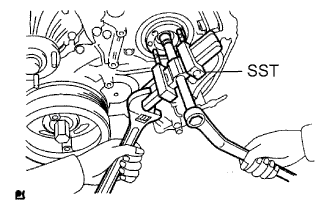
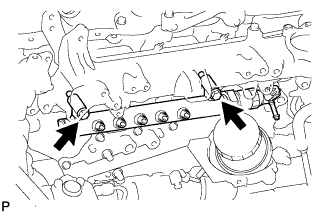
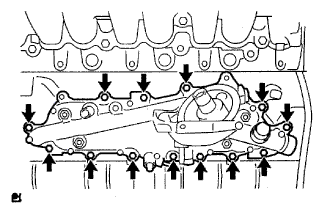
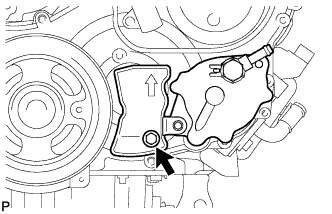
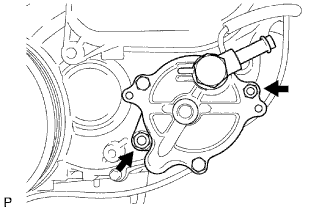
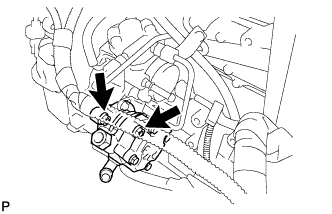
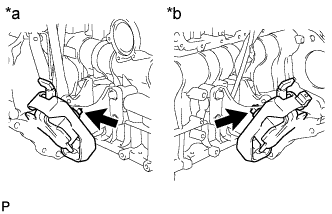
When replacing the injectors (including shuffling the injectors between the cylinders), common rail or cylinder head, it is necessary to replace the injection pipes with new ones.
When replacing the fuel supply pump, common rail, cylinder block, cylinder head, cylinder head gasket or timing gear case, it is necessary to replace the fuel inlet pipe with a new one.
After removing the injection pipes, clean them with a brush and compressed air.
1.
DISCONNECT CABLE FROM NEGATIVE BATTERY TERMINAL
CAUTION:
Wait at least 90 seconds after disconnecting the cable from the negative (-) battery terminal to prevent airbag activation.
NOTICE:
When disconnecting the cable, some systems need to be initialized after the cable is reconnected (Click here).
2.
REMOVE HOOD SUB-ASSEMBLY
Disconnect the washer nozzle hose.
Remove the 4 bolts and hood.
3.
REMOVE NO. 1 ENGINE UNDER COVER (for 4WD and Pre-Runner)
4.
REMOVE NO. 2 ENGINE UNDER COVER (for 4WD and Pre-Runner)
5.
DRAIN ENGINE OIL
Remove the oil filler cap.
Remove the oil drain plug, and drain the engine oil from the oil pan.
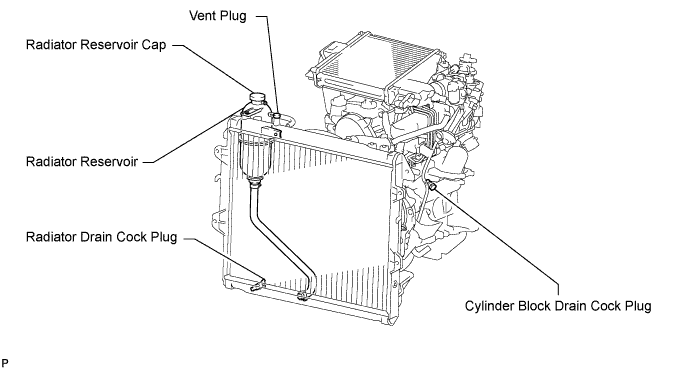
Do not remove the radiator reservoir cap while the engine and radiator are still hot. Pressurized, hot engine coolant and steam may be released and cause serious burns.
Loosen the radiator drain cock plug.
HINT:
Collect the coolant in a container and dispose of it according to the regulations in your area.
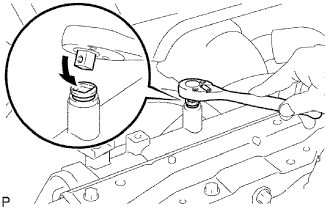
Drain the coolant by removing the reservoir cap and, using a wrench, remove the vent plug.
Loosen the cylinder block drain cock plug.
9.
DRAIN POWER STEERING FLUID
10.
REMOVE BATTERY BRACKET
11.
REMOVE BATTERY AND BATTERY TRAY
12.
REMOVE AIR CLEANER ASSEMBLY
w/o EGR Cooler: Disconnect the ventilation hose.
w/ Mass Air Flow Meter: Disconnect the mass air flow meter sensor connector.
w/ Intake Air Temperature Sensor: Disconnect the intake air temperature sensor connector.
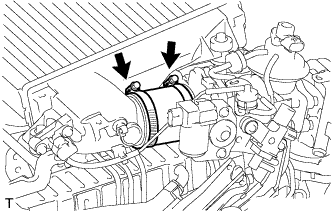
Loosen the hose clamp.
Remove the 2 bolts and air cleaner.
13.
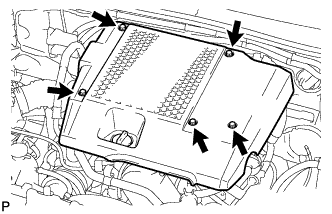
REMOVE NO. 1 ENGINE COVER SUB-ASSEMBLY
Remove the 3 bolts, 2 nut and engine cover.
14.
REMOVE INTERCOOLER ASSEMBLY WITH INTAKE AIR CONNECTOR (w/ Intercooler)
Detach the 2 clamps.
Disconnect the vacuum hose from the manifold absolute pressure sensor.
Disconnect the IAT sensor connector and manifold absolute diesel pressure sensor connector.
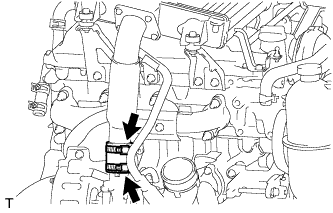
Loosen the 2 hose clamps of the No. 1 air hose.
Loosen the 2 hose clamps of the No. 2 air hose.
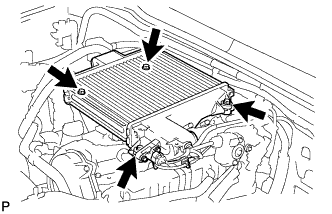
Remove the 4 bolts and intercooler.
15.
REMOVE NO. 2 AIR CLEANER PIPE SUB-ASSEMBLY (w/o Intercooler)
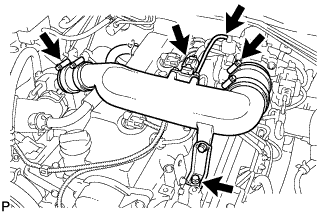
Disconnect the manifold absolute pressure sensor connector.
Disconnect the vacuum hose from the gas filter.
Loosen the 2 clamps.
Remove the bolt and disconnect the pipe together with the 2 air hoses.
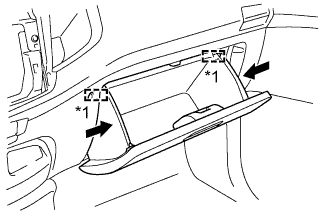
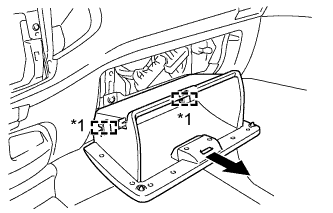
Slightly bend the upper part of the glove compartment door to release the 2 stoppers and open the glove compartment door until it is horizontal.
Text in Illustration
*1
Stopper
Pull the glove compartment door toward the rear of the vehicle to detach the 2 hinges and remove the glove compartment door.
Text in Illustration
*1
Hinge
26.
DISCONNECT WIRE HARNESS
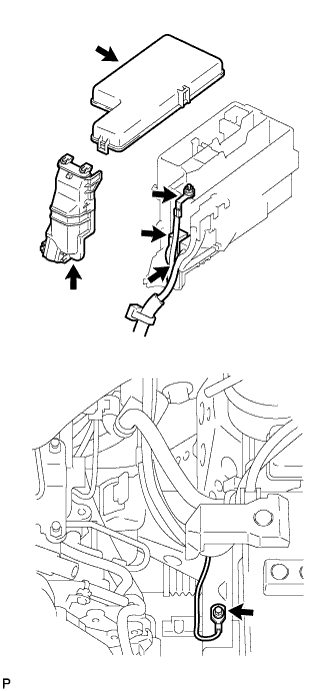
Remove the upper relay block cover.
Remove the side relay block cover.
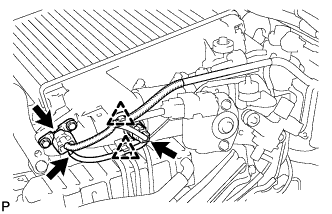
Remove the nut and disconnect the engine room junction block wire.
Disconnect the 2 engine room junction block connectors.
Remove the bolt and disconnect the ground cable.
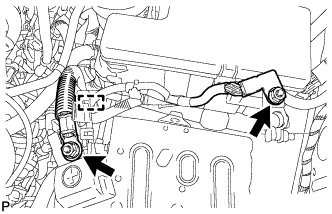
Remove the 2 nuts, detach the clamp and disconnect the wire harness.
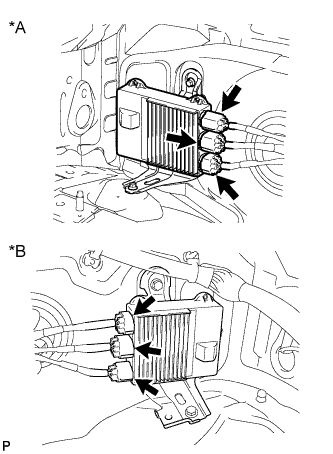
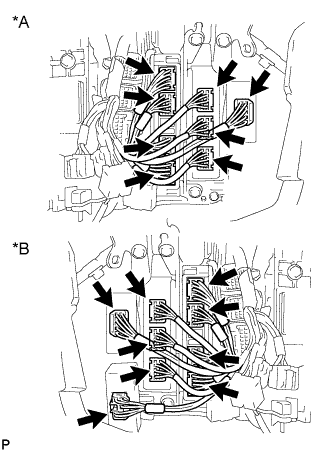
Disconnect the 3 EDU connectors.
Text in Illustration
*A
for LHD
*B
for RHD
for Variable Nozzle Vane Turbocharger: Disconnect the turbo motor driver connector.
Text in Illustration
*A
for LHD
*B
for RHD
w/ A.D.D.: Disconnect the 4WD control ECU connector.
for Automatic Transmission: Disconnect the 3 TCM connectors.
Disconnect the 4 ECM connectors.
27.
DISCONNECT COOLER COMPRESSOR ASSEMBLY (w/ Air Conditioning System)
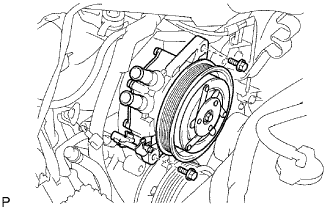
Remove the 4 bolts and disconnect the cooler compressor.
HINT:
It is not necessary to completely remove the compressor. With the hoses connected to the compressor, hang the compressor on the vehicle body with a rope.
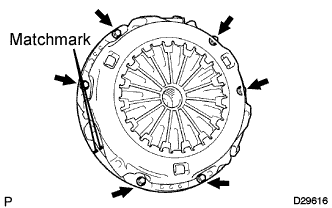
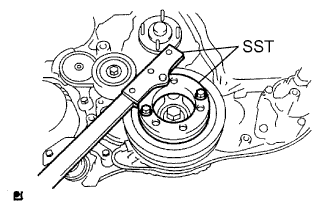
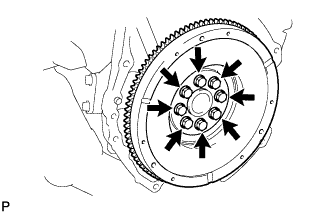
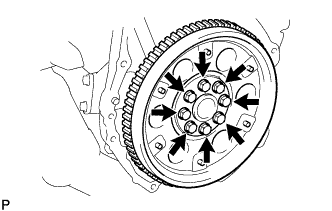
Remove the 8 bolts, the rear drive plate spacer, the pump impeller drive plate, and the flywheel.
35.
REMOVE REAR END PLATE
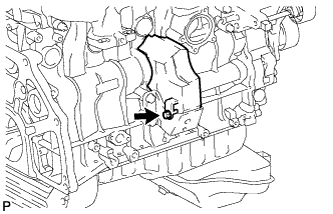
Remove the bolt and rear end plate.
36.
INSTALL ENGINE HANGERS
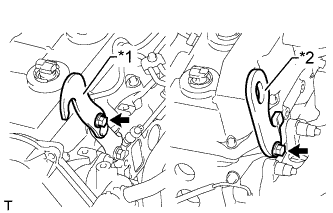
Install a No. 1 engine hanger and No. 2 engine hanger with 2 bolts as shown in the illustration.
Torque:
for No. 1 engine hanger:
25 N*m{
255 kgf*cm
, 18 ft.*lbf
}
for No. 2 engine hanger:
60 N*m{
612 kgf*cm
, 44 ft.*lbf
}
Text in Illustration
*1
No. 1 Engine Hanger
*2
No. 2 Engine Hanger
HINT:
Part No.
No. 1 engine hanger
w/ Intercooler
12284-30060
w/o Intercooler
12284-30020
No. 2 engine hanger
12282-67030
Bolt
90105-T0164 or 91552-81014 and 90119-T0065 or 91642-81030
NOTICE:
Install the engine hangers with new bolts.
37.
REMOVE ENGINE ASSEMBLY
Attach an engine sling device and hang the engine with a chain block.
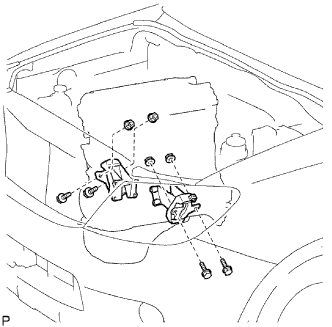
w/ EGR Cooler: Remove the bolt and No. 2 cylinder block insulator.
Remove the 4 bolts and 4 nuts.
Remove the engine by operating the engine sling device and chain block.
38.
FIX ENGINE ON ENGINE STAND
Install the engine to an engine stand with the bolts.
Remove the 2 bolts and 2 engine hangers.
39.
REMOVE ENGINE WIRE
Remove the engine wire.
40.
REMOVE NO. 1 TIMING BELT COVER
Remove the bolt and water hose clamp.
Remove the wire harness clamp.
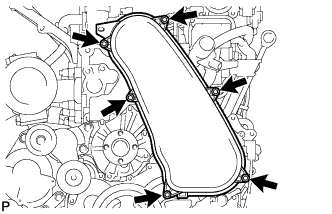
Remove the 6 bolts and timing belt cover.
41.
REMOVE TIMING BELT
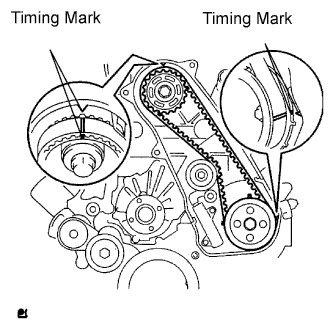
Turn the crankshaft clockwise and align the timing marks as shown in the illustration.
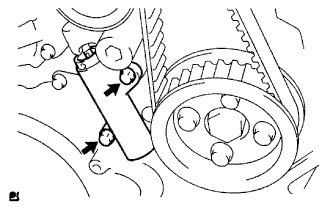
Uniformly loosen the 2 bolts and remove the timing belt tensioner.
Remove the timing belt.
Using a 10 mm hexagon wrench, remove the bolt, timing belt idler and washer.
HINT:
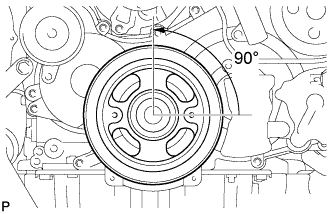
When turning the camshaft while the timing belt is removed, turn the crankshaft 90° counterclockwise.
When installing the timing belt, return the camshaft to the timing marks and then turn the crankshaft clockwise until it aligns with the timing marks, as shown in the illustration.