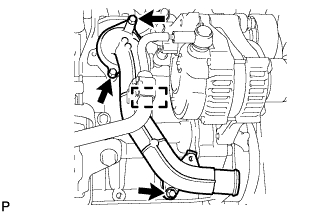
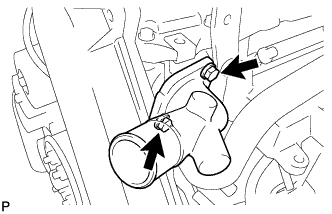
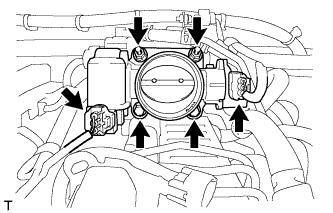
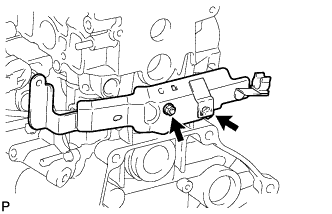
When replacing the injector assemblies (including shuffling the injector assemblies between the cylinders), common rail assembly or cylinder head sub-assembly, it is necessary to replace the injection pipe sub-assemblies with new ones.
When replacing the fuel supply pump assembly, common rail assembly, cylinder block sub-assembly, cylinder head sub-assembly, cylinder head gasket or timing gear case assembly, it is necessary to replace the fuel inlet pipe sub-assembly with a new one.
After removing the injection pipe sub-assemblies, clean them with a brush and compressed air.
1.
DISCONNECT CABLE FROM NEGATIVE BATTERY TERMINAL
NOTICE:
When disconnecting the cable, some systems need to be initialized after the cable is reconnected (Click here).
2.
REMOVE HOOD SUB-ASSEMBLY
Disconnect the washer nozzle hose.
Remove the 4 bolts and hood sub-assembly.
3.
REMOVE NO. 1 ENGINE UNDER COVER
4.
REMOVE NO. 2 ENGINE UNDER COVER
5.
DRAIN ENGINE OIL
Remove the oil filler cap.
Remove the oil pan drain plug and gasket, and then drain the engine oil into a container.
Wipe the oil pan and drain plug.
Install a new gasket and the oil pan drain plug.
Torque:
34 N*m{
347 kgf*cm
, 25 ft.*lbf
}
6.
DRAIN ENGINE COOLANT
CAUTION:
Do not remove the radiator reservoir cap while the engine and radiator are still hot. Pressurized, hot engine coolant and steam may be released and cause serious burns.
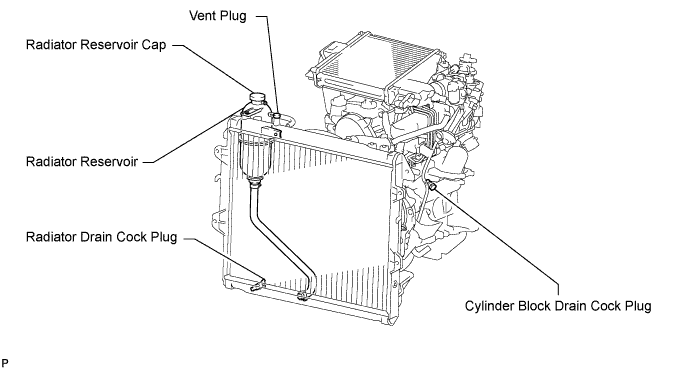
Loosen the radiator drain cock plug.
HINT:
Collect the coolant in a container and dispose of it according to the regulations in your area.
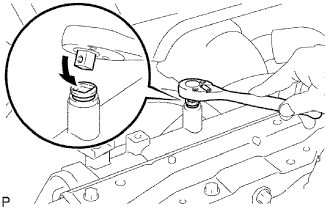
Drain the coolant by removing the reservoir cap and, using a wrench, remove the vent plug.
Loosen the cylinder block drain cock plug.
7.
DRAIN TRANSMISSION OIL
Remove the drain plug and gasket to drain the oil.
Install a new gasket and the drain plug.
Torque:
37 N*m{
377 kgf*cm
, 27 ft.*lbf
}
8.
DRAIN POWER STEERING FLUID
9.
REMOVE BATTERY CLAMP SUB-ASSEMBLY
Remove the bolt, nut and battery clamp sub-assembly.
10.
REMOVE BATTERY
11.
REMOVE BATTERY TRAY
12.
REMOVE AIR CLEANER ASSEMBLY
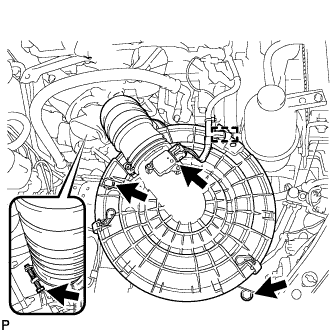
Detach the wire harness clamp and disconnect the mass air flow meter connector.
Loosen the hose clamp and disconnect No. 1 air cleaner hose from the compressor inlet elbow.
Remove the 2 bolts and air cleaner assembly together with the No. 1 air cleaner hose.
13.
REMOVE INTERCOOLER ASSEMBLY WITH INTAKE AIR CONNECTOR
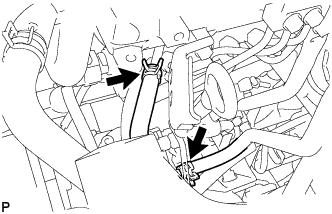
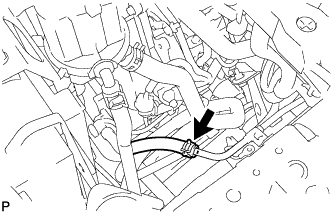
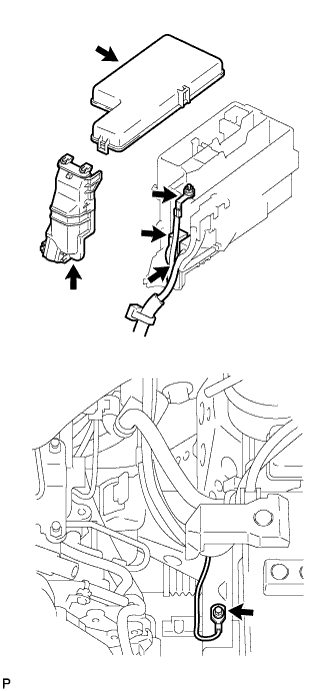
Remove the nut and disconnect the engine room junction block wire.
Disconnect the 2 engine room junction block connectors.
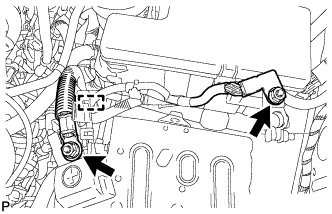
Remove the bolt and disconnect the ground cable.
Remove the 2 nuts, detach the clamp and disconnect the wire harness.
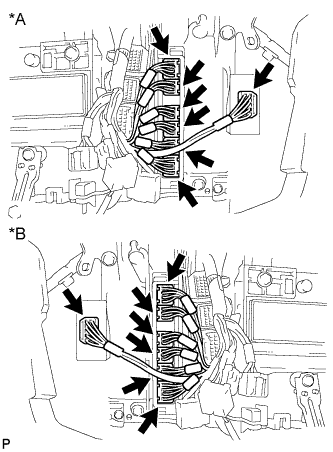
Disconnect the 4 glow plug controller connectors.
Disconnect the 4 injector driver connectors.
for 4WD: Disconnect the 4WD control ECU connector.
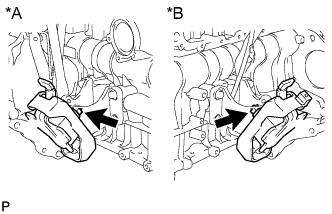
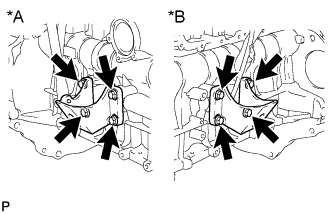
Text in Illustration
*A
for LHD
*B
for RHD
Disconnect the 6 ECM connectors.
25.
DISCONNECT COOLER COMPRESSOR ASSEMBLY (w/ Air Conditioning System)
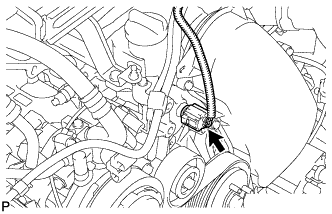
Remove the 4 bolts and disconnect the cooler compressor assembly.
HINT:
It is not necessary to completely remove the cooler compressor assembly. With the hoses connected to the cooler compressor assembly, hang the cooler compressor assembly on the vehicle body with a rope.